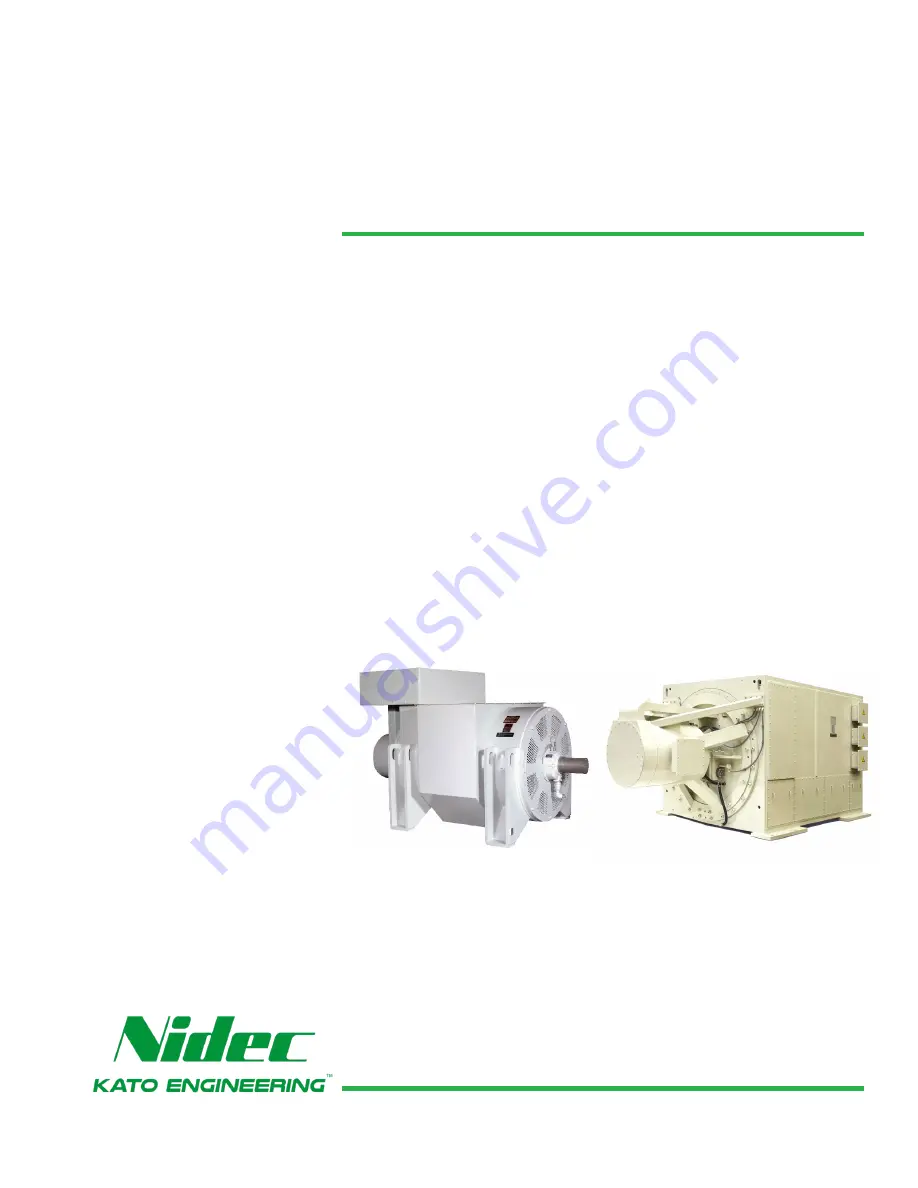
background image

Instruction Manual

Installation

Operation

Maintenance

AC Turbine Generator

Publication

350-01016-00 En (October 2019)

Kato Engineering, Inc. 

|

 P.O. Box 8447 

|

 Mankato, MN USA 56002-8447 

Tel: 507-625-4011

[email protected] 

|

 www.KatoEngineering.com 

|

 Fax: 507-345-2798

Summary of Contents for 4P10

Page 1: ...Operation Maintenance AC Turbine Generator Publication 350 01016 00 En October 2019 Kato Engineering Inc P O Box 8447 Mankato MN USA 56002 8447 Tel 507 625 4011 KatoEngineering mail nidec com www Kato...

Page 2: ...apid changes in designs and processes and the variability of Kato Engineering s products information in this manual must not be regarded as binding and is subject to change without notice The image on...

Page 3: ...to Prime Mover Alignment 16 Foot Deflection 18 Doweling 18 Electrical Connections 18 Space Heaters 18 Inspection Before Startup 19 Storage of Kato Generators 20 Remove generator from storage 21 Operat...

Page 4: ...Angular Alignment 17 Parallel Alignment 17 Field Flashing 23 Guide to Allowable Phase Unbalance 24 Synchronizing Paralleled Generators with Test Lamps 25 Rectifier 33 Test Rotating Rectifier with Ohmm...

Page 5: ...lowing paragraphs define warnings cautions and notes as they are used in this manual WARNING Warnings identify an installation operating or maintenance procedure practice condition or statement that i...

Page 6: ...17 1 2 3 4 5 6 7 8 9 10 11 12 13 14 15 OPENED MACHINES 4P10 4P10 5 4P10 7 4P11 4P12 4P63 BEARING LINER EXCITER SLEEVE SHAFT DIODE RECTIFIER ACCESS COVER EXCITER PMG FRAME EXCITER PMG FRAME END COVER P...

Page 7: ...OR ONE MACHINE SEAL OR ONE MACHINE SEAL TOTALLY ENCLOSED MACHINES 4P10 4P10 5 4P10 7 4P11 4P12 4P63 BEARING LINER EXCITER SLEEVE SHAFT EXCITER PMG FRAME EXCITER PMG FRAME END COVER DIODE RECTIFIER ACC...

Page 8: ...Page 8...

Page 9: ...from laminations thin sheets of electrical steel which are stacked and held in place by steel end rings and support bars The rings and bars are welded to or are part of the steel frame Base mounting...

Page 10: ...opper or aluminum rods that are inserted through each pole surface and are brazed to copper or aluminum damper end plates at each end of the lamination stack Figure 6 Generator Rotor The end plates ar...

Page 11: ...bearing manual under separate cover for more information See Figure 7 Figure 7 Sleeve Bearing Connection Boxes The main lead connection box houses the load lead terminals and may be located either si...

Page 12: ...semblies the exciter armature and the rotating rectifier The exciter armature assembly contains steel laminations that are stacked and keyed on the shaft or onto a sleeve which is keyed to the generat...

Page 13: ...t also contains the exciter stator or is a separate stator mounted next to the exciter stator The PMG stator consists of steel laminations The laminations are held in place by steel compression rings...

Page 14: ...functions as a pilot exciter providing power to the automatic voltage regulator power supply The PMG is an AC generator that uses permanent magnets in the rotor instead of electromagnets to provide t...

Page 15: ...rm generators placed in operation after being subjected to very low temperatures to prevent excessive condensation Check winding resistance before placing the generator in operation see page 22 Base D...

Page 16: ...at different positions will indicate how the machine needs to be adjusted to obtain a maximum misalignment of 0 001 inch for each inch of the coupling hub s radius total indicator runout Place or rem...

Page 17: ...reference mark on the coupling hub Note the reading on the indicator dial at each one quarter revolution A variation of readings at different positions will indicate how the machine needs to be adjus...

Page 18: ...temperature monitoring device space heater AVR in accordance with local regulations and national international electrical code requirements Check the electrical diagrams provided with the generator o...

Page 19: ...matches the rotation of the generator Make sure the power requirements comply with the data on the generator nameplate Make sure that the motor generator set is protected with an adequate engine gove...

Page 20: ...minimum of 10 revolutions every 60 days Activate automatic lubrication system if included with generator prior to turning the shaft Activate manual prelube pump if included with generator prior to ro...

Page 21: ...bearing casing oil inlet port on one side of the bearing and the drain port beneath the bearing casing refer to the specific generator outline drawing for oil inlet and drain locations 3 Attach a man...

Page 22: ...oltage 3 Close the output circuit breaker and apply load in gradual steps until the rated load is reached Note the voltage regulation with the changes in load steps 4 Check for vibration levels at no...

Page 23: ...if the generator output voltage does not build up or flash with the generator running the field coil wires connected to the regulator and a 3 amp or larger diode off the positive terminal of the batte...

Page 24: ...operating mode while idling the engine can cause permanent equipment damage If engine adjustments require that the engine be run at idle speed and the regulator does not have V Hz protection make the...

Page 25: ...be used to indicate the difference in phase angle between the incoming machine and the system The generator can be paralleled by using incandescent lamps connected as shown in Figure 17 The voltage r...

Page 26: ...seconds When the generator is in phase the lights will be dark close the circuit breaker Immediately after closing the breaker measure the line current kVAR of the generator The readings must be withi...

Page 27: ...Visually inspect the stator output leads and insulation for cracking or damage Check all exposed electrical connections for tightness Check transformers fuses capacitors and lightning arrestors for lo...

Page 28: ...d seal surfaces for wear or scoring See the sleeve bearing manual for instructions Remove the endbrackets and visually inspect the generator end windings for oil or dirt contamination Excessive contam...

Page 29: ...failure by opening leakage paths through the insulation Physical damages can be caused by physical shock vibration over speed short circuit forces or line starting out of phase paralleling erosion by...

Page 30: ...ffixed to the vacuum nozzle to loosen and allow removal of dirt that is more firmly attached After the initial cleaning with a vacuum compressed air may be used to remove the remaining dust and dirt C...

Page 31: ...ng must be a minimum of 50 megohms If it is not refer to the cleaning or dry out procedures 4 Disconnect the megger and wait a minimum of 1 minute Ground the PMG armature leads to the PMG armature fra...

Page 32: ...or phase B with phase A and C grounded and phase C with phase A and phase B grounded Main Armature Stator all phases simultaneously 1 Disconnect power connections and all control apparatus from the ge...

Page 33: ...level out Bearing Lubrication Sleeve Bearings Lubricate the bearings in accordance with the lubricating instructions attached to the generator and the bearing lubrication instructions which are provi...

Page 34: ...a flashlight and built as shown in Figure 20 across the surge protector in either direction If the light comes on the surge protector is defective Order surge protectors by part number including the...

Page 35: ...lts that connect the carriers to the housing and remove them 5 Loosen and remove the split line bolts 6 Remove simultaneously in the axial direction both the top and bottom halves of the seal carriers...

Page 36: ...e assembled adding an additional piece during each stage of movement outward 2 Attach slings around the pipe on one end and around the shaft on the opposite end 3 Lift up the rotor and move it out gen...

Page 37: ...nd put the insulators in place Press them tightly on the track and place the liners or fixtures in the housings to maintain good compression Let the epoxy set for 12 hours Make sure it has no voids an...

Page 38: ...3 Put Loctite 242 on the split line screws insert the screws and tighten Install the Top Bearing Housings 1 Apply STP Oil Treatment on the top of the bearing liner 2 Spread Loctite 587 Blue on the bot...

Page 39: ...opposite drive end bracket and tighten Attach the Exciter PMG Frame Stator 1 Apply Nox Rust to the machined surface on the bearing bracket where the exciter PMG frame stator will mount 2 Attach the e...

Page 40: ...point and turn the generator over to measure the air gap as the rotor turns Minimum air gap is 0 035 inch Attach the exciter cover Connect the air temperature RTDs Mount the generator to the prime mo...

Page 41: ...field poles Restore residual magnetism or flash field When the voltage regulator is a model that requires flashing install an automatic field flashing system Open circuit in stator windings Check for...

Page 42: ...assembly Replace defective fuses or rectifiers Excessive load Reduce load to rated value Defective bearing Replace the bearing Improper speed of engine driven generator set due to defective governor i...

Page 43: ...ls Cable tool Crimping Flashlight As required Grease gun For lubricating bearings Hammer Soft faced Lamp incandescent Safety light Screwdrivers Standard sized as required Phillips sized as required Wr...

Page 44: ...e Ft lb Tolerance N m Tolerance Ft lb Tolerance N m Tolerance Ft lb Tolerance N m Tolerance 4 40 4 0 5 5 0 6 6 32 8 0 9 10 1 1 8 32 20 2 3 16 1 8 21 2 4 10 24 18 2 0 24 2 7 10 32 34 3 8 33 3 7 33 3 7...

Page 45: ...16 x 2 00 80 13 108 18 144 13 195 32 196 40 266 53 249 40 338 68 M18 x 2 50 114 22 155 29 190 22 258 50 269 50 365 70 344 50 466 70 M20 x 2 50 162 23 220 30 260 23 353 50 366 60 496 50 486 60 659 66 M...

Page 46: ...45 2798 Kato Engineering Support The brand you trust the power you depend on Include the serial number and model number for your machine in the email subject line Field Service KatoService mail nidec...

Reviews: