


Memorizing the Channels
(continued)
DTV Signal Strength
You can make use of DTV signal strength bar to check how strong
your DTV signal is and whether you need to adjust your antenna or
digital cable input. The stronger the signal strength, the less likely you
are to experience picture degradation.
Channel
Label
Setup
Navigate to the
CHANNEL SETUP
menu and highlight
Channel
Label
.
1
2
Press
OK
to enter into channel label editing mode.
se
/
to move
the
se
/
to
Press
MENU
to exit the editing mode.
U
3 4
cursor
, u
5 6
select character.
If required, you can give a name to the programs. (Only for analog channels)
3
Press
EXIT
button to return to TV viewing.
Navigate to the
CHANNEL SETUP
menu, at the bottom of the menu
screen the
Signal Strength
bar is displayed indicating the level and
quality of signal that is received by the unit for the current DTV
channel.
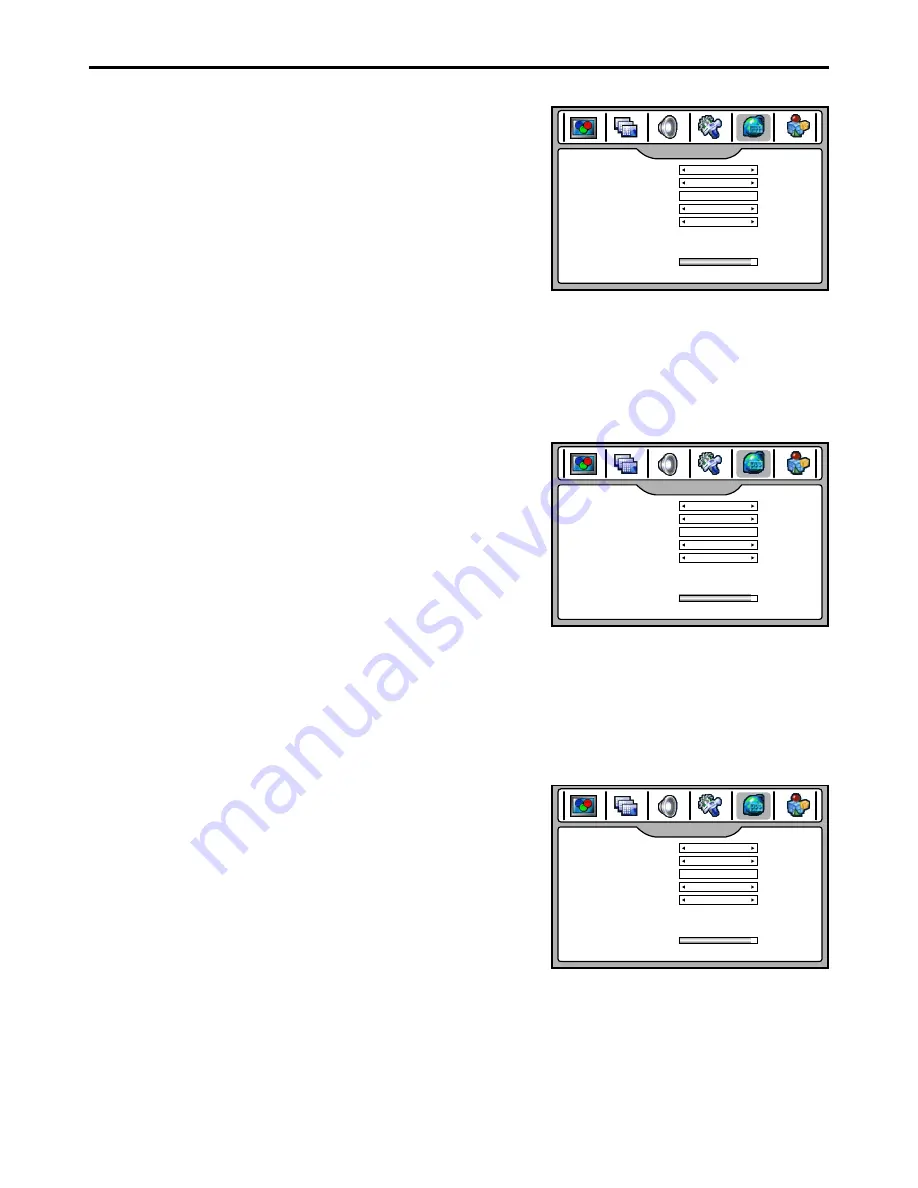
Favorite Channel
Setup
Navigate to the
CHANNEL SETUP
menu.
1
2
You can create a favorite channel list into memory as follows:
3
Highlight
Current Channel
item, use
3
or
4
to select your favorite
channel.
Highlight
Favorite Channel
item, use
3
or
4
to select
ON
.
4
Repeat the above steps to set more favorite channels (up to 10
channels)
5
Now a favorite channel list is created, and you can make use of it
to quickly select your favorite channel.
Press
FAVORITE
button to call up the Favorite channel list, use
5 6
to highlight the channel, use
OK
to select that channel.
/
CHANNEL SETUP
TV Source
Current Channel
Channel Label
Channel Skip
Favorite Channel
Auto Search
Input Select
Signal Strength
AIR
2-1
> > >
> > >
OFF
OFF
WGBH-
CHANNEL SETUP
TV Source
Current Channel
Channel Label
Channel Skip
Favorite Channel
Auto Search
Input Select
Signal Strength
AIR
2-1
> > >
> > >
OFF
OFF
ABCD
-
CHANNEL SETUP
TV Source
Current Channel
Channel Label
Channel Skip
Favorite Channel
Auto Search
Input Select
Signal Strength
AIR
2-1
> > >
> > >
OFF
ON
WGBH-
Note:
the names of digital broadcasting channels are automatically
assigned and thus cannot be assigned by users.
21
Summary of Contents for NX4202
Page 1: ......
Page 54: ...5944030460 Ver 1 0...