22
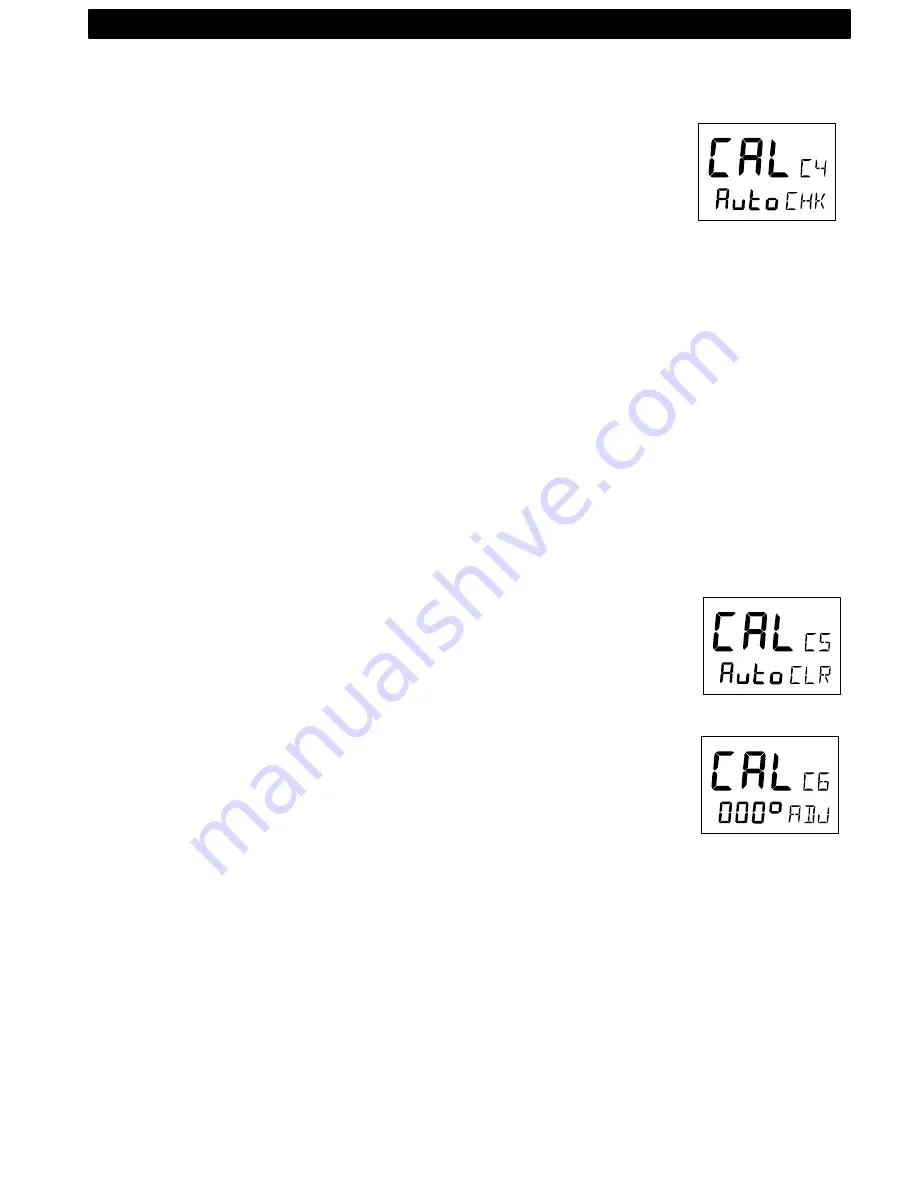
5.5.5 C4, Check auto-deviation [Auto CHK]
This function is used to check your auto-deviation.
The result of [Auto CHK] will be compared with [Auto DEV]. If the de-
viation is less than 1,5°, the average value from the comparison be-
tween [Auto DEV] and [Auto CHK] will be stored.
Take the boat into a slow turn, in calm sea and away from other boats
or obstructions. There is no need to perform a perfect circle.
When steady, select C4 [Auto CHK] and press
KEY
to start.
The present compass heading is displayed and the compass auto-
deviationcheck is in progress. Turn the boat in a 1 ¼ circle, and to end
the routine, press
KEY
again.
If successful, the text [CAL C4] [Auto CHK] will be displayed.
If not, [ERR 17] or [ERR 19] will appear, i.e. the difference between the
last auto-deviation and this auto-deviationcheck was too great to be ac-
cepted.
Make a new auto-deviation-check, and if you still get [ERR 19], make a
new auto-deviation, since the last one was probably disturbed.
5.5.6 C5, Clear auto-deviation [Auto CLR]
To clear the calibration created by the auto-deviation, select C5 [Auto
CLR], and press
KEY
.
5.5.7 C6, Adjust compass alignment [ADJ]
Possible settings are [000°] to [359°]. Default setting is [000].
Compass transducer alignment correction or the so called, ”A-fault”.
Allows 180° reversed mounting if needed. Never mount the transducer
at right angles to the boats fore-aft line.
Make sure that the local magnetic variation is entered before you make
the alignment adjustment, otherwise you are unable to see the differ-
ence between local magnetic variation and alignment error.
To check the transducer position, sail/steer your boat in a straight line
towards two visible objects in a line. If the actual heading taken from
the sea chart is 330° and the compass displays 335°, then set the value
of 360° - 5° to 355°.
SETUP


