background image

OSD menu functions

Adjusting the displays

The microprocessor in the display has the capability to adjust itself to the computer to 
which it is attached. This auto adjustment will take place when the unit is first installed and 
connected to a computer and there after. If the video input change, or is user imitated. If 
the picture is not satisfactory, the first step is to allow the unit to attempt to re-adjust itself 
to your computer.

Located on the rear of unit (MRG Version) or the front of unit (MFG version) is a 
membrane keypad used for adjusting the display. Please see the figure below :

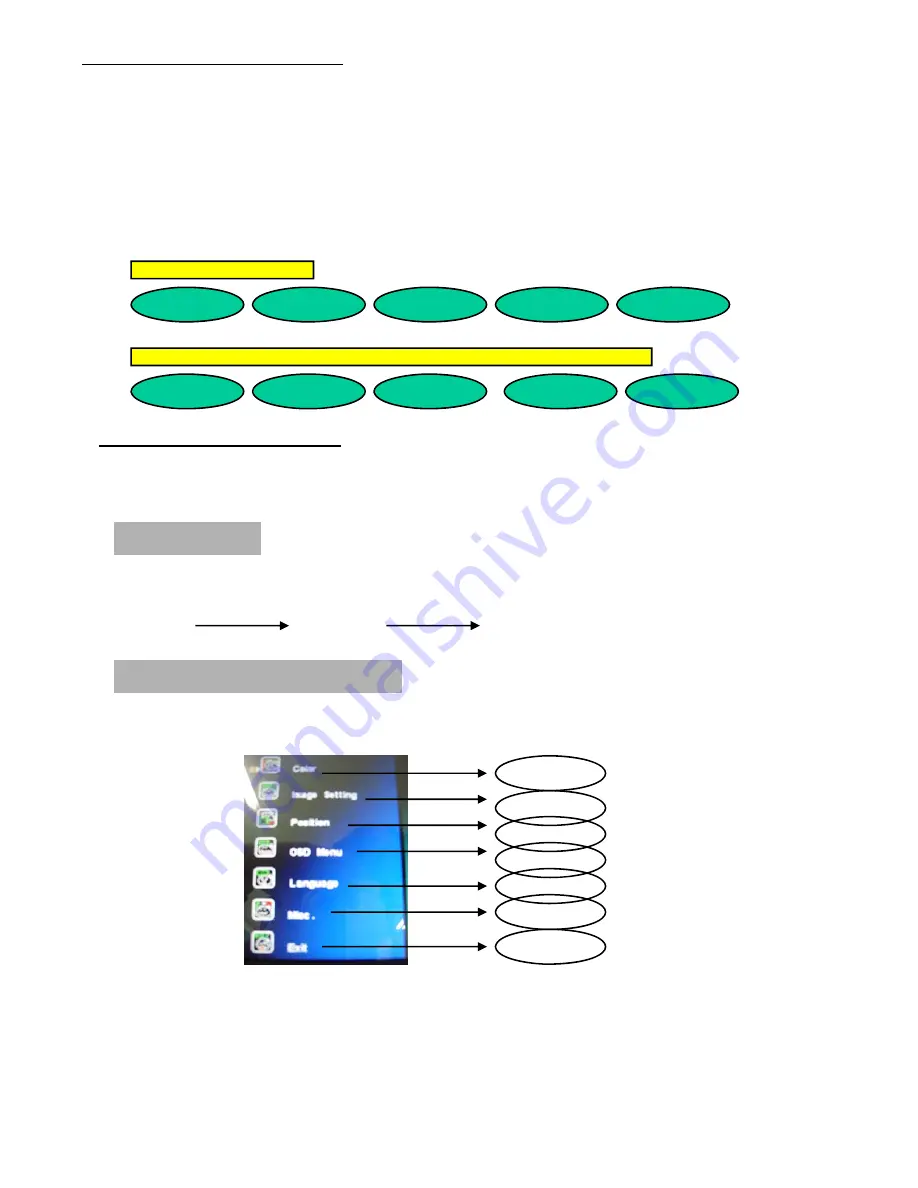
OSD (On-Screen-Display) control functions as follows : 
To access OSD Menu, press MENU button

OSD Screen for Monitor Mode

Press MENU key, OSD screen appears as below.

Press UP/DOWN Key, you can move between the ten primary functions.

Press Select key at Picture group to highlight this sub menu. You can now 

navigate the sub menu using the UP/DOWN keys. To make an adjustment to an 

item, use the UP/DOWN buttons to make your adjustments. At anytime, press 

the Menu button three times to exit and save your settings. 

Display mode 

To change the display mode, press the select key each time

Analog        

Video 

S-Video

Select key

Select key

Color

Image Setting

Position

OSD menu

Language

Misc

Exit

Menu

Select

Power

Down

Up

NEX104MRG, NEX121MRG

NEX104MFG, NEX121MFG, NEX150MR(F)G, NEX170MR(F)G,NEX190MR(F)G

Select

Power

Menu

Down

Up

Summary of Contents for NEX104MFG

Page 1: ...Please see the following page for the latest enhancements Revised 02 08 Nexio Note This information in this document is subject to change without notice NEX104MF R G NEX121MF R G NEX150MF R G NEX170MF R G NEX190MF R G VGA Composite S video Audio supported ...

Page 2: ...ion in this manual is subject to change without prior notice for improving design function and etc IBM DOS PC and VGA are trademarks of International Business Machines Corporation CONTENTS Feature Monitor Parts Packing Contents Connecting to PC Recommended Use Adjusting The Display OSD Menu Troubleshooting Specification Touch screen specification Drawing ...

Page 3: ... impact window on non touch screen models as per request from customers This TFT LCD monitor conforms to the VESA Video Electronics Standards Association standard and DDC1 DDC2B A picture adjustment function makes it possible to adjust the image quality to match the input signal Auto setup control on OSD screen adjust image position horizontal size or fine settings The power consumption can be red...

Page 4: ...hten all the screws 2 Connect 15 pin D SUB cable to the appropriate connectors on the back of the monitor head 3 Connect AC adapter cable to the power input connectors on the back of the monitor head 4 Connect one end of the power cord to the AC adapter and the other end to the power outlet 5 If the unit has a touch screen connect the touch screen interface cable to the computer 6 Turn on the moni...

Page 5: ...onitor may fall causing serious damage to the monitor If you connect or disconnect the VGA cable while both of PC s and LCD monitor s power is turned on the monitor might show some garbage on the screen or could be damaged Please turn off the TFT LCD monitor s power before connect or disconnect VGA cable Ensure that sufficient space is available around the display to provide air circulation for co...

Page 6: ...creen Display control functions as follows To access OSD Menu press MENU button OSD Screen for Monitor Mode Press MENU key OSD screen appears as below Press UP DOWN Key you can move between the ten primary functions Press Select key at Picture group to highlight this sub menu You can now navigate the sub menu using the UP DOWN keys To make an adjustment to an item use the UP DOWN buttons to make y...

Page 7: ...n functions Press the Select button at Image Setting to select it Press the UP DOWN key you can now move between functions and press Select to adjust the value of each item with the UP DOWN key Please MENU key to return previous state Clock Adjust the horizontal size of the screen s image Phase Adjust the focus of the screen s image Sharpness Adjust the clearness of the screen s image Position Pre...

Page 8: ...t button at Misc to select it Press the UP DOWN key you can now move between functions and press Select to adjust the value of each Item with the UP DOWN key Please MENU key to return previous state Signal Source Select the input signal source Ex Analog Video etc Reset Initializing that memory in store of the user mode Audio Adjust the volume of sound Mute Function of Mute Exit Exit the OSD menu N...

Page 9: ...ce occurs when a ghost of an image remains on the screen after the screen image has been changed Unlike a CRT monitor and LCD monitor s image persistence is not permanent To erase an image ghost turn the monitor off for several hours What happens is the liquid crystals after extended periods of operation Check for proper Max Resolution and Frequency Picture Quality Image Stability Green LED not li...

Page 10: ...on in text or Graphics Not working in native resolution Vertical shaded bars on Screen image Horizontal size not properly adjusted Adjust horizontal size Image is not stable Monitor has incorrect or bad sync signals Check for proper video cable installation Replace suspected faulty cable Check to ensure that video source is within the display s operating range ...

Page 11: ...tput Input 12V DC Display Type Max Resolution Screen Diagonal Size Display Colors Pixel Pitch Brightness Contrast Ratio Display Area Viewing Angle typical 640 x 480 10 4Inche 6bit 262K Colors 0 33 x 0 33mm 400cd 300 1 Typical 60º 60º L R 40º 50º U D 211 2 x 158 4mm VGA TFT 800 x 600 12 1Inche 6bit 262K Colors 300cd 200 1 Typical 60º 60º L R 40º 55º U D 640 x 350 70 Hz 720 x 400 70 HZ 640 X 480 60H...

Page 12: ... Temperature STORAGE Temperature OPERRATING Humidity 10 95 Non Condensing DIMENSIO WEIGHT Options Aluminum Front Bezel Touch Screen Touch Interface 17 19 Output Input 12V DC Display Type Max Resolution Screen Diagonal Size Display Colors Pixel Pitch Brightness Contrast Ratio Display Area Viewing Angle typical 1024 x768 15Inche 16M Colors 0 264 x 0 264mm 300cd 400 1 Typical 80º 80º L R 80º 80º U D ...

Page 13: ...NEL Transmission 92 Up to 100 Response Time Under 10ms Touch Intensity Over 60 000 000 single point touch Thickness of glass 3 2mm with anti vandal ENVIRONMENT Temperature Operating 20 to 85 Storage 40 to 85 Humidity Operating 10 to 85 Storage 0 to 95 Altitude Operating 3 000m Seal Ability Can be sealed to meet NEMA4 and IP65 standard Interface RS232 C or USB Multi monitor Split Dual multi monitor...

Page 14: ...NEX 10 4 ...

Page 15: ...NEX 12 1 ...

Page 16: ...NEX 15 ...

Page 17: ...NEX 17 ...

Page 18: ...NEX 19 ...

Reviews: