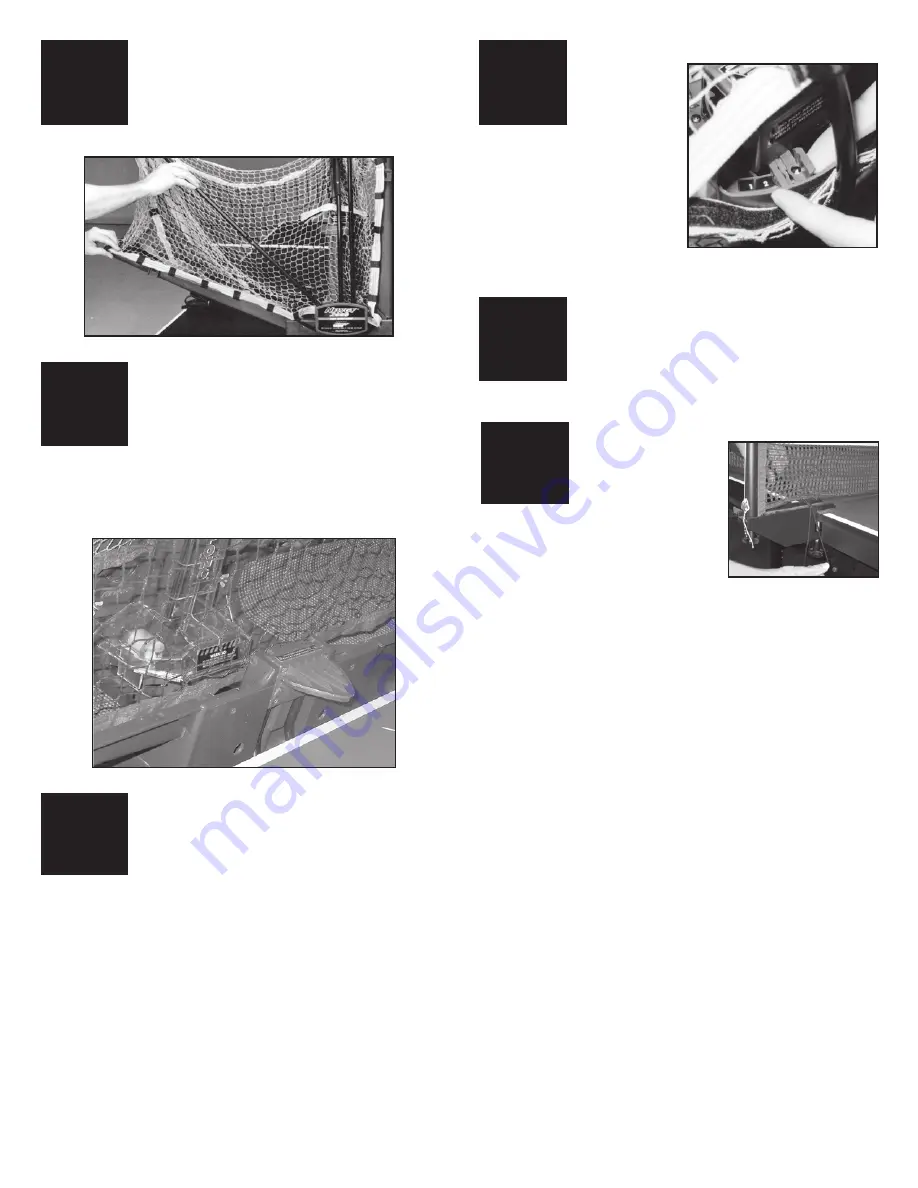
SET CONTROL LEVERS TO 3 & 4
Walk around
to the rear of
the robot, open
the slot in the
back of the net by pulling the
velcro apart and verify that
the Oscillator Control Levers
are in the 3 & 4 positions. If
not, pick up slightly on a
lever and swing the lever or
lever guard into the correct
position. (See page 9 for more details.)
6
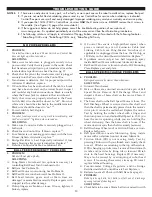
LOWER BALL TRAYS
Grasp one of the Ball Return Trays, lift
straight up to unlock it, grasp the adjacent
Net Support Tube, and slowly lower them
into position. Be careful not to let the tray or
support tube slam down. Repeat on the other side.
5
8
ATTACH ROBOT TO TABLE
Pick up the robot by the bottom of the
Center Trough and secure it to the table by
angling it downward and pushing it onto
the end of the table. The Support Legs go
underneath the table and the Front Support Plate sits on
top of the table. The center of the Front Support Plate
aligns with the centerline of the table. The robot will be
held by its own weight. (See Figure 10, page 9 for more detail.)
FOLLOW STEPS 2–5 OF 545 SET-UP
Follow steps 2–5 of the set-up instructions
for Robo-Pong 545 on, except after washing
the balls, place them in the robot’s Ball
Return Trays instead of the Ball Bucket.
7
FOLLOW STEPS 6–8 OF 1040+ SET-UP
Follow Steps 6 to 7 of the set-up instructions
for Robo-Pong 1040+ on the opposite page.
6
9
➨
➨
➨
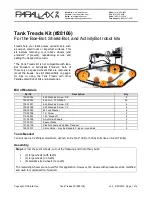
ATTACH SIDE NETS
Attach a Side Net to
your table tennis net
by slipping the red
flexible band over
your table net's support base and
wrapping it around the table net's
clamp screw. (If your table net
doesn't have these parts, see Figure
18 on page 20 for alternative Side Net attachment). Be sure
Side Net follows and is directly above the sideline of the
table. Repeat on the other side (see page 20 for more details).
10
Summary of Contents for Robo-Pong 1040+
Page 27: ...TRAINING LOG 27 DATE TIME NOTES...
Page 28: ...28 DATE TIME NOTES...


