3. BEFORE USING FOR THE FIRST TIME
A. Filling the Rinse Aid Dispenser
Rinse Aid Dispenser
Rinse aid is released during the final rinse to prevent water from forming droplets on your dishes,
which can leave spots and streaks. Using rinse aid also improves drying by allowing water to
sheet off dishes. Your dishwasher is designed to use liquid rinse aids. The rinse aid dispenser
is located inside the door next to the detergent dispenser. To fill the rinse aid dispenser, open
the cap and pour rinse aid into the dispenser until the level indicator turns dark. The volume of
the rinse aid container is approximately 110 ml.
Rinse Aid Function
The rinse aid is automatically added during the last rinse to ensure thorough rinsing and
spot/streak-free drying.
Attention!
Only use rinse aid designed for dishwashers. Do not fill the rinse aid dispenser with any other
substances such as dishwashing liquid or detergent. Doing so can damage the dishwasher.
Refilling the Rinse Aid Dispenser
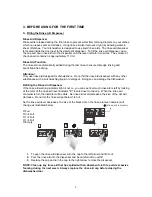
If the rinse aid warning indicator light is not on, you can see how much rinse aid is left by looking
at the color of the rinse aid level indicator
“C”
located next to the cap. When the rinse aid
container is full, the indicator will be dark. As rinse aid level decreases, the size of the dot will
decrease. Do not let the rinse aid get below 1/4 full.
As the rinse aid level decreases, the size of the black dot on the rinse aid level indicator will
change as illustrated below:
O
Full
O 3/4 Full
O 1/2 Full
O 1/4 Full
O Empty
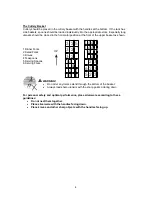
1.
To open the rinse aid dispenser, turn the cap to the left arrow and lift it out.
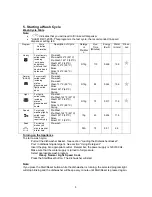
2.
Pour the rinse aid into the dispenser and be careful not to overfill.
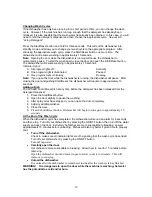
3.
Replace the cap and turn the cap to the right arrow to close the dispenser.
NOTE: Clean up any rinse aid that has spilled with an absorbent cloth to avoid excessive
foaming during the next wash. Always replace the rinse aid cap before closing the
dishwasher door.
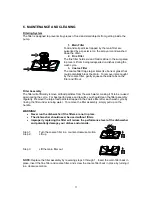
C (Rinse-Aid indicator)
C
1
1
2
2
3
3
3
Summary of Contents for ADW-2600W
Page 23: ...DETAILED PARTS DIAGRAM 21 ...
Page 24: ...ELECTRICAL DIAGRAM 22 ...


