Operation
214811
32
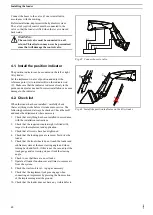
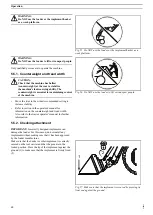
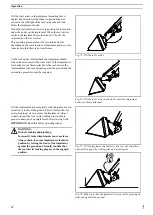
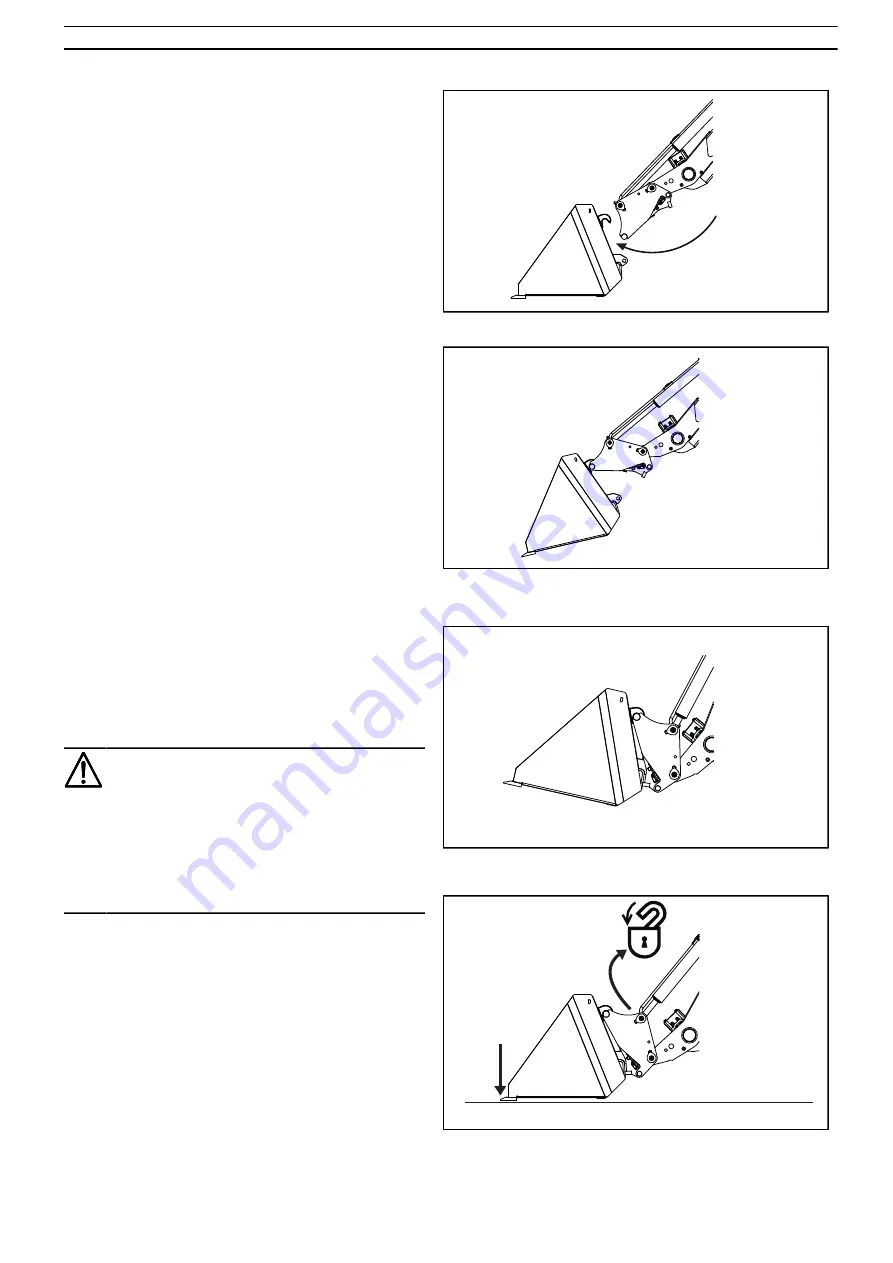
Tilt the tool carrier so the implement mounting face is
angled, and raise/lower the loader to position the tool
carrier on the left/right of the tool carrier about 4 inch
below the implement hooks.
Drive the tractor forward slowly to position the tool carrier
under the hooks on the implement. When the tool carrier
contacts the implement raise the loader to "hook" the
implement on the tool carrier.
This coupling procedure must be tested in each case,
depending on the combination of implement and accessory,
to make sure that there is no interference.
Fig. 75 Tilt the tool carrier
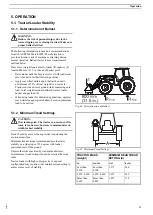
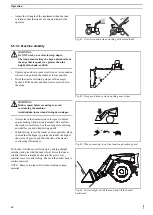
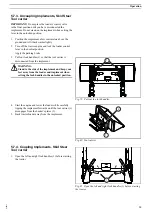
As the tool carrier is rolled back the implement should
follow the movement of the tool carrier. If the implement's
two hooks are not firmly attached to the tool carrier, the
implement must be repositioned against the ground and the
connection procedure must be repeated.
Fig. 76 Tilt the tool carrier back slowly until the implement
hooks are firmly attached.
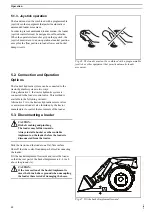
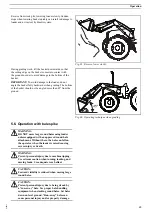
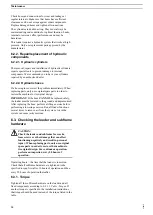
Tilt the implement back completely with the loader at a low
elevation (4 inch) off the ground. This will allow the tool
carrier locking system to secure the implement. Always
visually inspect the tool carrier locking pins to ensure
proper connection of an implement before starting work.
IMPORTANT:
Read this before operating loader:
WARNING:
Risk of crushing and pinching
Incorrectly locked implements can come loose.
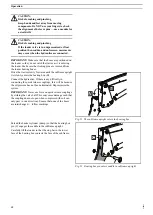
Always check to ensure implement is locked in
position by forcing the front of the implement
against the ground and visually confirm that
the tool carrier locking pins are in the engaged
position.
Fig. 77 Tilt the implement back slowly at a low elevation then
physically engage the locking pins and securing pin.
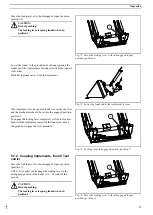
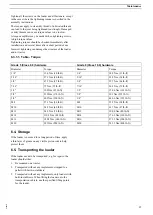
Fig. 78 Make sure that the implement is secured by pressing its
front end against the ground.
Summary of Contents for 611TL
Page 2: ......


