Wireless Notebook Adapter
5
Chapter 3: Using the Setup
Wizard
The Network Everywhere™ Wireless Notebook Adapter comes with an auto-
mated software installation procedure for Windows 98, Me, and 2000. This
automatically installs the drivers and Configuration Utility before you insert
the Adapter into your PC, so there’s no searching for the location of drivers.
Again, this step is taken before inserting the Adapter into your PC.
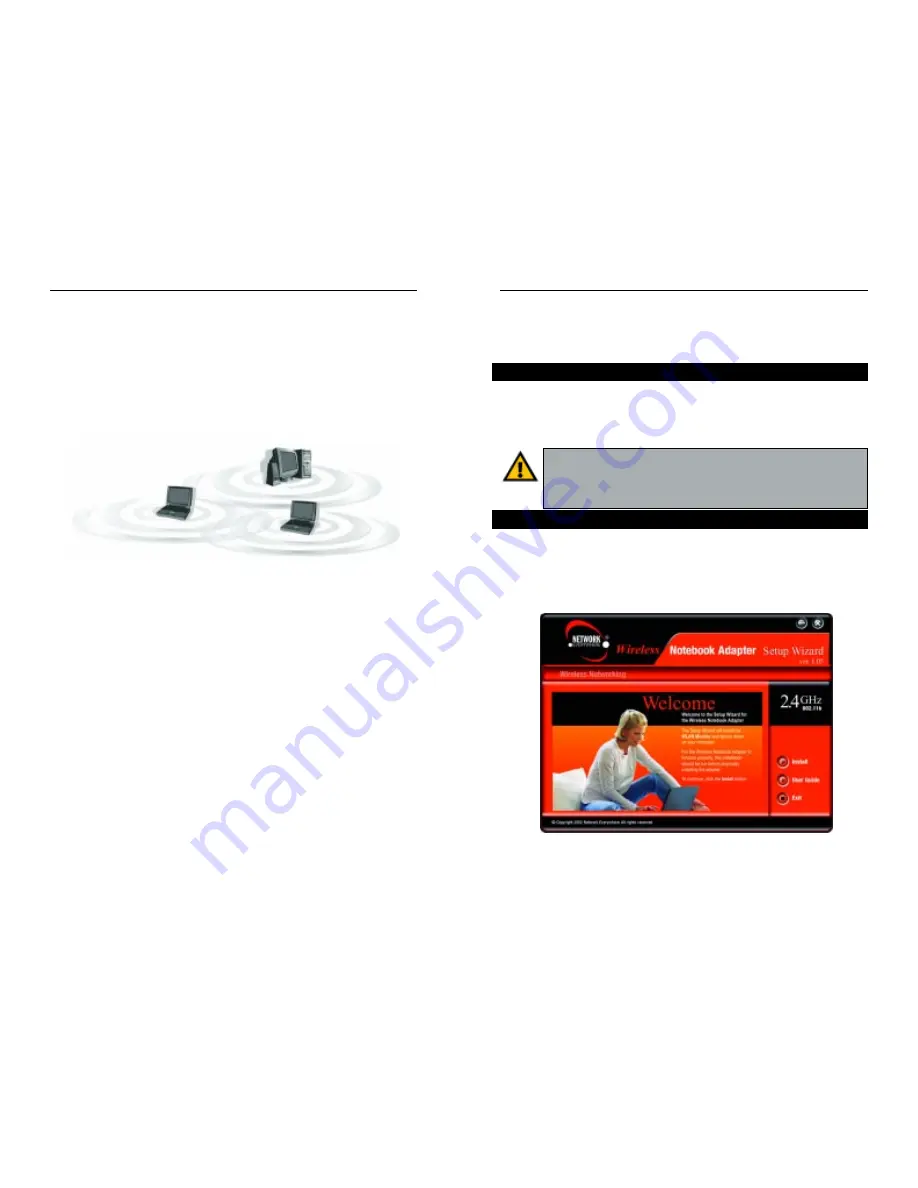
1. Before installing your adapter, insert the Setup Wizard CD into your CD-
ROM drive. Unless you have deactivated the auto-run feature of Windows,
the screen shown in Figure 3-1 should appear automatically. If it does not,
this means the autorun is not functioning. Start the Setup Wizard manually
by clicking the Start button, selecting Run, and typing d:\setup.exe (where
“D” is your PD’s CD-ROM drive).
Click the Install button to run the Setup Wizard or the Exit button to close
this screen. You opened this User Guide by clicking the User Guide button.
Before You Start
Figure 3-1
Important for Windows XP users: Do NOT run the Wireless Notebook
Adapter’s Setup Wizard. See “Chapter 4: Driver Installation and
Configuration for Windows XP.” If the Setup Wizard runs automatically
after the Setup Wizard CD-ROM has been inserted, click the Exit tab..”
Running the Setup Wizard
Network Everywhere
™
Series
4
If the wireless network is relatively small and needs to share resources only
with the other computers on the wireless network, then the ad-hoc mode can
be used. (See Figure 2-2.) Ad-hoc mode allows computers equipped with wire-
less transmitters and receivers to communicate directly with each other, elimi-
nating the need for an access point. The drawback of this mode is that, in Ad-
Hoc mode, wireless-equipped computers are not able to communicate with
computers on a wired network. And, of course, communication between the
wireless-equipped computers is limited by the distance and interference direct-
ly between them.
Figure 2-2


