Network Everywhere
™
Series
22
23
Wireless Notebook Adapter
Appendix A: Troubleshooting
This chapter provides solutions to problems usually occurring during the instal-
lation and operation of the Wireless Notebook Adapter. Read the description
below to solve your problems. If you can’t find an answer here, check the
Linksys website at www.linksys.com.
1. My computer does not recognize the Wireless Notebook Adapter.
Make sure that the Wireless Notebook Adapter is properly inserted into the
Cardbus slot. You can try inserting the Adapter both ways if you’re unsure if
it’s inserted correctly. The Adapter will slide in further when it is correct.
2. The Wireless Notebook Adapter does not work properly.
• Reinsert the Wireless Notebook Adapter into your notebook’s Cardbus slot.
A beep should be heard if the Adapter is properly inserted.
• For non-Windows environments, make sure that a PCMCIA card service
driver is installed on your PC.
• Open the Control Panel and click on the PC Card. Check whether it has a
PCMCIA card in one of the sockets or not. If you find the Wireless Notebook
Adapter in one of the sockets, it means the Adapter has been detected prop-
erly. If you see a yellow question mark, the resources are conflicting.
• Right-click on My Computer and select Properties. Select the device man-
ager and click the Network Adapter. You will find the Wireless Notebook
Adapter if it is installed successfully. If you see the yellow exclamation mark,
the resources are conflicting. Click PCMCIA card and then click PCMCIA
card service. You will see the status of the Wireless Notebook Adapter. If
there is a yellow question mark, please check the following:
•
Make sure that your notebook has a free IRQ.
•
Make sure that you have inserted the Adapter and installed the prop-
er driver.
If the Wireless Notebook Adapter does not function after attempting the
above steps, remove the Adapter and do the following:
•
Uninstall the driver software from your PC.
•
Restart your PC and repeat the hardware and software installation as
specified in this User Guide.
Common Problems and Solutions
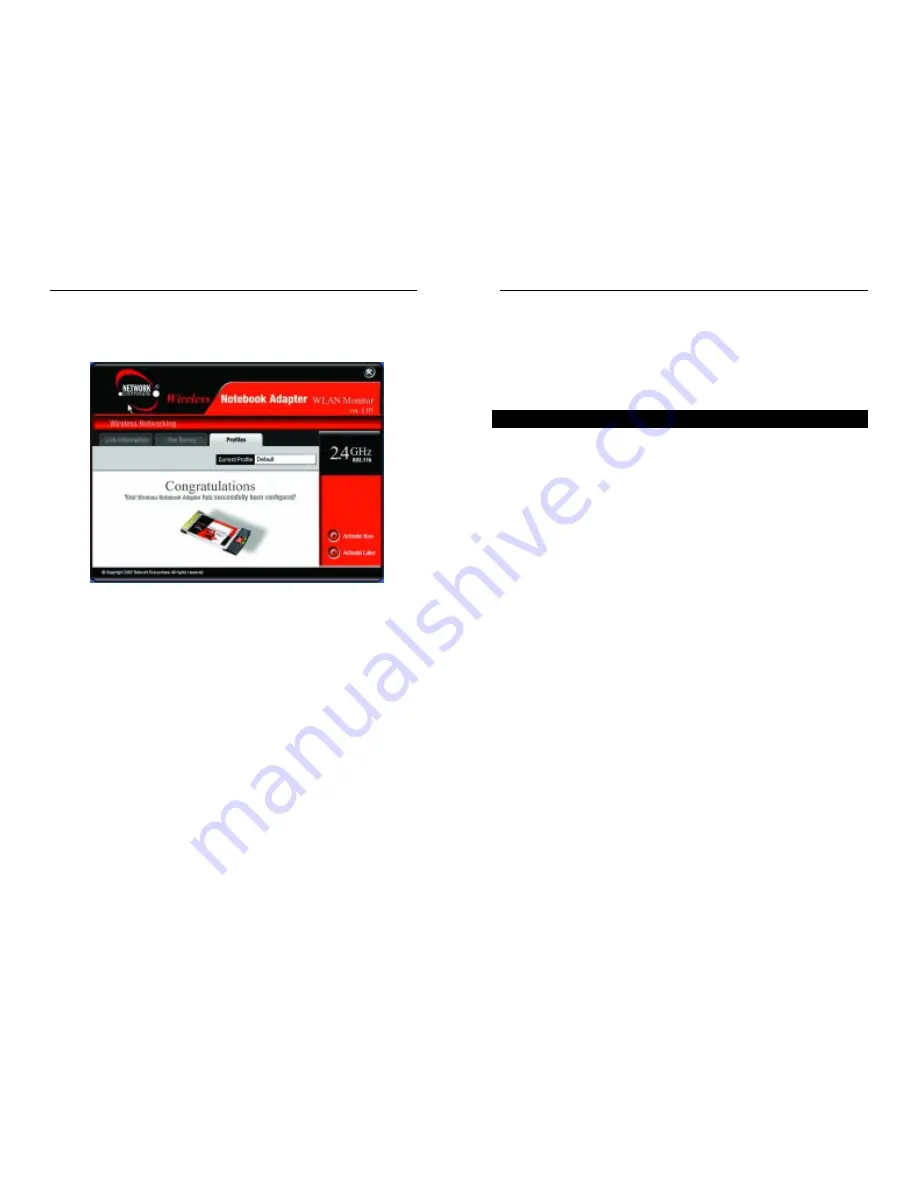
7. The Congratulations screen will appear next. Click Activate new settings
now to implement the new settings immediately and return to the Link
Information screen. Click Activate new settings later to keep the current
settings active and return to the Profiles screen.
You have successfully created a connection profile. Click the X (Close)
button in the upper right corner to exit the WLAN Monitor.
Figure 5-13


