4.
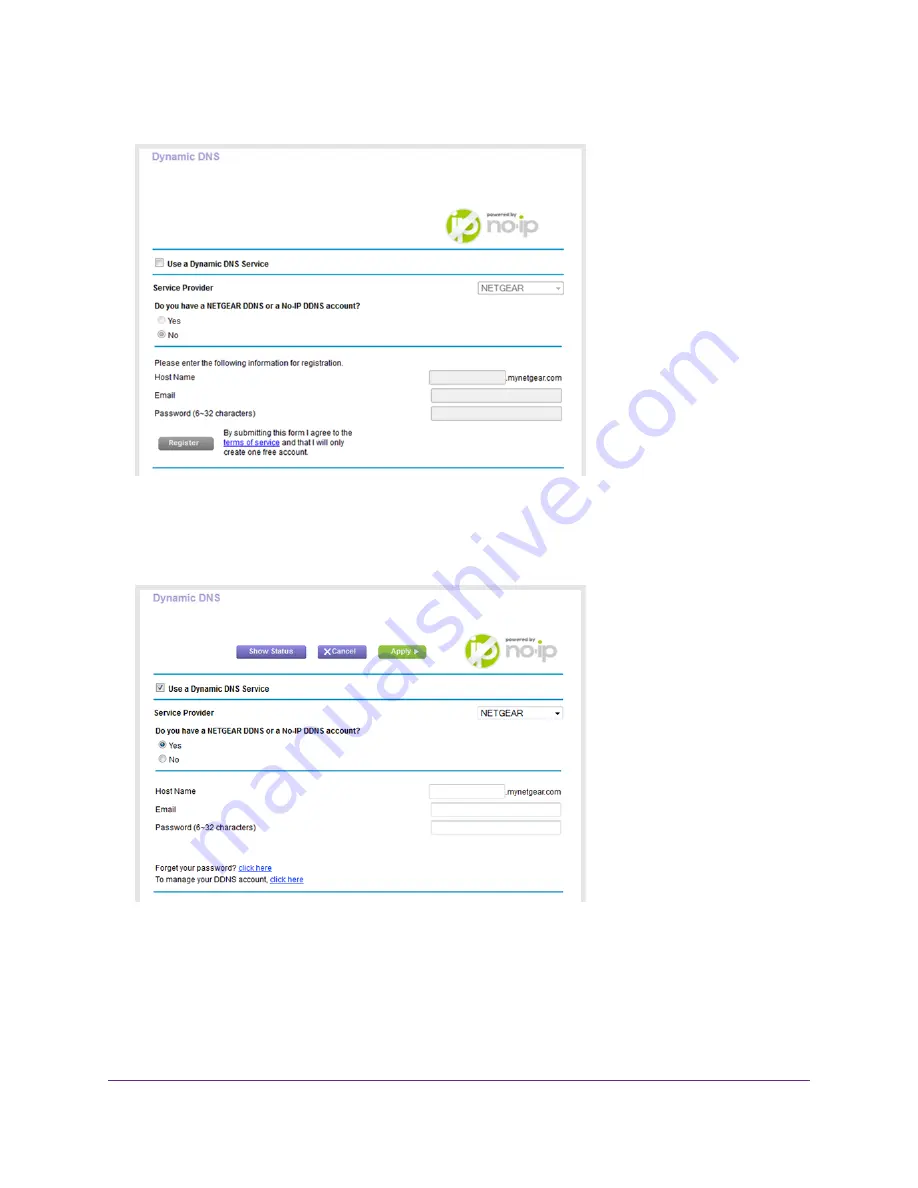
Select ADVANCED > Advanced Settings > Dynamic DNS.
5.
Select the Use a Dynamic DNS Service check box.
6.
From the Service Provider menu, select your provider.
7.
Select the Yes radio button.
8.
In the Host Name field, enter the host name (sometimes called the domain name) for your account.
9.
Depending on the type of account, specify your user name or email address:
•
For a No-IP or Dyn account, in the User Name field, enter the user name for your account.
•
For a NETGEAR account, in the Email field, enter the email address for your account.
10.
In the Password (6~32 characters) field, enter the password for your DDNS account.
11.
Click the Apply button.
Manage Dynamic DNS and Access Storage Devices Through the Internet
95
Nighthawk AC1900 Smart WiFi Router Model R6900P


