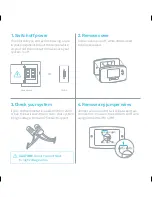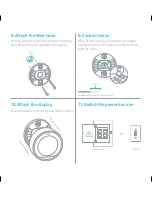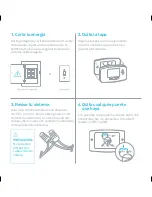
Remember, the power to your
HVAC system must be off to avoid
blowing a fuse in your equipment.
6. Disconnect wires and
remove base
After removing the
base, we recommend
gently wrapping the
wires around a pen or
pencil to ensure they
don’t fall back into
the hole in the wall.
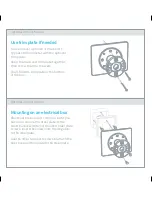
7. Mark where screws will go
Use the bubble level to make sure the
Nest Thermostat is level.
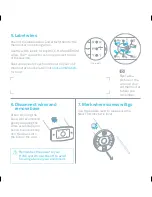
5. Label wires
Peel off the labels below and attach them to the
thermostat’s matching wires.
Use the white labels for any W3, E, HUM or DEHUM
wires. The
*
connector can only connect to one
of these wires.
See two names for each connector on your old
thermostat’s backplate? Visit
nest.com/2labels
for help.
Two labels
Tip: Take a
picture of the
wires on your
old thermostat
to help you
remember.
Summary of Contents for Learning Thermostat D3
Page 1: ...Learning Thermostat Installation Guide ...
Page 12: ......
Page 13: ...064 00011 ES A Learning Thermostat Guía de instalación ...


