I
S100 Quick Set-Up Guide
07/07|V1.0 890-377
2007-2010© Ness Security Products. All rights reserved.
10
IS100 – System Set-Up
Once IS100 is launched, a “Module
Selection” menu appears.
For initial IS100 set-up, perform system
configuration in sequence in order of the
menu: i.e.
1.
Hardware Manager
2.
Time Schedules
3.
Access Levels
4.
Personnel Manager
IS100 consists of seven major modules arranged in tabs. Click on the tab to go the appropriate
module. The current or active tab will be highlighted blue.
1. Hardware Manager
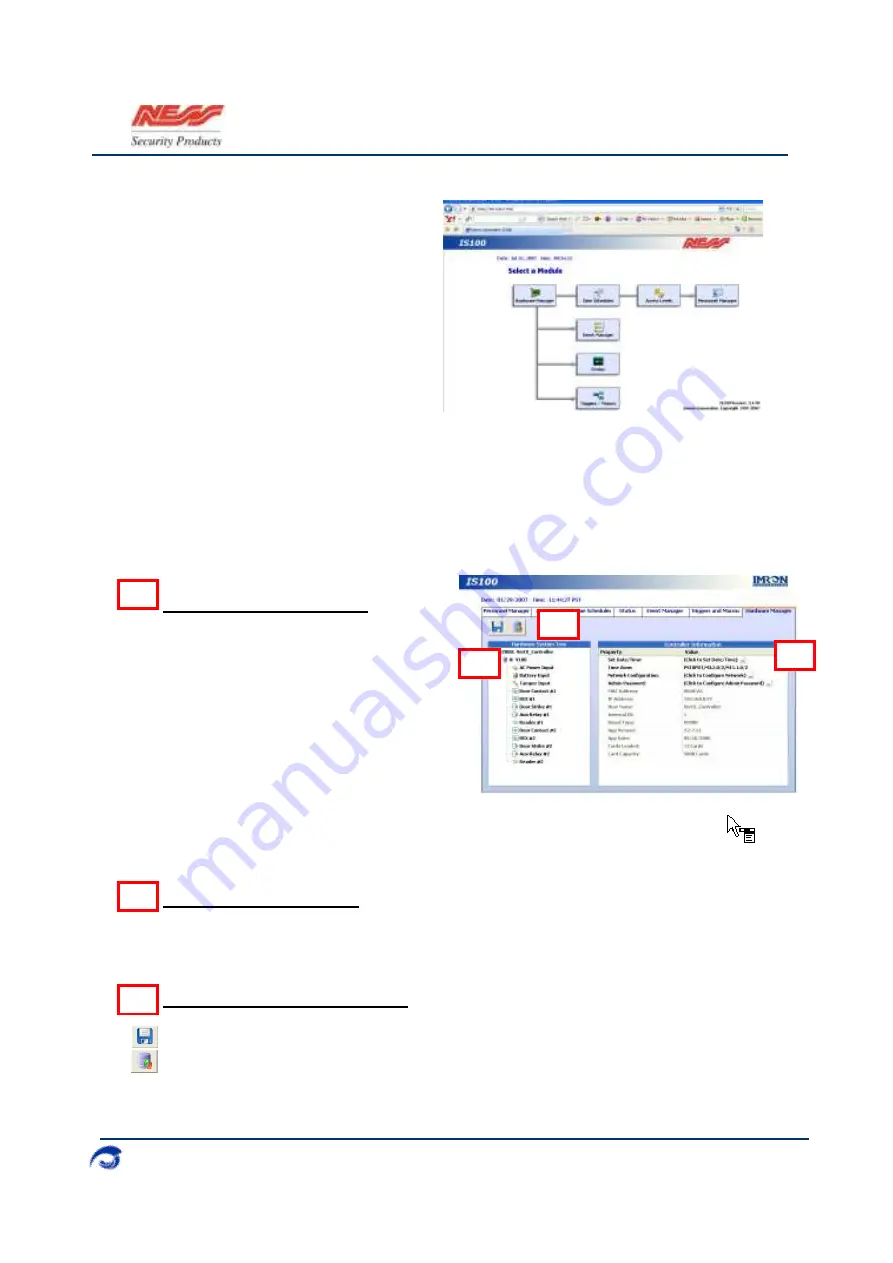
The Hardware Manager is used for initialization and configuration of all hardware and devices on
the system. Define properties for inputs, relays, and readers. Auto-scan and automatically
configure connected sub-controllers on the communication bus cable/wire.
Hardware System Tree
The Hardware System Tree displays all the
hardware in a hierarchy.
Controllers
(V1000/V2000)
Sub-controllers
(V100/V200/V300
)
Inputs, Outputs/Relays, and Readers
•
Click on a specific hardware or device from
the Hardware System Tree to display the
corresponding properties on the Hardware
Information window to the right.
•
While on the Hardware System Tree window, the cursor changes to indicating that
additional commands are available on a right mouse-click. Commands are available
for controllers, sub-controllers, control points (door strikes and relays) and readers.
Hardware Information
The Hardware Information displays the properties and values for the selected hardware or device
from the Hardware System Tree. The Hardware Information displays Controller Information, Sub-
Controller Information and Sub-Controller Device Information.
Hardware Manager Toolbar
Save any modifications, changes, and edits made in the Hardware Manager.
Backup Data or Restore Data to/from a specified file.
A
B
C
A
B
C


