10
1.3.
Menu Button
1.3.1.
Press “Menu” button shortly at power On condition and it enters into the Setting mode.
1.3.2.
Press and hold “Menu” button for two seconds at power On condition and it enters into the
quick menu.
1.3.3.
Press “Menu” button shortly at the Menu and it comes out from the Menu (Exit).
1.4.
Select Button
1.4.1.
Press “Select” button shortly at power On condition and it enters into Radar quick menu.
1.4.2.
Press “Select” button shortly at the Menu and it is operated as ‘Select’ function.
1.4.3.
Press and hold “Select” button for two seconds at power On condition and Manual recording
will be started. It records before 10 seconds ~ after 50 seconds.
1.4.4.
Press and hold “Select” button for two seconds at power On (= power cable is not connected)
and the current screen will be captured. This captured screen will be stored at the “Event” folder
of SD card and the image resolution is 1920*1080 pixels.
1.5.
RESET Button
X-COP 9000 uses a battery so that there may be a case of system down unexpectedly.
In this case, you can Re-booting by pressing the RESET button.
2.
Power On and Off.
2.1.
X-COP 9000 will power On when user starts car engine or presses the power button for two seconds
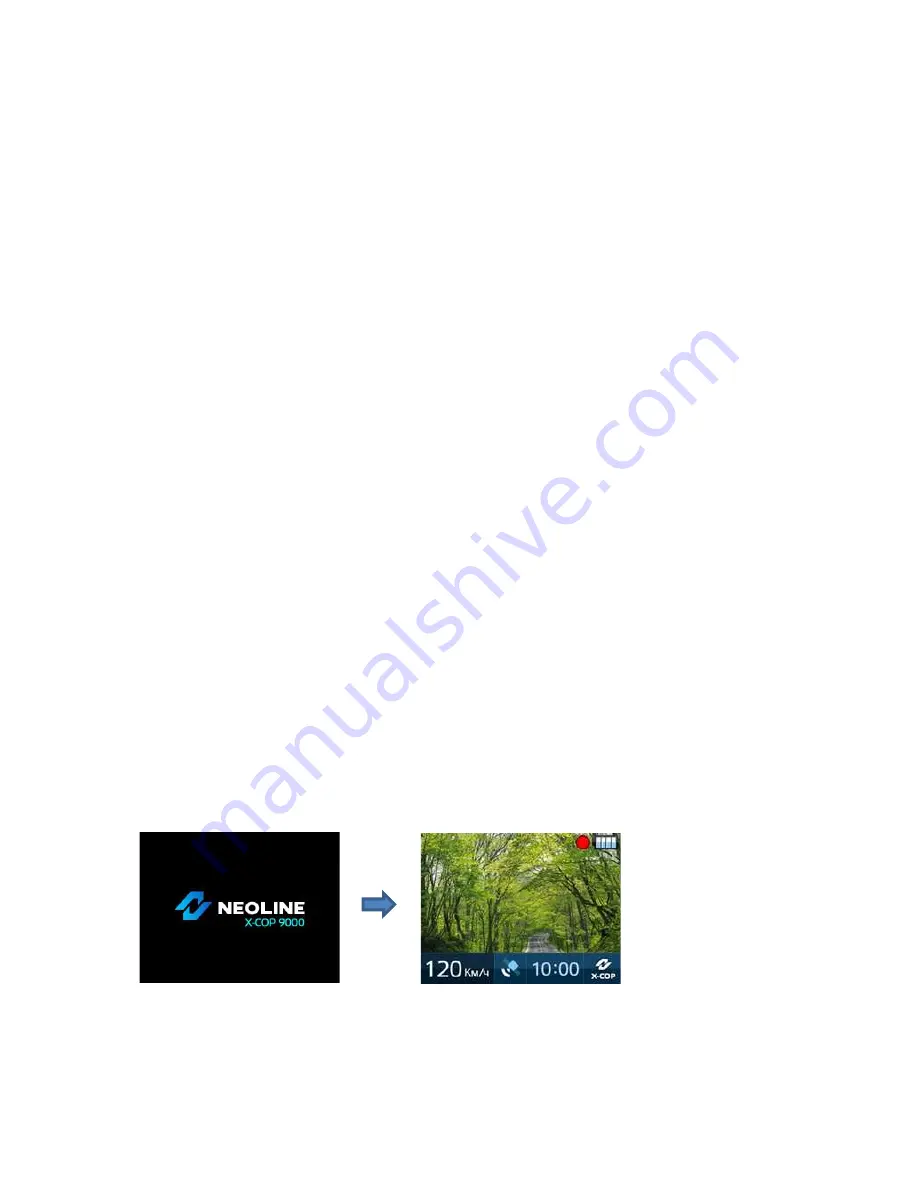
and will show the following start-up image and then become a normal screen as follows.
(LOGO display) (Normal screen)


