


13
The stroke end position setting process has already been programmed into the machine’s
internal memory during production testing.
Determining the stroke end position is a simple operation, carried out during initial
installation of the door/window to set the control parameters and define the exact position
of the two stroke ends that will be utilised during normal use.
At this stage, the machine has no stroke end position parameter programmed, and so the
setting and
R
ESET
procedure consists of the following steps, performed in succession.
IMPORTANT
:
Where two or more machines are connected in a Syncro³ system,
the recognition of the group is completely automatic and occurs in the first
manoeuvre when programming the stroke end positions.
Programming:
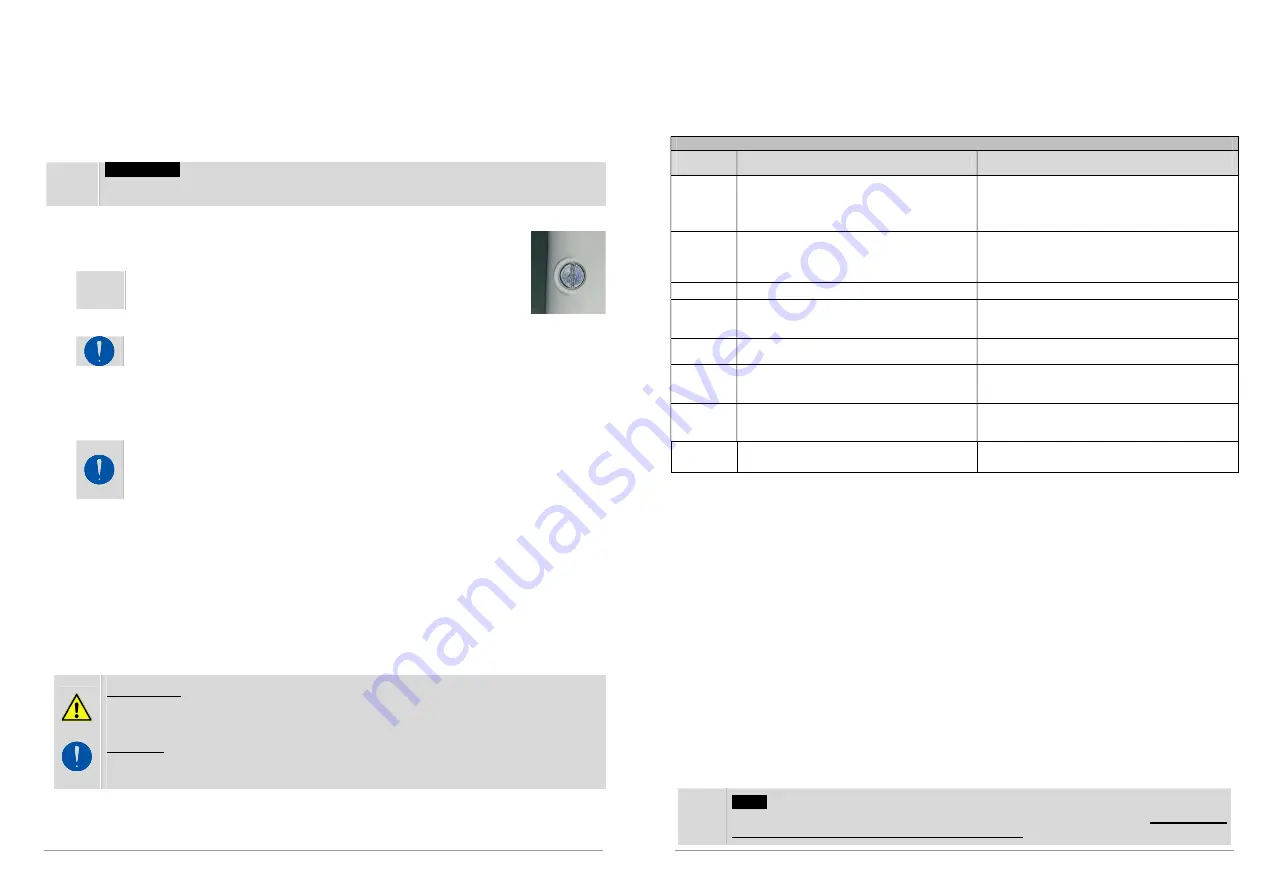
1. Remove the magnet from a gearmotor by loosening the screw on top of it
(see picture at the side)
: extract it completely. Be careful not to misplace it.
NOTE: with several gearmotors in a Syncro³ system, this motor
will be the one that always starts first when opening;
2. Supply power to move the door/sash.
C
AUTION
:
when a K-LOCK lock is fitted, you must wait about 4 seconds for it to
switch to
O
PEN
position;
3. The door/sash (or doors/sashes) move automatically to the
O
PEN
stroke end position
and then (automatically) to the
C
LOSE
stroke end position. At this stage, the door/sash
rests against the mechanical stops on the frame, thereby setting the natural stroke
end position;
B
E CAREFUL OF DIRECTION ERRORS
: if the machines start to move in the C
LOSE
direction, shut off the power, wait a few seconds (~ 5 s), then supply power with a
command in the opposite direction and check that the doors/sashes move in the
O
PEN
direction.
4. At the end of the procedure you can check the flashing of the LEDs and thus the
identifier acquired by each machine, as well as faults detected during the setting
process
(see the "L
ED DIAGNOSTICS DURING OPERATION
" section);
5. Refit the screw with the magnet and screw it into its housing;
6. End of the procedure. In the event of errors in the previous steps, repeat the
procedure.
This procedure is carried out the first time the device performs a complete stroke or
following a RESET operation and it
is stored as an operating parameter
.
IMPORTANT
.
If a K-Lock electromechanical lock is connected at a later moment, i.e.
after acquisition of the stroke end positions, a new setting procedure must be carried
out.
CAUTION. In the event that, for whatever reason, the gearmotor has not closed the
door/sash correctly, stopping before completing its stroke, the setting procedure must
be repeated.
14
11.2. Troubleshooting
In the event of a malfunction, never open the unit or try to repair it. If the problem
encountered in your machine is not described in the table below, contact your retailer or
the manufacturer directly.
The following LED signals indicate possible machine operation errors.
LED DIAGNOSTICS DURING OPERATION
Number of
Flashes
Type of error
Possible solution
1
Overload error:
the actuator has detected an overcurrent in the
motor
Make sure there are no obstructions preventing
completion of the stroke. Check also that the
actuator is correctly installed: there should be no stiff
points during the movement of the door/sash.
2
Communication error:
communication between devices is interrupted
or the devices being used have been RESET
separately
Check the condition of the connection cables and
repeat the RESET procedure
3
Electric lock error
Check the electric lock
4
RESET procedure error:
the RESET procedure has not been successful
or was interrupted
Repeat the RESET procedure
5
Encoder error:
the internal encoder has had a counting error
Repeat the RESET procedure
6
Power supply error:
the supply voltage is outside the permissible
range or is unstable
Check the supply voltage
7
Memory error:
the internal memory writing process has not
been successful
Repeat the RESET procedure
8
The RESET procedure is active
The procedure ends correctly if the LED remains lit
throughout the travel acquisition manoeuvre
12. CHECKING CORRECT INSTALLATION
After completing the installation, it is always necessary to check that the work has been done
professionally, with no completion tasks left pending, and that the equipment is working properly.
Therefore, ensure that:
After a closing command, the door/sash is perfectly closed, also in the corners, and that there
are no hindrances due to an inaccurate mounting position.
When the door/sash is closed, the seals are properly compressed. Otherwise, there is no
certainty of a perfect closure.
The rack and support staff are firmly united to the frame and the screws are properly tightened.
Where the K-LOCK electric lock is also installed, check that the lock is activated at the close
stroke end position, with a closing time of around 4 seconds.
Any casing covering the mechanisms is fitted so that it does not hinder the proper opening /
closing operation of the door/sash.
The power cables of the gearmotor and any locks are secured and protected in order to
prevent dangling or interference with moving parts.
13. EMERGENCY AND MAINTENANCE MANOEUVRES – Release device
NOTE
The FLIK gearmotor can be equipped with a
release device
for the drive
mechanism; as this is an accessory mechanism, if it is not installed,
it should be
requested from the manufacturer when ordering
.