background image

Home Connect

 en

9

¡

In networked standby mode, the appliance requires

a maximum of 2 W.

¡

If you need your device's MAC address to connect

to your home network, you can find this next to the

rating plate. → 

Page 14

8.1 Setting up Home Connect

Requirements

¡

The appliance is connected to the power supply and

is switched on.

¡

You have a mobile device with a current version of

the iOS or Android operating system, e.g. a smart-

phone.

¡

The mobile device and the appliance are within

range of your home network's WiFi signal.
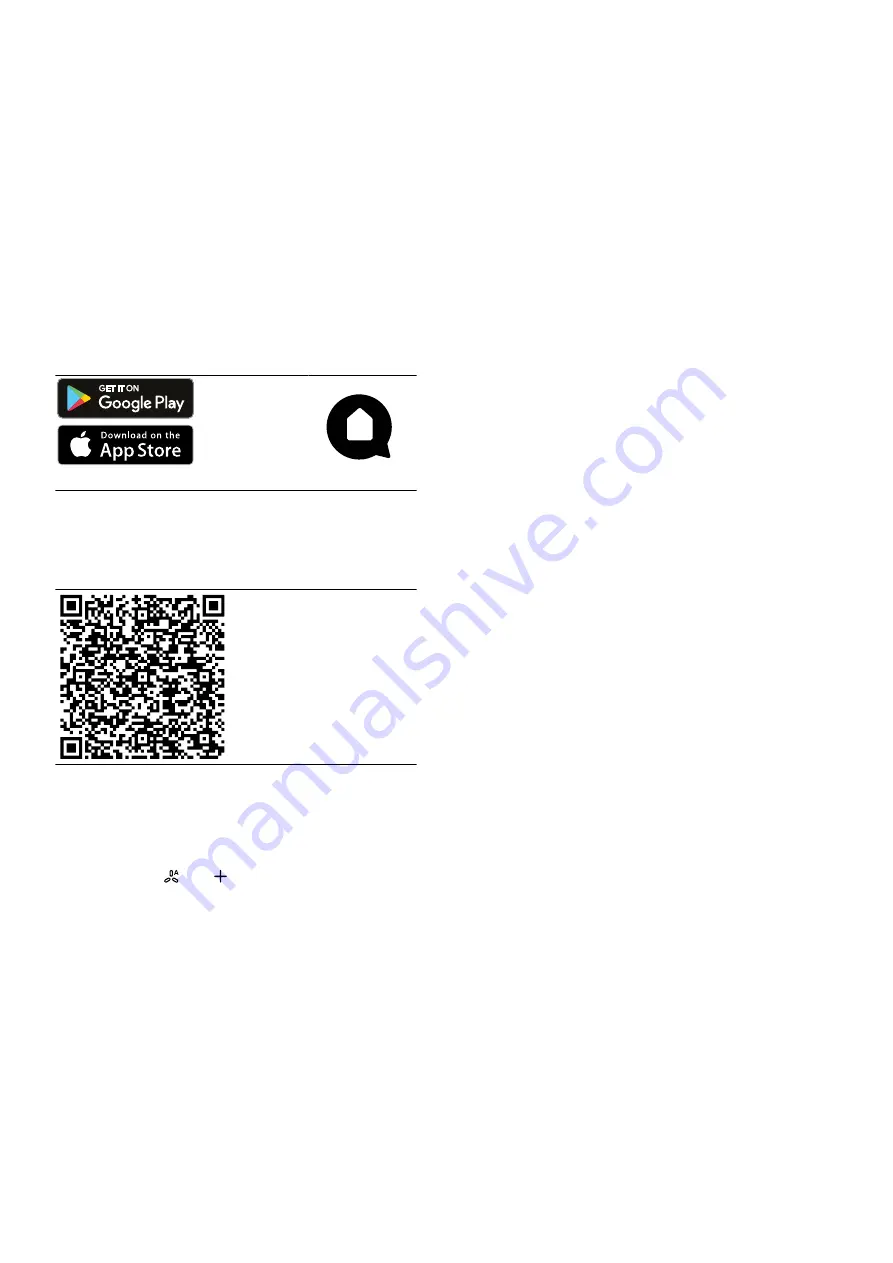
1.

Download the Home Connect app.

1

1

Apple App Store und the Apple App Store logo are

trademarks of Apple Inc. Google Play and the

Google Play logo are trademarks of Google LLC.

2.

Open the Home Connect app and scan the follow-

ing QR code.

3.

Follow the instructions in the Home Connect app.

8.2 Resetting the connection

Saved connections to the home network and to

Home Connect can be reset.

Press and hold  ⁠ and  ⁠ until LED 7 goes out in the

LED display.

a

An audible signal sounds.

8.3 Software update

Your appliance's software can be updated using the

software update function, e.g. for the purposes of op-

timisation, troubleshooting or security updates.

To do this, you must be a registered Home Con-

nect user, have installed the app on your mobile device

and be connected to the Home Connect server.

As soon as a software update is available, you will be

informed via the Home Connect app and will be able to

start the software update via the app. Once the update

has been successfully downloaded, you can start in-

stalling it via the Home Connect app if you are in your

home network (Wi-Fi). The Home Connect app informs

you once installation is successful.

Notes

¡

The software update consists of two steps.

The first step is the download.

The second step is the installation on your appli-

ance.

¡

You can continue to use your appliance as normal

while updates are downloading. Depending on your

personal settings in the app, software updates can

also be set to download automatically.

¡

Installation takes a few minutes. You cannot use

your appliance during installation.

¡

We recommend that you install security updates as

soon as possible.

8.4 Remote diagnostics

Customer Service can use Remote Diagnostics to ac-

cess your appliance if you contact them, have your ap-

pliance connected to the Home Connect server and if

Remote Diagnostics is available in the country in which

you are using the appliance.

Tip: 

For further information and details about the avail-

ability of Remote Diagnostics in your country, please

visit the service/support section of your local website:

www.home-connect.com.

8.5 Data protection

Please see the information on data protection.

The first time your appliance is registered on a home

network connected to the Internet, your appliance will

transmit the following types of data to the

Home Connect server (initial registration):

¡

Unique appliance identification (consisting of appli-

ance codes as well as the MAC address of the Wi-Fi

communication module installed).

¡

Security certificate of the Wi-Fi communication mod-

ule (to ensure a secure data connection).

¡

The current software and hardware version of your

appliance.

¡

Status of any previous reset to factory settings.

This initial registration prepares the Home Connect

functions for use and is only required when you want to

use the Home Connect functions for the first time.

Note: 

Please note that the Home Connect functions

can only be utilised with the Home Connect app. In-

formation on data protection can be retrieved in the

Home Connect app.

Summary of Contents for I14RBQ8W0/01

Page 1: ...Ceiling mounted ventilation system User manual and installation instructions I14RBQ8W0...

Page 2: ...o an altitude of max 2000 m above sea level Do not use the appliance With an external timer 1 3 Restriction on user group This appliance may be used by children aged 8 or over and by people who have r...

Page 3: ...embly are dangerous and may lead to mal functions Do not make any changes to the electrical or mechanical assembly The filter cover may swing out Open the filter cover slowly Take hold of the filter c...

Page 4: ...all Customer Service Customer Service Page 14 WARNING Risk of electric shock Penetrating moisture may cause an electric shock Do not use wet sponge cloths 2 Preventing material damage 2 1 Avoiding mat...

Page 5: ...if it is no longer required When the lighting is switched off it does not con sume any energy Clean or replace the filters at regular intervals The effectiveness of the filter is retained Put the cook...

Page 6: ...r saturation indicator 3 Fan setting 3 4 Intensive mode 1 5 Intensive mode 2 6 Automatic mode 1 fan run on time interval vent ilation 7 Home Connect 8 Infrared receiver 1 Depending on the appliance sp...

Page 7: ...dours Depending on the setting of the sensor sensit ivity the optimum fan setting is automatically switched on If the sensor control reacts too weakly or too strongly you can change the setting for th...

Page 8: ...up in the LED dis play To cancel the setting press 3 To save the setting press and hold and for ap prox three seconds Or wait approx 10 seconds until the setting is saved automatically a A signal tone...

Page 9: ...ul Notes The software update consists of two steps The first step is the download The second step is the installation on your appli ance You can continue to use your appliance as normal while updates...

Page 10: ...the appliance as specified This will ensure that the different parts and surfaces of the appliance are not damaged by incorrect cleaning or unsuitable clean ing products WARNING Risk of explosion Hig...

Page 11: ...f grease removal We recommend cleaning the grease filters every two months WARNING Risk of fire Fatty deposits in the grease filters may catch fire Clean the grease filters regularly Requirement The g...

Page 12: ...been removed 1 Open the odour filter cartridge 2 Remove the odour filter 3 Remove the new odour filter from the packaging 4 Insert the odour filter Insert the odour filter in the correct direction 5 C...

Page 13: ...1 Different causes are possible Call the after sales service Customer Service Page 14 Defective LED lights may be replaced by the manufacturer their customer service or a qualified technician electric...

Page 14: ...bsite If you contact Customer Service you will require the product number E Nr and the production number FD of your appliance The contact details for Customer Service can be found in the enclosed Cust...

Page 15: ...Connect functionality is in compli ance with relevant statutory requirements 1 A detailed Declaration of Conformity can be found on line at www neff home com uk among the additional documents on the p...

Page 16: ...rease deposits in the grease filter may catch fire The specified safety clearances must be complied with in order to prevent a build up of heat Observe the specifications for your cooking appliances I...

Page 17: ...nplug the power cord or switch off the fuse in the fuse box Call customer services Page 14 Incorrect repairs are dangerous Repairs to the appliance should only be carried out by trained specialist sta...

Page 18: ...ricity provider 16 7 Information on the installation situation Install this appliance on the kitchen ceiling or a stable suspended ceiling To install additional special accessory parts ob serve the en...

Page 19: ...he guide sleeves 5 Move the appliance and lower it further so that the collar nuts are positioned on the edge of the guide sleeves 6 Carefully tighten the diagonally opposite collar nuts until the app...

Page 20: ...ion of the appli ance frame and screw them firmly in place 20 4 Remove the new odour filter from the packaging 5 Insert the odour filter into the odour filter cartridge Insert the odour filter in the...

Page 21: ...ves Risk of injury when opening and closing the hinges Keep your hands away from the hinges The appliance is heavy To move the appliance two people are required Use only suitable tools and equipment 1...

Page 22: ...10 Remove the odour filter 11 Loosen the screws on the side covers 20 12 Remove the side covers 13 Close the odour filter cartridge 14 Loosen the cable that is provided on site from the terminal clam...

Page 23: ......

Page 24: ...er te GmbH Carl Wery Stra e 34 81739 M nchen GERMANY 9001521594 9001521594 030302 en Valid within Great Britain Imported to Great Britain by BSH Home Appliances Ltd Grand Union House Old Wolverton Roa...

Reviews: