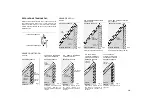
orlo stretto overlook
orlo arrotolato
filo per ago
gancio superiore
gancio inferiore
Poliestere, Nylon,
seta No 50-100
Poliestere, Nylon,
seta 50-100
Nylon No 100
Nylon grosso
(meno estensibile)
con tre fili (con due fili)
con tre fili
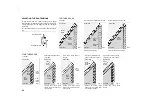
Narrow overlock edge
Rolled edge
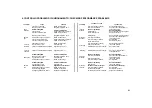
Thread for needle
Upper looper
Lower looper
Polyester, Nylon, Silk No. 50-100
Polyester, Nylon, Silk No. 50-100
Bulk nylon (less stretchable)
Nylon No. 100
Bulk nylon (less stretchable)
with Three
Threads
with Two
Threads
with Three Threads
Narrow hem
Picot stitch
Rolled hem
Nylon grosso
(meno estensibile)
ORLO STRETTO
PUNTO PICOT
ORLO ARROTOLATO
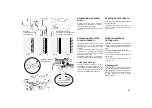
NARROW AND ROLLED HEM, PICOT STITCH
Narrow and rolled edge is ideal for use on thin materials such as georgette crepe, crepe de
chine, silk etc.
Also, picot stitch can be produced particularly when sewing on fine 'scarflike' materials.
In view of the nature of these hems, they are unsuitable for use on 'hard' or 'heavy' materials.
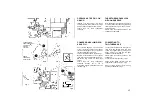
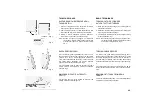
1. Raise the presser foot.
2. Open the front cover and working table.
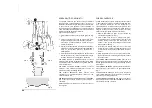
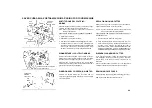
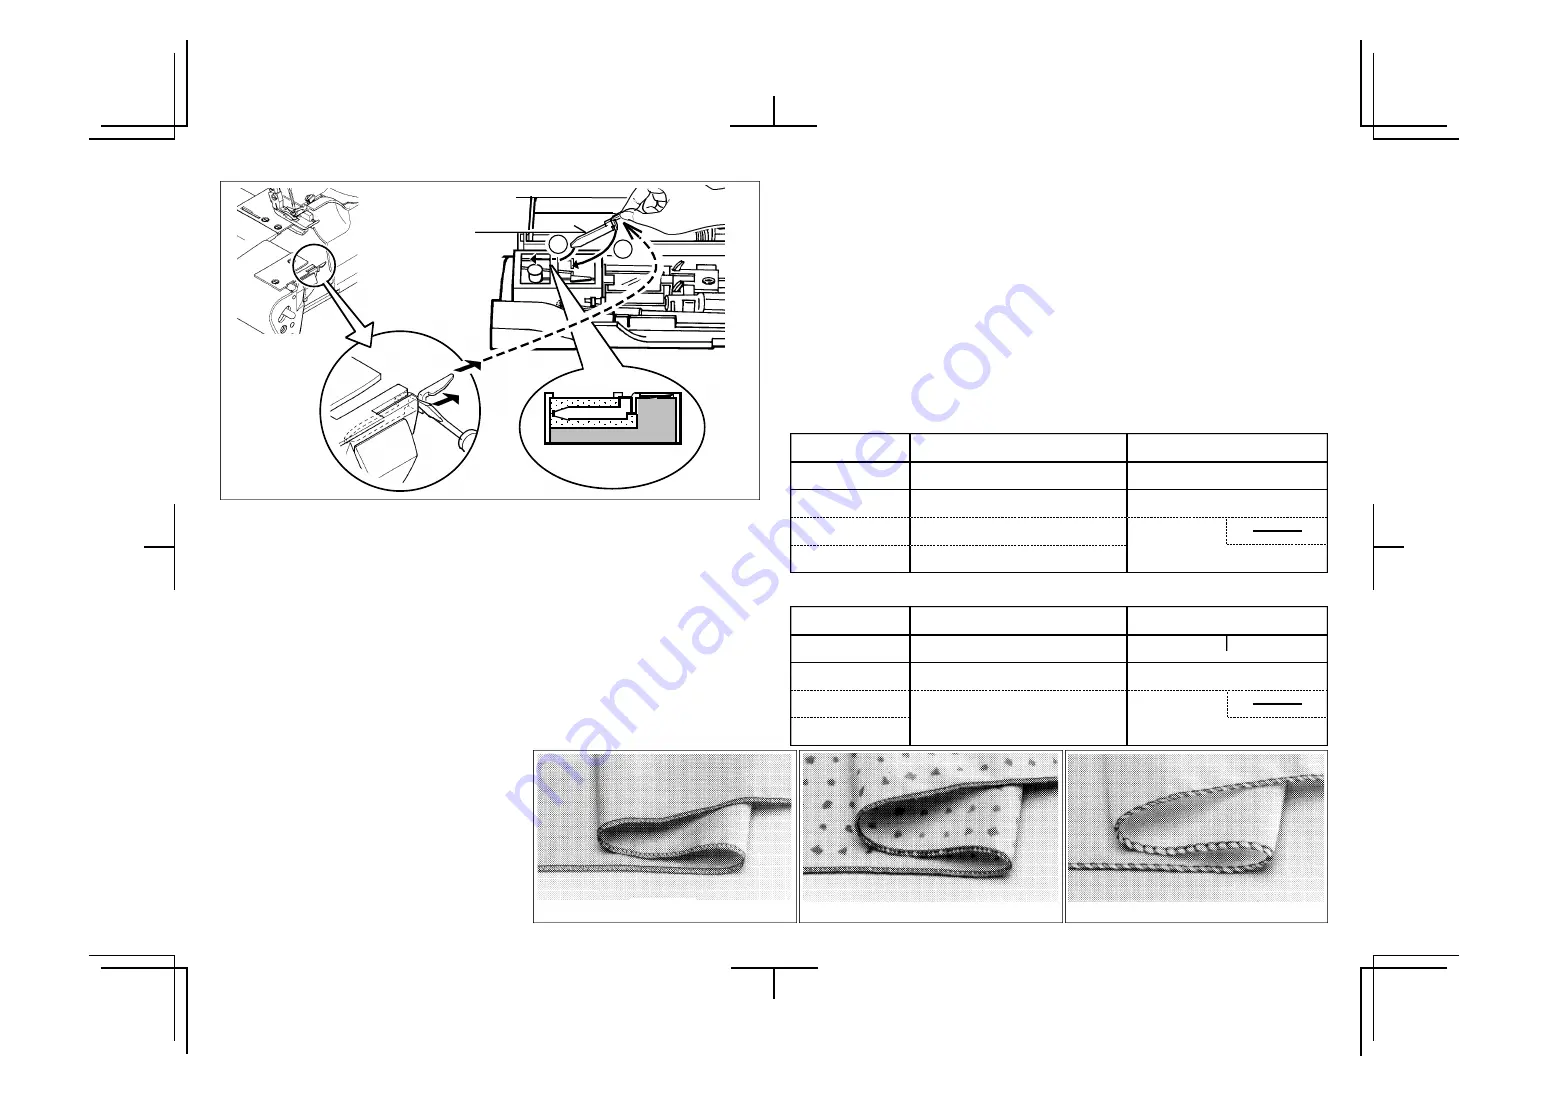
3. Remove the stitch finger from the needle plate by screw driver and keep it in the front
cover as illustrated (Model 087 only) or in the accessory bag.
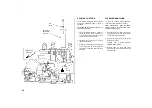
4. Set the machine according to page 15.
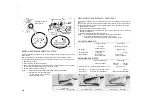
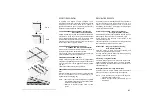
NOTE : 1. Please use following recommended thread for making ideal seams.
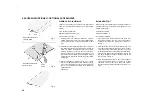
2. After finishing, re-set the stitch finger in
its place. Please ensure inserting it
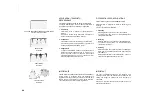
deep as illustrated in Fig 1.
ORLO STRETTO E ARROTOLATO, PUNTO PICOT
L'orlo stretto è ideale per l'uso su materiali leggeri come crepe georgette, crepe de chine,
seta ecc.
Anche il punto picot può essere prodotto particolarmente quando si cuce su materiali fini.
Per la natura di questi orli, essi non sono adatti per essere usati su materiali duri o pesanti.
1. Alzare il piedino pressore.
2. Aprire il coperchio frontale ed il piano di lavoro.
3. Rimuovere la guida del punto dalla placca ago con il cacciavite e tenerlo nel coperchio
frontale come illustrato.
4. Predisporre la macchina in accordo a pagina 15.
NOTA: 1. Usare il filo seguente raccomandato per produrre cuciture ideali.
2. Dopo la fine, riassettare la guida del punto al suo posto.
Assicurarsi di inserirlo in modo profondo come illustrato in figura 1.
FILO RACCOMANDATO
RECOMMENDED THREAD
18
GUIDA DEL PUNTO (A)
1
2
Fig.1
SEZIONE TRASVERSALE
Stitch finger (A)
Cross section
Narrow hem
Summary of Contents for Lock 181
Page 1: ......


