


Getting Started 1-15
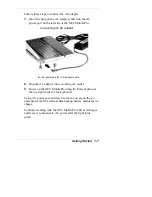
3.
Select “On Connect” to establish that your host PC and
your MobilePro synchronize each time your MobilePro is
reconnected to your host PC. Select Next and choose the
items to synchronize.
4.
Click Finish to complete the installation.
Proceed to the next section to verify the synchronization
settings on the MobilePro.
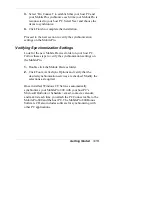
Verifying Synchronization Settings
Look for the new Mobile Devices folder on your host PC.
Follow these steps to verify the synchronization settings on
the MobilePro.
1.
Double click the Mobile Devices folder.
2.
Click Tools, ActiveSync Options and verify that the
desired synchronization services are checked. Modify the
selections as required.
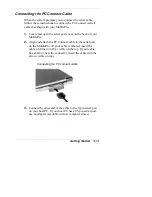
Once installed, Windows CE Services automatically
synchronizes your MobilePro 800 with your host PC's
Microsoft Outlook or S email, contacts, calendar,
and task list each time you attach the PC Connect cable to the
MobilePro 800 and the host PC. The MobilePro 800 Bonus
Software CD also includes software for synchronizing with
other PC applications.


