MD212MCMD213MCMD213MG
INSTALLATION & MAINTENANCE GUIDE
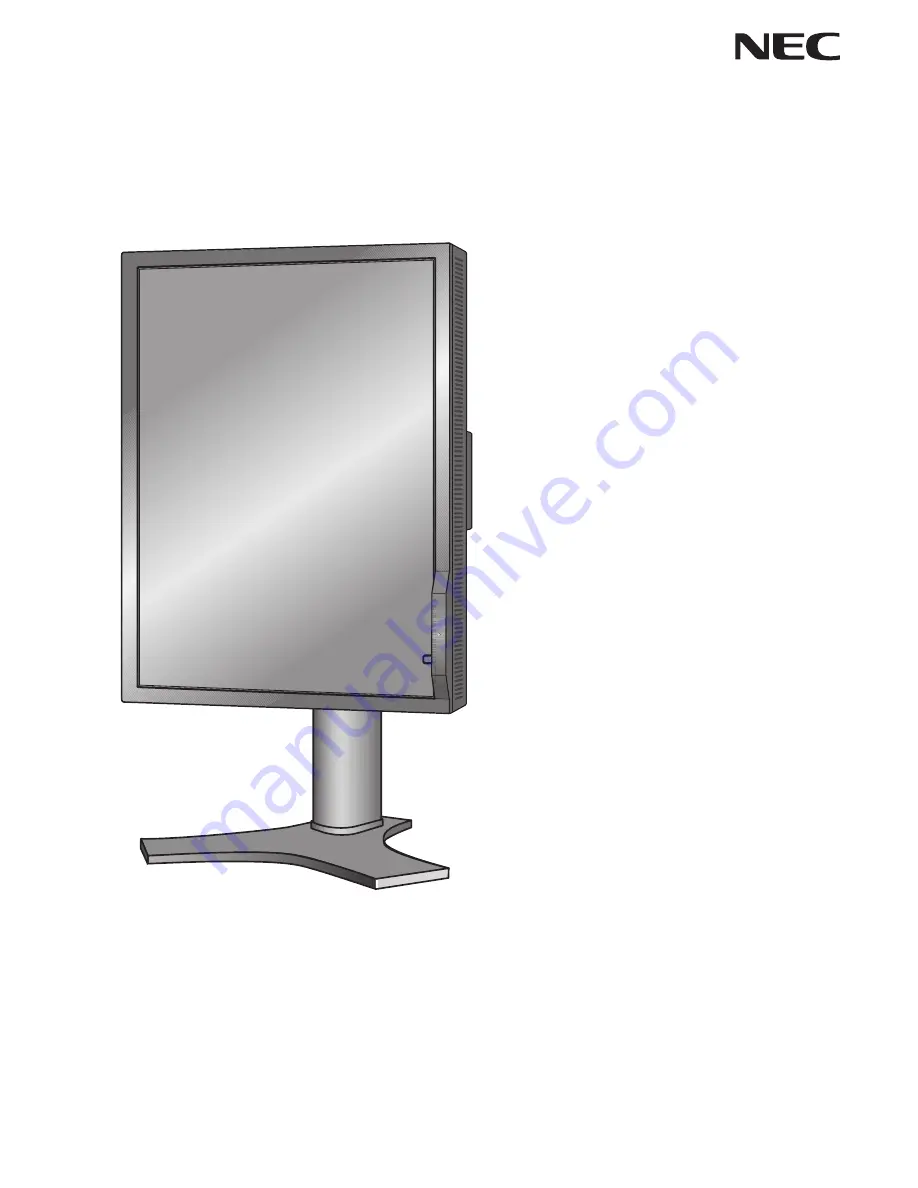
Page 1: ...MD212MC MD213MC MD213MG INSTALLATION MAINTENANCE GUIDE ...
Page 2: ...tions Ltd in Austria Benelux Denmark France Germany Italy Norway Spain Sweden U K All other brands and product names are trademarks or registered trademarks of their respective owners This symbol warns user that uninsulated voltage within the unit may have sufficient magnitude to cause electric shock Therefore it is dangerous to make any kind of contact with any part inside this unit This symbol a...
Page 3: ...patient environment and IEC 60601 1 certified equipment inside the patient environment Equipment connected to the analog or digital interfaces must comply with the respective IEC standards e g IEC 60950 for data processing equipment and IEC 60601 1 for medical equipment This device complies with EN60601 1 2 To minimize the interference from other equipment a minimum 0 5 m distance shall be kept fo...
Page 4: ... a particular installation If this equipment does cause harmful interference to radio or television reception which can be determined by turning the equipment off and on the user is encouraged to try to correct the interference by one or more of the following measures Reorient or relocate the receiving antenna Increase the separation between the equipment and receiver Connect the equipment into an...
Page 5: ...tlet and refer servicing to qualified service personnel under the following conditions When the power supply cord or plug is damaged If liquid has been spilled or objects have fallen into the monitor If the monitor has been exposed to rain or water If the monitor has been dropped or the cabinet damaged If the monitor does not operate normally by following operating instructions Allow adequate vent...
Page 6: ...owered on This feature can be turned on or off in the Advanced OSD In case you find such bright Brand Logo annoying in your reading room environment you may easily switch this off By keeping the EXIT button pressed while this logo is displayed the BOOT LOGO menu will appear It is possible to change the BOOT LOGO setting to OFF Ergonomics To realize the maximum ergonomics benefits we recommend the ...
Page 7: ...e DVI D to DVI D cable 1 Quick Reference Guide CD ROM x 2 Cable Cover Power Cord Type of power cord included will depend on the where the LCD monitor is to be shipped Quick Reference Guide DVI D to DVI D cable Cable Cover CD ROM x 2 Remember to save your original box and packing material to transport or ship the monitor 1 Dual Link cable for MD213MC and MD213MG Quick Reference Guide ...
Page 8: ...t mode Refer to the Screen rotation section in this manual 4 Place hands on each side of the monitor to tilt the LCD panel to a 30 angle and lift up to the highest position Figure C 1 5 Connect all cables to the appropriate connectors Figure C 1 NOTE Incorrect cable connections may result in irregular operation damage display quality components of LCD module and or shorten the module s life 6 To k...
Page 9: ...10 Turn on the monitor with power switch on the top Portrait or left side Landscape of the monitor Figure E 1 Turn on the computer NOTE DO NOT switch on off repeatedly 11 No touch auto adjust automatically adjusts the monitor to optimal settings upon initial setup for most timings For further adjustments use the following OSD controls Auto Contrast Analog input only Auto Adjust Analog input only R...
Page 10: ...of the monitor and lift up to the highest position Figure RL 1 To rotate screen place hands on each side of the monitor screen and turn clockwise from Landscape to Portrait or counter clockwise from Portrait to Landscape Figure R 1 To rotate OSD menu between landscape and portrait refer to Controls section NOTE After screen rotation please execute Self Calibration and Gamma Adjust Figure R 1 Figur...
Page 11: ...h the flexible arm for detailed instructions To fulfill the safety requirements the monitor must be mounted to an arm which guaranties the necessary stability under consideration of the weight of the monitor Remove Monitor Stand 1 Remove the cable cover 2 Disconnect all cables 3 Place hands on each side of the monitor and lift up to the highest position 4 Make sure to rotate the screen 90 counter ...
Page 12: ...utton for at least 3 seconds to display the visual inspection grayscale drawing and check the display performance Enters the OSD Control menu Enters OSD sub menus Changes the input source when not in the OSD Control menu Navigates up or down through the OSD Control menu Navigates to the left or right through the OSD Control menu Access OSD menu Exits the OSD sub menu Exits OSD Control menu Detects...
Page 13: ...SIZE H SIZE Analog input only Adjust the horizontal size by increasing or decreasing this setting If the AUTO Adjust function do not give you a satisfactory picture setting a further tuning can be performed using the V SIZE H SIZE function dot clock For this a Moiré test pattern could be used This function may alter the width of the picture Use Left Right Menu to center the image on the screen If ...
Page 14: ...BLUE BASE Color temperature setting for Blue Base x ray film simulation NOTE To reset a poor image setting turn on the monitor by using the power switch on the top in portrait mode or left side in landscape mode of the monitor while holding RESET and SELECT buttons at the same time Tools SHARPNESS This function is digitally capable of keeping independently for crisp image at any time It is continu...
Page 15: ...reset choices are 10 120 seconds by 5 second increments OSD LOCK OUT This control completely locks out access to all OSD control functions When attempting to activate OSD controls while in the Lock Out mode a screen will appear indicating the OSD controls are locked out There are three types of OSD LOCK OUT OSD LOCK OUT with no control To activate the OSD Lock Out function press SELECT then the Ri...
Page 16: ...olution other than the optimized resolution is used After power is turned on or when there is a change of input signal or the video signal doesn t have proper resolution the Resolution Notifier window will open This function can be disabled in the MENU Tools OSD OUT OF RANGE This function gives a recommendation of the optimized resolution and refresh rate After the power is turned on or there is a...
Page 17: ...the blue component of the image Press Left or Right to adjust Analog input only R FINE Adjusts the FINE setting of the RED component of the image Analog input only Press Left or Right to adjust G FINE Adjusts the FINE setting of the GREEN component of the image Analog input only Press Left or Right to adjust B FINE Adjusts the FINE setting of the BLUE component of the image Analog input only Press...
Page 18: ...ot clock For this a Moiré test pattern could be used This function may alter the width of the picture Use left Right Menu to center the image on the screen If the V Size H Size is wrongly calibrated the result would look like the left drawing The image should be homogeneous Fine Improve focus clarity and image stability by increasing or decreasing this setting Analog input only If the Auto Adjust ...
Page 19: ...sted when CUSTOM is selected PRIORITY only for MD212MC MD213MC Sets gamma characteristics for optimum viewing of contrast or color GRAYSCALE Optimizes gamma for contrast COLOR Optimizes gamma for color images PROGRAMMABLE The brightness of grayscale can be changed by using the GammaCompMD Software Gamma The way brightness is distributed across the intensity spectrum by a monitor Gamma is relations...
Page 20: ...input signal is lost STANDARD Monitor enters power save mode automatically when the input signal is lost Response Improve Turns the RESPONSE IMPROVE function on or off Response Improve may reduce blurring that occurs in some moving images When Response Improve is on response time is improved Side Border Color Adjusts the side black bars color between black and white For wide aspect monitors MD212M...
Page 21: ... in the corner of the screen Signal information is either On Off Resolution Notifier The optimal resolution is 1200 x 1600 in portrait mode or 1600 x 1200 in landscape mode for MD212MC and 1536 x 2048 in portrait mode or 2048 x 1536 in landscape mode for MD213MC MD213MG If ON is selected a message will appear on the screen after 30 seconds notifying you that the resolution is not set to 1200 x 160...
Page 22: ...rker than normal or have color distortion Use of the Clamp position control will adjust images to their normal state TagA CALIBRATION Selects the Calibration mode page 21 SELF TEST MODE Displays an all white screen Used for copy calibration FAN CONTROL Cooling fans are implemented to reduce the internal temperature of the display AUTO Temperature controlled fan operation ON Permanent fan operation...
Page 23: ...contamination DO NOT press the calibrator against the display panel KEY MAP UP DOWN Changes from setting to setting LEFT RIGHT Changes the setting selection ie SELF or COPY SELECT Moves to the next step of calibration EXIT Moves back one step of calibration Figure 1 NOTE Refer to the Key Map Figure A when changing settings during the calibration Self calibration and Copy calibration can only be pe...
Page 24: ...ay A must display a white screen Enter the Advanced OSD by pressing RESET and EXIT Use LEFT and RIGHT keys to move into Tag A and select SELF TEST MODE 2 Select COPY in the Mode selection in Display B Figure 9 3 Select ON or OFF in the SELF selection If ON selected SELF Calibration execute with COPY Calibration Select the target GAMMA Please select the same target GAMMA as Display A Press SELECT t...
Page 25: ...TUNING MODE 1 1 MD213MG does not have FINE TUNING MODE 10 At the FINE TUNING MODE message Figure 13 press SELECT if the calibration is satisfactory If the calibration is unsatisfactory there are two options A Manually fine tune the white point using the LEFT and RIGHT keys B Restart the automatic copy calibration press SELECT and return to Step 3 11 To end the calibration mode press EXIT Figure 12...
Page 26: ...e 17 3 Select the Color setting in COLOR 2 selection and Gamma setting in GAMMA selection 2 MD213MG does not have COLOR selection 4 Press SELECT to start the DICOM MEASUREMENT This may take several minutes depending on user setting 5 After the DICOM MEASURED RESULT message appears Figure 18 press SELECT To end the calibration mode press EXIT Figure 17 Figure 18 ...
Page 27: ...to 75 Hz NEC DISPLAY SOLUTIONS cites 1440 x 900 1 at 60 Hz to 75 Hz recommended resolution for optimal 1600 x 1200 1 at 60 Hz display performance Active Landscape Horiz 432 mm 17 0 inches Vert 324 mm 12 8 inches Display Area Portrait Horiz 324 mm 12 8 inches Vert 432 mm 17 0 inches Power Supply AC 100 240 V 50 60 Hz Current Rating 1 6 0 7 A For Mexico 2 0A Dimensions Landscape 467 8 mm W x 434 3 5...
Page 28: ... x 1200 1 at 60 Hz Analog 1920 x 1200 1 at 60 Hz Digital NEC DISPLAY SOLUTIONS cites 2048 x 1536 1 at 35 Hz recommended resolution for optimal 2048 x 1536 at 60 Hz Digital display performance Active Landscape Horiz 433 mm 17 0 inches Vert 325 mm 12 8 inches Display Area Portrait Horiz 325 mm 12 8 inches Vert 433 mm 17 0 inches Power Supply AC 100 240 V 50 60 Hz Current Rating 1 2 0 5 A For Mexico ...
Page 29: ... at 75Hz 1280 x 960 1 at 60 Hz 1280 x 1024 1 at 60 Hz to 85 Hz 1600 x 1200 1 at 60 Hz 1920 x 1200 1 at 60 Hz Analog 1920 x 1200 1 at 60 Hz Digital NEC DISPLAY SOLUTIONS cites 2048 x 1536 1 at 35 Hz recommended resolution for optimal 2048 x 1536 at 60 Hz Digital display performance Active Landscape Horiz 433 mm 17 0 inches Vert 325 mm 12 8 inches Display Area Portrait Horiz 325 mm 12 8 inches Vert ...
Page 30: ...adjust the colors on your screen and customise the color accuracy of your monitor to a variety of standards OSD On Screen Display Controls Allow you to quickly and easily adjust all elements of your screen image via simple to use on screen menus ErgoDesign Features Enhanced human ergonomics to improve the working environment protect the health of the user and save money Examples include OSD contro...
Page 31: ...k or shows rough images only Image is displayed only roughly pixels are missing and OSD warning OUT OF RANGE is displayed Either signal clock or resolution is too high Choose one of the supported modes OSD warning OUT OF RANGE is displayed on a blank screen Signal frequency is out of range Choose one of the supported modes Image is unstable unfocused or swimming is apparent Signal cable should be ...
Page 32: ... in Japan or http www necdisplay com in USA Energy Saving This monitor features an advanced energy saving capability When a VESA Display Power Management Signalling DPMS Standard signal is sent to the monitor the Energy Saving mode is activated The monitor enters a single Energy Saving mode Manufacturer s Recycling and Energy Information WEEE Mark European Directive 2002 96 EC Within the European ...