33
5. Using On-Screen Menu
Select the computer Signal format manually.
1. Press the MENU button on remote controller and the OSD displays. Press
button to point to the Input icon,
press
▲ ▼
button or ENTER button and the Input menu displays.
2. Press
▲ ▼
button to select Signal format, then press ENTER button.
NOTE:
• The computer Signal format menu will be disabled once HDMI 1,HDMI 2, USB-A, LAN has been selected.
Video
Select this function to set resolution of input signal is compatible with the PC.
Set video input signal color Signal format or component input signal scanning mode.
1) Press
▲ ▼
button to select [Signal format] menu.
2) Press <ENTER> button.
3) Press
▲ ▼
button to select wanted Signal format.
Computer input signal
1024x768 60HZ, etc:display the compatible name input signal name.
Auto: When projector has no compatible input signal with one from connected PC, the PC can adjust automatically
to run and Auto appear on the Signal format. If the image is not projected out correctly, please adjust it to match
your computer manually.
- - - -: No signal input come from PC. Please check the connections.
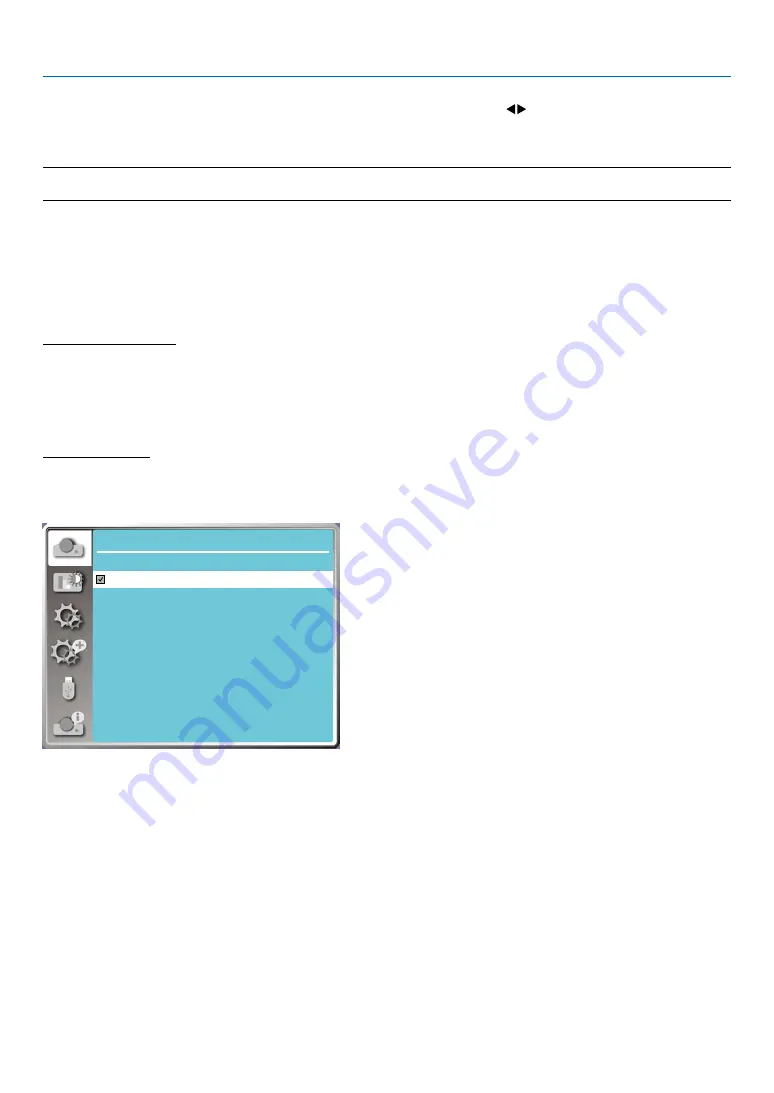
Video input signal
AUTO: When projector select the input signal color Signal format automatically. set [PAL-M] or [PAL-N] manually .
[PAL]/[SECAM]/[NTSC]/[NTSC4.43]/[PAL-M]/[PAL-N]/[PAL60]:When projector can not display images correctly in
[AUTO], please set input signal color Signal format manually.
Display
System
AUTO
PAL
SECAM
NTSC
NTSC4.43
PAL.M
PAL.N
PAL60
• Signal format menu, when Video input.


