4
Drive Installation
!
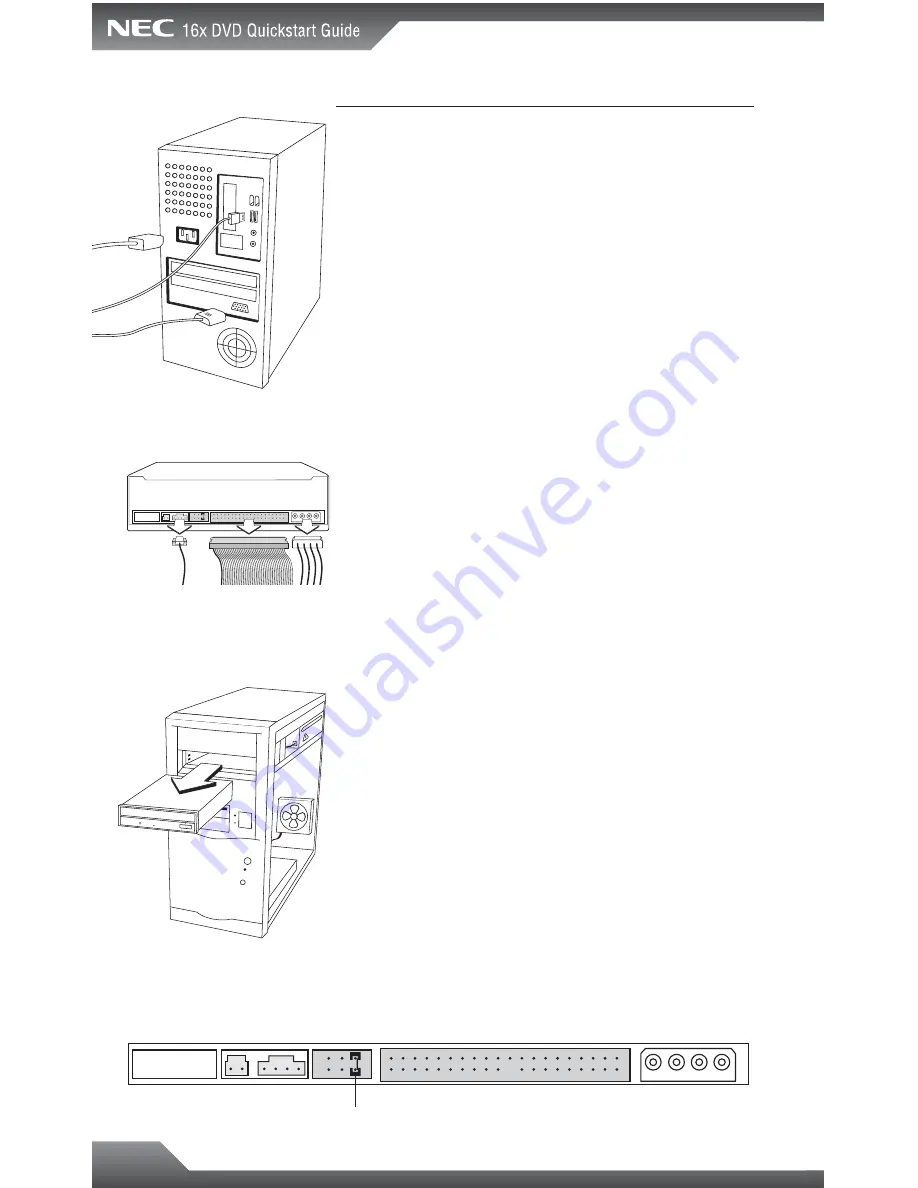
Shut down your computer and disconnect all cables
plugged into the computer. [Fig. 1]
@
Remove the computer’s case (refer to your computer’s
documentation).
#
Once the cover is removed, touch a non-painted metal
surface (i.e. the power supply) to ground yourself.
This is
an important step!
You can damage the components
inside the computer if you do not ground yourself.
$
If you are replacing an existing drive:
Unplug the cables from the rear of the drive. [Fig. 2]
Remove the mounting hardware holding the drive in place
(refer to your computer’s documentation).
Slide the drive out through the front of the computer. [Fig. 3]
%
If you are NOT replacing an existing drive (i.e. adding an
additional drive):
Remove the front cover plate from the empty drive bay
where you are installing the drive (refer to your computer’s
documentation).
^
Check the jumper settings on the NEC DVD drive:
If you are replacing an existing drive, set the jumper to the
same setting as the drive you are replacing. The jumper is
the black plastic piece on the back of your drive bridging
two of the six pins as seen below [Fig 4]. You may need
small needle nose pliers to gently slide the jumper off.
If you are installing the DVD drive as an additional drive,
you will need to set the jumper settings according to your
system requirements (see next page).
Fig. 2
Fig. 1
Fig. 4
jumper
Fig. 3


