background image

Chapter 1:

Product Overview

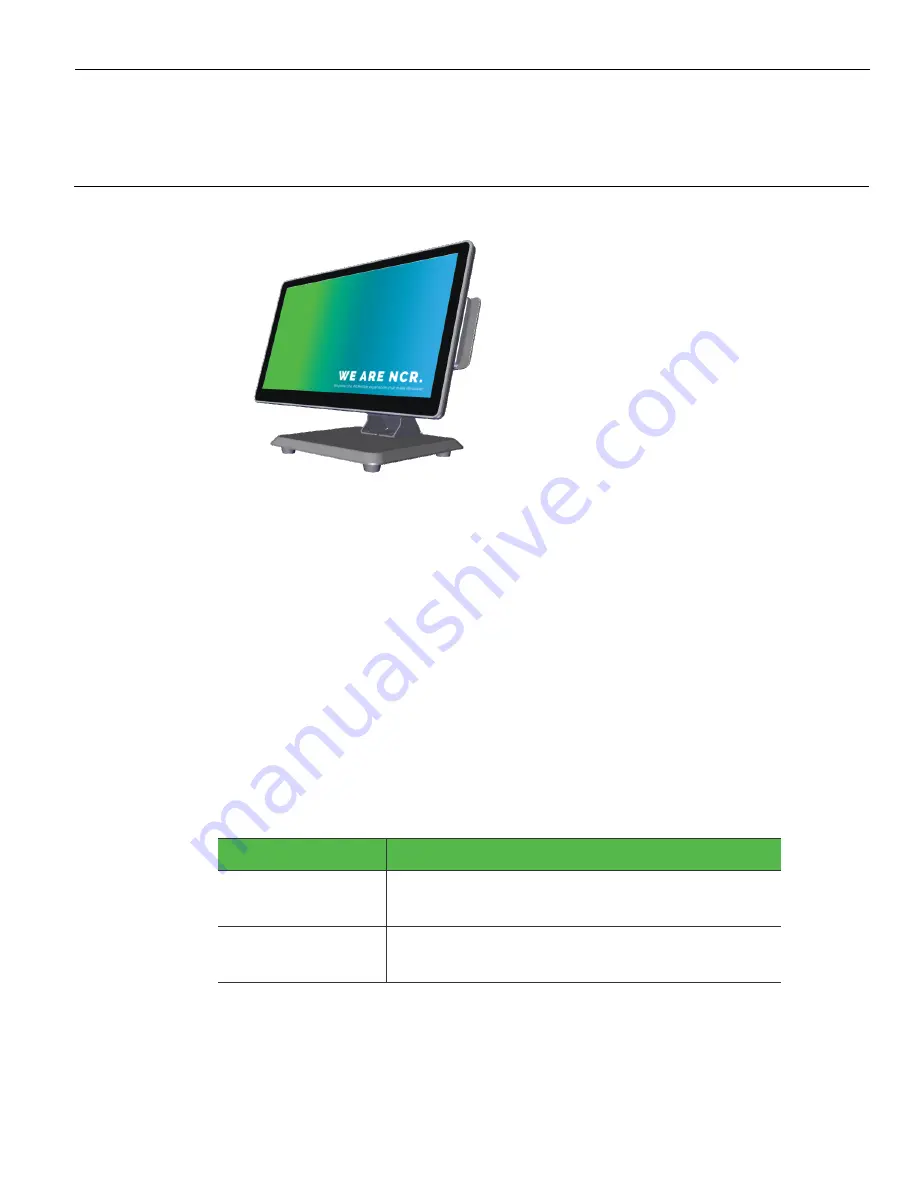
The NCR XL15W (5916) Display offers flexibility and ultra–thin design that will look
great in any retail environment. The XL15W display features bright, high contrast LCD
to make it easy to read. This stylish display is available as a 15.6–inch projected
capacitive (PCAP) touchscreen, or LED backlight non–touch.

The XL15W is compatible with any product that has a display port video and a USB
interface and can be used as an associate display or rear mounted to a terminal or free
standing to display pricing and promotional messages. This is available with an
encrypted magnetic stripe reader (MSR) for enhanced security. Whichever option is
preferred, these displays are sure to enhance the appearance of the wrap stand or
checkout and save valuable counter space.

Base Models

Base Model

Description

5916-1015-9090

XL-Series, 15.6-inch No Touch Display, 16:9, Anti-
Glare, Black

5916-1315-9090

XL-Series, 15.6-inch PCAP Touch Display, 16:9,
Anti-Glare, Black

Summary of Contents for XL15W

Page 1: ...User Guide NCR XL15W 5916 Display BCC5 0000 5310 Issue A...

Page 2: ...of an agreement you have with NCR NCR s copyright notice must be included It is the policy of NCR Corporation NCR to improve products as new technology components software and firmware become availabl...

Page 3: ...em or printer damage Grounding Instructions In the event of a malfunction or breakdown grounding provides a path of least resistance for electric current to reduce the risk of electric shock This prod...

Page 4: ...s Transport the product in its original packaging to prevent impact damages If you do not have access to a computer you may leave a voice message at 1 800 528 8658 USA or International 1 770 623 7400...

Page 5: ...the defective equipment Serial Number of the defective equipment Equipment location in the store Description of the problem including any system error codes error condition or guidance to the area of...

Page 6: ...iv...

Page 7: ...Checkstand Mount 5968 K039 10 Wall Mount 7702 K320 10 Third Party Mounts 11 Quick Release Bracket 5915 K320 11 VESA Bracket Adapter Plate 5915 K330 11 Label Locations 12 Power LED 12 Chapter 2 Hardwar...

Page 8: ...ds 28 Card Thickness 28 Cabinet Cleaning Procedures 29 Chapter 4 NCR Software OSD Utility Supported Features 31 Installing the Utility 32 Running the Utility GUI Version 33 Main Menu 33 Monitors Detec...

Page 9: ...display port video and a USB interface and can be used as an associate display or rear mounted to a terminal or free standing to display pricing and promotional messages This is available with an enc...

Page 10: ...pport Non Touch Displays 15 6 LED Backlight Zero Bezel All Glass Front Anti Glare 85 300 cd m2 typical Wide 16 9 Aspect Ratio 1920x1080 Resolution Display Port Software OSD Support Peripherals MSR NCR...

Page 11: ...9 0018 5916 F107 Argentina Power Cord 1424 C124 0030 Japan Power Cord 3 prong Display Port Cables 1432 C614 0005 0 5 m 19 69 in Display Port Cable Provides a display port cable used for integration wi...

Page 12: ...e with latching 1x8 connector on the display end a USB connector on the terminal end and a barrel connector in the middle for an external power supply Requires both an external power brick and a local...

Page 13: ...connector on the display end and a latching 12V USB Power connector on the terminal end Provides both power and touch communication 1432 C477 0013 5916 F118 1 3m 12V Powered USB Provides a 1 3m 51 18...

Page 14: ...s connection of a display with DisplayPort to a terminal with an HDMI connection Must also order the DisplayPort cable Powered by a USB port on terminal 1432 C791 0000 Adapter passive DVI D to HDMI Al...

Page 15: ...rast Ratio 800 1 Native Resolution FHD 1920x1080 Additional Resolutions Supported Dependent on graphics driver capability no scalar IC User Adjustable OSD Controls Allows for brightness adjustment thr...

Page 16: ...Retail Hardened Integrated Enclosure Mounting Sealed Software OSD Latching Cables IPX3 Certifications TUV UL CU NOM KC CCC Display Area 344 16 H x 193 59 V Operating Temperature 5 to 40 C Operating Hu...

Page 17: ...Product Overview 1 9 Display Mounts XL Series Stand 5916 F033 5915 K033 X Series Table Top Stand 5968 K031...

Page 18: ...1 10 Product Overview Integration Tray Mount 5968 K024 Checkstand Mount 5968 K039 Wall Mount 7702 K320...

Page 19: ...cable access for third party mounts The bracket provides hooks and two mounting points and replaces the standard four mounting points on third party pole arms VESA Bracket Adapter Plate 5915 K330 Ada...

Page 20: ...1 12 Product Overview Label Locations Power LED The Power LED is located on the bottom of the Display Color Description Off System OFF or No Power No Video Signal Green System ON...

Page 21: ...rmit any object to rest on the power cord Do not locate the display where the power cord can be walked on Use a grounding strap or touch a grounded metal object to discharge any static electricity fro...

Page 22: ...g the terminal workplace Avoid direct glaring and reflective glaring light Locate the terminal in a controlled luminance surrounding When installed next to windows position the terminal so it does not...

Page 23: ...and 5968 K031 Integration Tray Mount 5968 K024 Checkstand Mount 5968 K039 Wall Mount 7702 K320 Third Party VESA Mounts This chapter explains how to perform an Out of box installation of the 5916 displ...

Page 24: ...ding to the imprinted routing guide a Connect and route the Audio Cable first Route the cable looping around the cable strain relief posts as shown b Connect the Display Power Cable and route straight...

Page 25: ...ting Bracket tabs into the slots in the rear of the Display and then slowly rotate the stand assembly downward b Rotate the Stand to the orientation shown below 3 Gently push the Stand assembly forwar...

Page 26: ...t then through the Stand and then out the base opening a Route the Audio Cable first to the left slot and make sure it is behind the tab in the slot b Route the Display Port Cable to the left slot and...

Page 27: ...urved neck opening and then out the base opening Align the Audio Cable and Display Port Cable to the left side and the 12V USB Cable to the right side e Pull cables such that most of the cables have b...

Page 28: ...host terminal cable connections The required cables vary depending on the available video connectors on the host terminal Display Port Cable The Display Port Cable provides video to the display Connec...

Page 29: ...rt available but does have an available standard USB port 1 Connect the External Power Cable to the display Power connector 2 Connect the other end of the External Power Cable to the USB connector on...

Page 30: ...wered USB Cable The Powered USB Cable provides both USB and power to the display Audio Cable The Audio Cable provides audio to the display Connect the Audio cable to the Audio Port connectors on both...

Page 31: ...t Cable to the display 2 Connect the other end of the Display Port Cable to the Display Port connector of the HDMI to Display Port Adapter 3 Connect the HDMI connector of the Adapter to the HDMI port...

Page 32: ...e Display Port Cable to the Display Port connector of the HDMI to Display Port Adapter 3 Connect the HDMI connector of the HDMI to Display Port Adapter to the HDMI end of the DVI D to HDMI Adapter 4 C...

Page 33: ...Hardware Installation 2 25...

Page 34: ...2 26...

Page 35: ...es not wear off by normal use Since most surface contamination do not cause interference to the touchscreen the NCR XL15W 5916 Display can be used in public or severe environmental conditions Using th...

Page 36: ...SR Swipe the card through the slot in the MSR in a quick and steady movement The magnetic stripe must be facing up and with the stripe in the slot Care of Cards Cards should never come in contact with...

Page 37: ...or any strong dis solvent Do not use thinner or benzene abrasive cleaners or compressed air Warning Do not use any other types of cleaners such as vinegar solvents degreasers or ammonia based cleaner...

Page 38: ...3 30...

Page 39: ...entification information such as the name serial number and manufacturer Supported Features Note Not all features are supported on every monitor The button is inactive and grayed out when the feature...

Page 40: ...the application from a Command Line to many systems concurrently Windows NCR_Software_OSD_GUI_x86 32 Bit NCR_Software_OSD_Console_x86 32 Bit NCR_Software_OSD_GUI_x64 64 Bit NCR_Software_OSD_Console_x...

Page 41: ...rsion NCR_Software_OSD_GUI_x86_V2 1 6 3 x86 3 Execute the NCR_Software_OSD_GUI_x86 exe file to start the application 4 Answer Yes at the Security warning Main Menu Monitors Detected Panel This panel l...

Page 42: ...brief description of the utility Help Button Opens the Help File Close Button Closes the OSD application Information Provides information about the selected monitor Information includes Device manufa...

Page 43: ...adjusting Display color settings Sharpness Provides tools for increasing or decreasing the sharpness settings of the Display Restore Provides the following functions Auto Setup sets horizontal positi...

Page 44: ...edures are similar for most features The color adjustment shown below is an example 1 Select the Colour button 2 The default Colour Settings menu has the 6500K radio button selected To activate the co...

Page 45: ...tore button 2 All settings or just specific groups can be reset Select the button of choice in the Restore window Auto Setup re positions the window in the center of the display Factory Defaults reset...

Page 46: ...CR_Software_OSD_Console_x86_V2 1 7 1 x86 3 Open a Command Line dialog window 4 From the Command Line dialog navigate to the OSD executable exe file 5 Execute the file to start the application NCR_Soft...

Reviews: