


26
- Insert a USB flash drive, which contains photos or music files, into the USB slot.
- Press the SOURCE button on the remote control to switch the unit to USB (Media) mode.
- Press the EXIT button on the remote control to return to the previous screen.
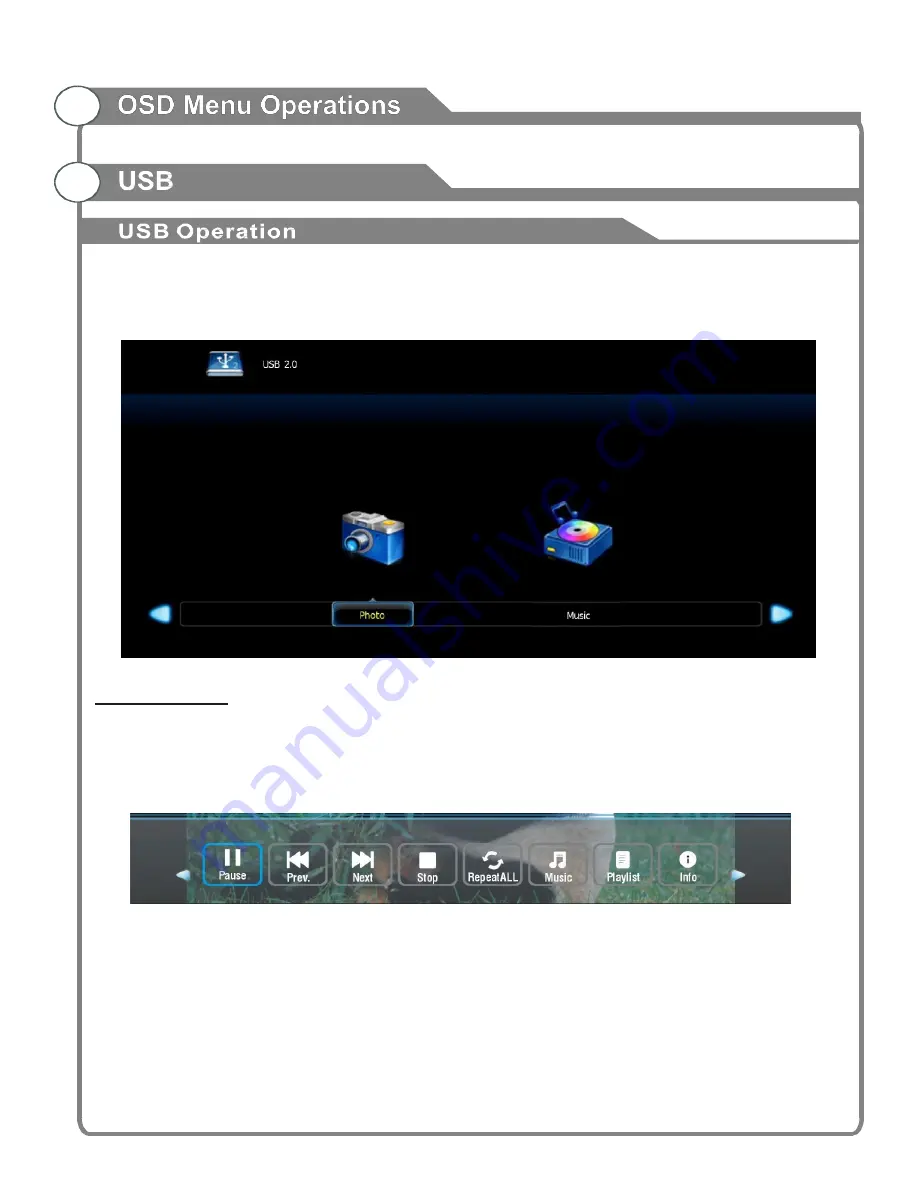
Photo Playback
- Select Photo Item in the main menu.
- Use the arrow buttons to select the preferred folder/file and press the ENTER button to en-
ter a folder or play the selected file.
- Use the left and right arrow buttons to select the preferred option and press the ENTER
button to confirm it.
- If the above tool bar disappeared, press the ENTER button to display it again.
- Press the EXIT button on the remote control to return to the previous screen.


