


IMPORTANT INSTRUCTIONS
IMPORTANT INSTRUCTIONS
C AUTIO N:
To reduce the ri sk of fire or e lectric shock , do no t expose this produ ct to
wa ter, ra in or m oisture . To p revent the ris k of ele ctric s hock, do not remov e
the cove r or bac k of th is prod uct. In case of prod uct fa ilure, o nly qu alified
pe rsonne l can repair. There are no user-service able p arts in side.
C A U T I O N
RISK OF ELECTRI C SHOCK
DO NOT OPEN
-THE DIGITAL PHOTO FRAME IS FOR INDOO R USE ONLY!
-TO AVO ID TH E RISK OF FIRE OR ELECTRIC SHOCK DO NOT EXPO SE TH IS
APPLIANCE TO RAIN OR MOISTURE.
-DO NOT BLO CK TH E VENTILATION H OLES ON THE BACK OF THE U NI UN IT AT ANY
TIME.
-KEEP THE PR ODUCT OU T OF STRONG SU NLIGH T. DIR ECT SUNLIGHT M AY CAUSE
D AMAGE.
-DO NOT OPEN THE COVER OF THE DIGITAL PHOTO FRAME. THERE ARE NO USER
SERVICEABLE PARTS INSIDE.
-TOUCH THE SCREEN GENTLY. THE SCREEN IN THE D IGITAL PHOTO FR AME IS
M ADE OF GLASS AND IS EASILY SCR ATCHED O R BRO KEN.
MAINTENANC E:
-UNPLU G AC ADAPTOR FROM POWER SOC KET IF NOT USE THE UNIT FO R LO NG TIME.
DISCO NNECT THE AC AD APTO R BEFORE MAINTAINING THE PLAYER.
WIPE THE PLAYER WITH A DRY, SOFT CLO TH.
IF THE SURFACES ARE EXTREMELY DIRTY ,WIPE CLEAN WITH A C LOTH WHIC H
H AS BEEN DI PPED IN A WEAK S OAP- AND-WATER SOLUTION AND WRUNG OUT
THORO UGHLY, AND THEN WIPE AGAIN WI TH A D RY CL OTH.
NEVER USE ALCOH OL, BENZIN E, TH INNER , CLEANIN G FLU ID OR OTHER
C HEMICALS. AND D O NO T USE COM PRESSED AIR TO REMO VE DU ST
-
-
-
-
11
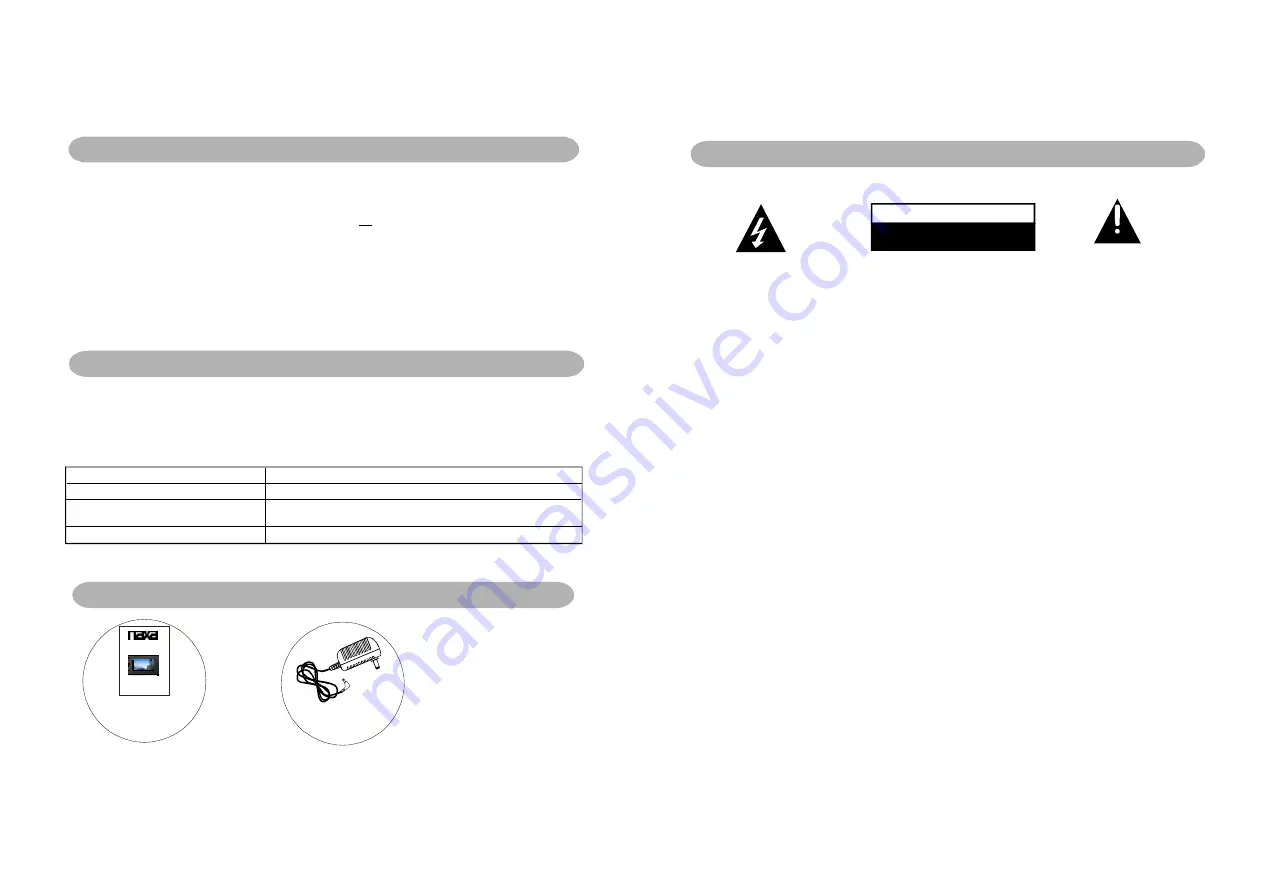
AC CESS ORIES
AC adap tor
....... ........ .1
Ins truc tion ma nual
............... .......... ..1
Befo re req uestin g service for this pl ayer, c heck t he cha rt belo w for a poss ible ca use o f the
prob lem yo u are experi encing . Som e simp le che cks or an adj ustme nt on y our pa rt may
eliminateth e prob lem a nd res tore proper o perati on.
TROUBLESHOOTING
Symp tom
R emed y
N o power.
Insert the A C adaptor s ecurely into t he power ou tlet.
Th e player is a utomatically
se t to the stan dby mode.
D isconnect th e power sou rce and conn ect them ag a in.
No picture .
En sure that the equipment is connected properly.
SPECIFICATIONS
Specific ations are s ubjec t to c hange w ithout notic e.
DISPL AY DE VICE:
POWE R SO URCE:
POWE R INP UT:
AC PO WER CONS UMPT ION:
RESO LUTIO N:
MEAS UREM ENT:
WEIG HT: ab out
9 CO LOUR TFT LED
AC a daptor
AC100-240
50/6 0HZ D C 5V---1000 mA
5W
640X234
284X1 87X34 MM
64 4g
”
V
~
≤
A ll the picture s in the instr uction manu al is just for y our referenc e, specificat ion should
r efer to actua l accessorie s.
1 6
Instruction Manual
MODE L NO. :NF-90 1
- Tha nk you ve ry much for se lectin g our p rod uct.
- Ple ase enj oy the won der ful fea tur es of th e late st digit al tech nolog y.
- You will lea rn ho wt o use it with in a minu te with t his user manu al.
9
TFT LCD D igita l Photo Fra m e wit h
Spe a ke r a nd US B/S D/MM C Ca r d Slot
”
Summary of Contents for NF-901
Page 2: ......


