Read Manual Before Operating Machine
402600 Rev B
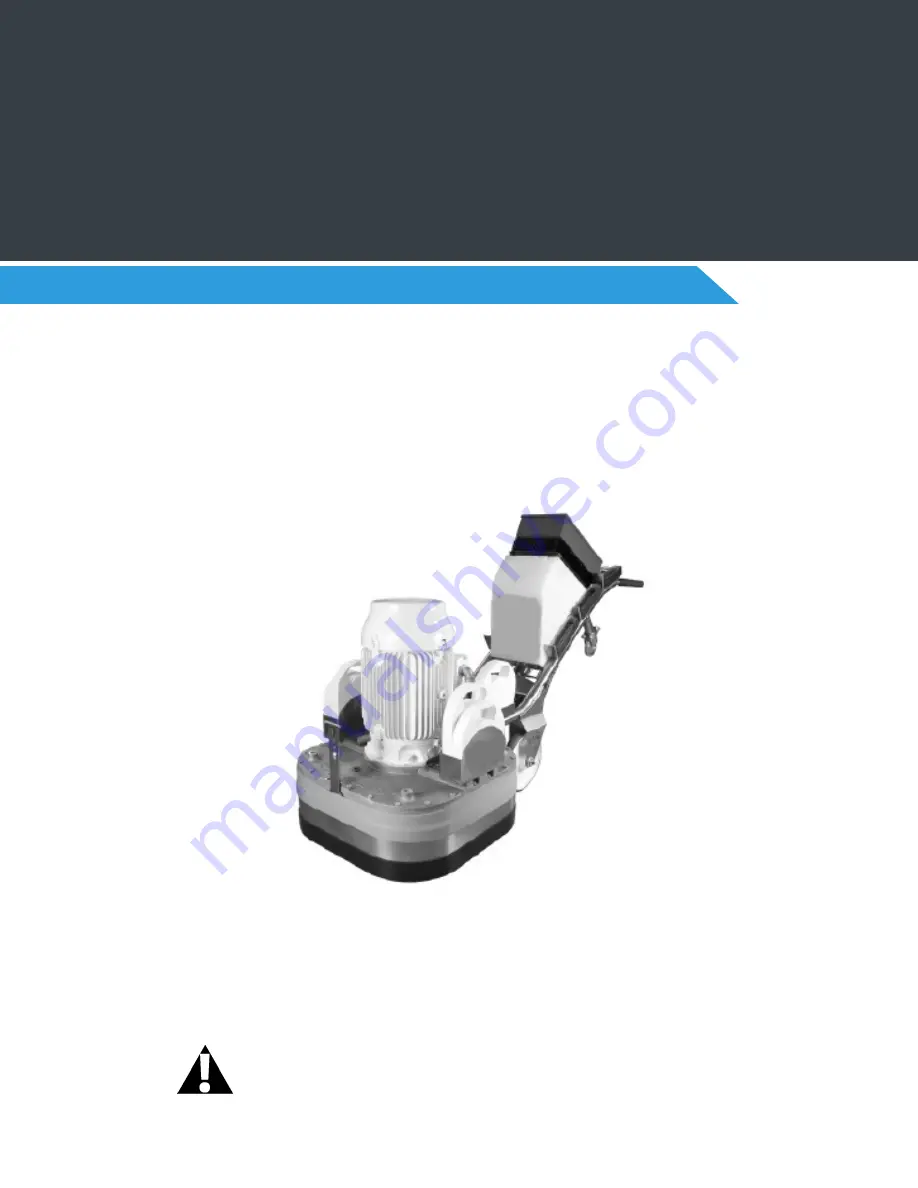
GP30 GRINDER
OPERATING MANUAL
Page 1: ...Read Manual Before Operating Machine 402600 Rev B GP30 GRINDER OPERATING MANUAL...
Page 2: ...g the Machine 9 6 0 Operation of the Machine 11 7 0 Maintenance Schedule 12 8 0 Troubleshooting Diagnostics 12 9 0 Reference Guide Procedures 13 10 0 Warranty 21 Please note The following safety instr...
Page 3: ...nection 220 230 VAC 3 Phase 60 Hz 1 3 Operative Range and Correct Usage The GP30 is designed to be used on clean dry or wet horizontal surfaces without obstacles The machine cannot be used for other p...
Page 4: ...nd Symbols 2 2 Organizational Measures 2 3 Personnel Selection and Qualification 2 4 Safety Precautions Applicable to Different Operating Conditions 2 5 Repair Work Maintenance Activities and Default...
Page 5: ...ine must be kept complete and legible For replacement labels contact NFE If safety critical changes occur to the machine or its performance the machine must be shut down immediately The cause of the f...
Page 6: ...be required The operator is obliged to wear close fitting protective clothing Use only extension cables that are sized and marked in accordance with the overall power consumption of the machine and th...
Page 7: ...ating authority is responsible for compliance with the safety regulations during operation and maintenance of safety devices supplied with the machine as well as the provision of additional safety dev...
Page 8: ...ers Tool Plates Stone Holders 3 7 Variable Speed Drive 3 8 Tooling Change 3 9 Care Maintenance 3 1 Operative Range The GP30 is a grinding machine with counter rotating heads that is used for preparati...
Page 9: ...rinder 3 4 Electric Motor The motor is responsible for turning the gears which turn the abrasive tools on the floor The motor is controlled exclusively by the VSD which inputs specific power to genera...
Page 10: ...ould take place before and after every operation of machine 1 Clean all surfaces with a dry lint free cloth 2 Inspect all electrical cables for cuts and replace damaged cords 3 Check that all electric...
Page 11: ...accordance with instructions given in section 5 Starting the Machine 5 0 Starting the Machine 5 1 Preparing for Initial Operation 5 2 Initial operation 5 1 Preparing for Initial Operation Before star...
Page 12: ...he power supply is equivalent to the data shown on the machine label Start up procedure 1 Turn on the dust collector 2 Ensure plug is connected correctly to the power source 3 Ensure dust hose is conn...
Page 13: ...influence the final finish and production In the case that the surface shows different characteristics i e different hardness or different coating thicknesses a uniform grinding result will be achieve...
Page 14: ...c motor for dirt and other contaminants Check gearbox assembly for any leaks of oil from motor Daily After Operation Check for debris in the dust ports under gear box and near the handle Check for dir...
Page 15: ...s that may be clogging hose Dust collector malfunction Verify dust collector is operating properly 8 2 Diagnosis of Electrical Failure Failure Possible Reasons for Failure Corrective Actions Motor doe...
Page 16: ...ce prep remove machine and use a dust collector to clean the surface Power source Voltage will vary by machine being used and should be verified for compatibility before connecting machine to it Dust...
Page 17: ...machine is continuously moved while running If for any reason the machine cannot be continuously moved i e cord management adjacent work obstacles etc stop the machine until it can be operated as spe...
Page 18: ...251 M2 EGT 4 4 This is a 3 resin bonded tool that has the pictured face design and can be clearly identified by the number on back as 4 401910 This tool features gray Velcro backing Approximate life o...
Page 19: ...se to the machine With 100 of weights on head of machine set speed to 50Hz on VSD and start machine Upon satisfactory completion of step 7 remove machine from area and use a dust collector to clean th...
Page 20: ...et Dry Steps The CLC Diamond System is a coordinated metal and resin bonded diamond system to perform polished concrete using the GP30 The CLC Diamond System is only to be used dry for step 1 wet for...
Page 21: ...t in operating position Attach appropriate power to the machine With 50 of weights on head of machine and 50 in basket over wheels set speed to 45Hz on VSD and start machine add water and start the ma...
Page 22: ...traffic is increased and rogue scratches will be possible as well as overall reduced polish Flooring Condition Qualifications Use of the CLC Diamond System requires that the surface to be treated is...
Page 23: ...or not caused by or resulting from the negligence of seller and or the manu facturer of the product unless specifically provided herein This warranty shall not apply to any products or portions there...
Page 24: ...LOORING EQUIPMENT 9250 Xylon Avenue N Minneapolis MN 55445 U S A Toll free 800 245 0267 Phone 763 315 5300 Fax 800 648 7124 Fax 763 535 8255 Web Site www nationalequipment com E Mail info nationalequi...