


©
National Instruments Corporation
2-1
DAQCard-DIO-24 User Manual
Chapter
2
Installation and
Configuration
This chapter describes how to install and configure the
DAQCard-DIO-24.
Software Installation
Install your software before you install your DAQCard-DIO-24 device.
Refer to the appropriate release notes indicated below for specific
instructions on the software installation sequence.
If you are using NI-DAQ, refer to your NI-DAQ release notes. Find the
installation section for your operating system and follow the
instructions given there.
If you are using LabVIEW, LabWindows/CVI, or other National
Instruments application software packages, refer to the appropriate
release notes. After you have installed your application software, refer
to your NI-DAQ release notes and follow the instructions given there
for your operating system and application software package.
If you are a register-level programmer, refer to Appendix B,
Register-Level Programming.
Hardware Installation
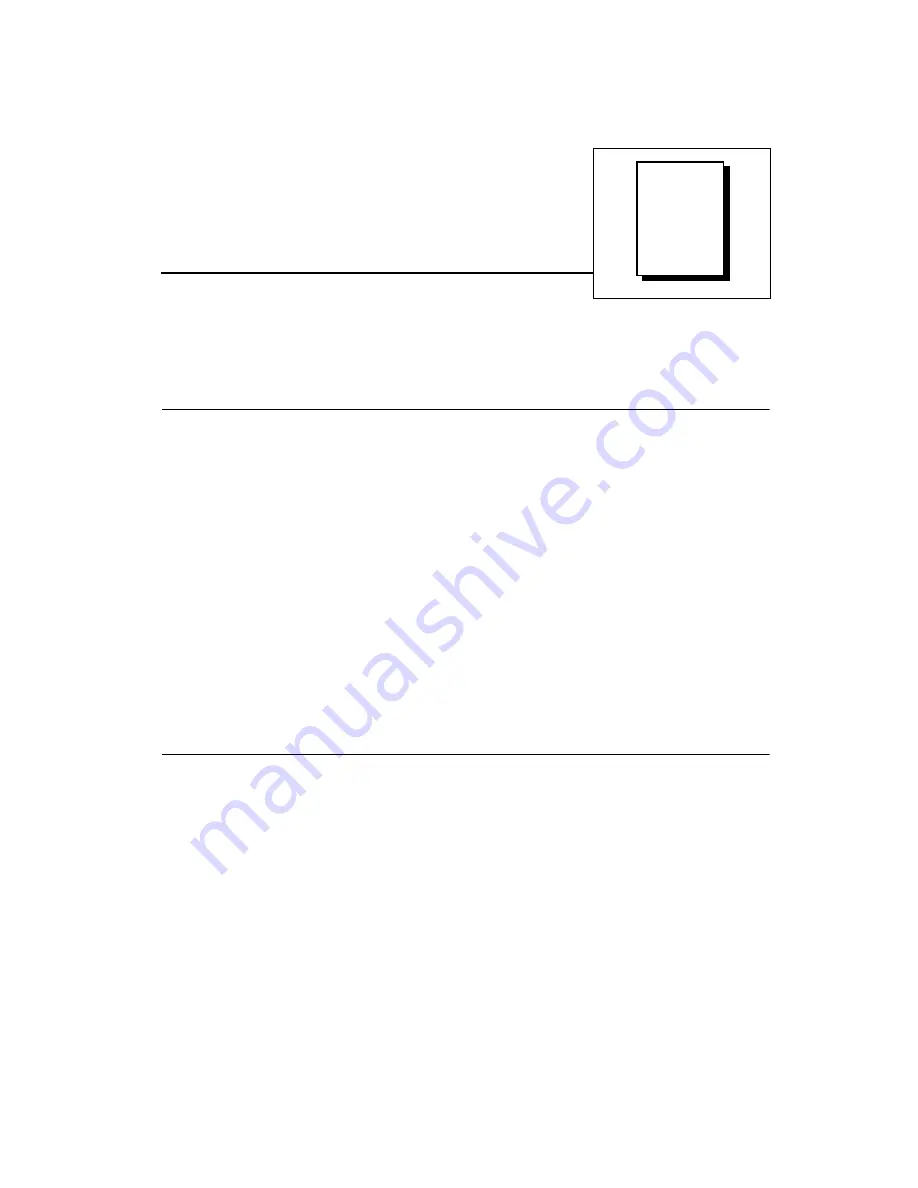
You can install your DAQCard-DIO-24 in any available Type II
PCMCIA slot in your computer. See Figure 2-1 for the completed
installation.
1.
Turn off your computer. If your computer supports hot insertion,
you may insert or remove the DAQCard-DIO-24 at any time,
whether the computer is powered on or off.
2.
Remove the PCMCIA slot cover on your computer, if any.
3.
Insert the PCMCIA bus connector of the DAQCard-DIO-24 into
the PCMCIA slot. The card is keyed so that you can insert it only
one way.


