© National Instruments
|
1-23
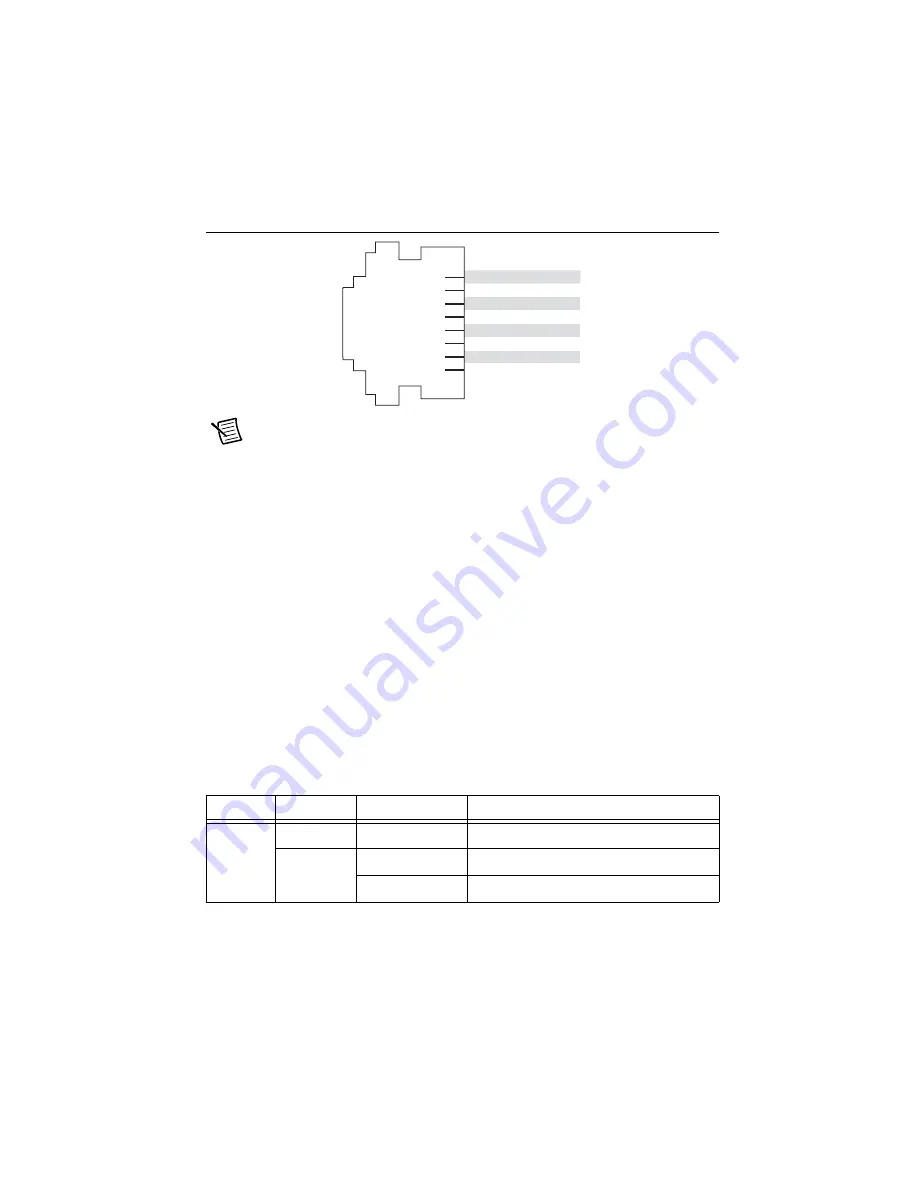
Figure 1-18.
Ethernet Port Pin Locations: Fast Ethernet Signals (Gigabit Ethernet Signals)
Note
Both Ethernet ports perform automatic crossover configuration so you do not
need to use a crossover cable to connect to a host computer.
(NI cDAQ-9138/9139 for Windows)
Both Ethernet ports are enabled and configured as DHCP,
to “obtain an IP address automatically,” by default. The Ethernet ports can be configured in the
Windows Control Panel, under the Network and Internet category.
Ethernet port 1 provides Wake-on-LAN functionality and AMT support. Ethernet port 1 remains
powered when the controller is in sleep mode.
(NI cDAQ-9138/9139 for LabVIEW Real-Time)
You must use Ethernet port 1 to configure the
NI cDAQ-9138/9139 for LabVIEW Real-Time; you cannot configure the controller through
Ethernet port 2. To use Ethernet port 2, you must assign a static IP address to the port using
MAX. The IP address must be on a different subnet than the IP address of Ethernet port 1. You
cannot use DHCP with Ethernet port 2. For more information about using Ethernet port 2, go to
and enter the Info Code
dualenet
.
Ethernet LEDs
Each Ethernet port has two LEDs—ACT/LINK and 10/100/1000. Refer to Table 1-5 for
information about the Ethernet ACT/LINK and 10/100/1000 LAN connector LEDs.
Table 1-5.
Ethernet LED Indications
LED
LED Color
LED State
Indication
ACT/
LINK
—
Off
LAN link not established
Green
Solid
LAN link established
Flashing
Activity on LAN
1 TX+ (TX_A+)
2 TX– (TX_A–)
3
RX+ (RX_B+)
4 No Connect (TX_C+)
5 No Connect (TX_C–)
6 RX– (RX_B–)
7 No Connect (RX_D+)
8
No Connect (RX_D–)


