


Where to Start with the NI 435X
6
ni.com
4.
Insert the 68-pin I/O connector of the NI PCMCIA-4350 into the
PCMCIA slot until the connector is firmly seated. The
NI PCMCIA-4350 connectors are keyed so the device can only be
inserted in one way.
The NI PCMCIA-4350 is now installed. Refer to the
section next.
♦
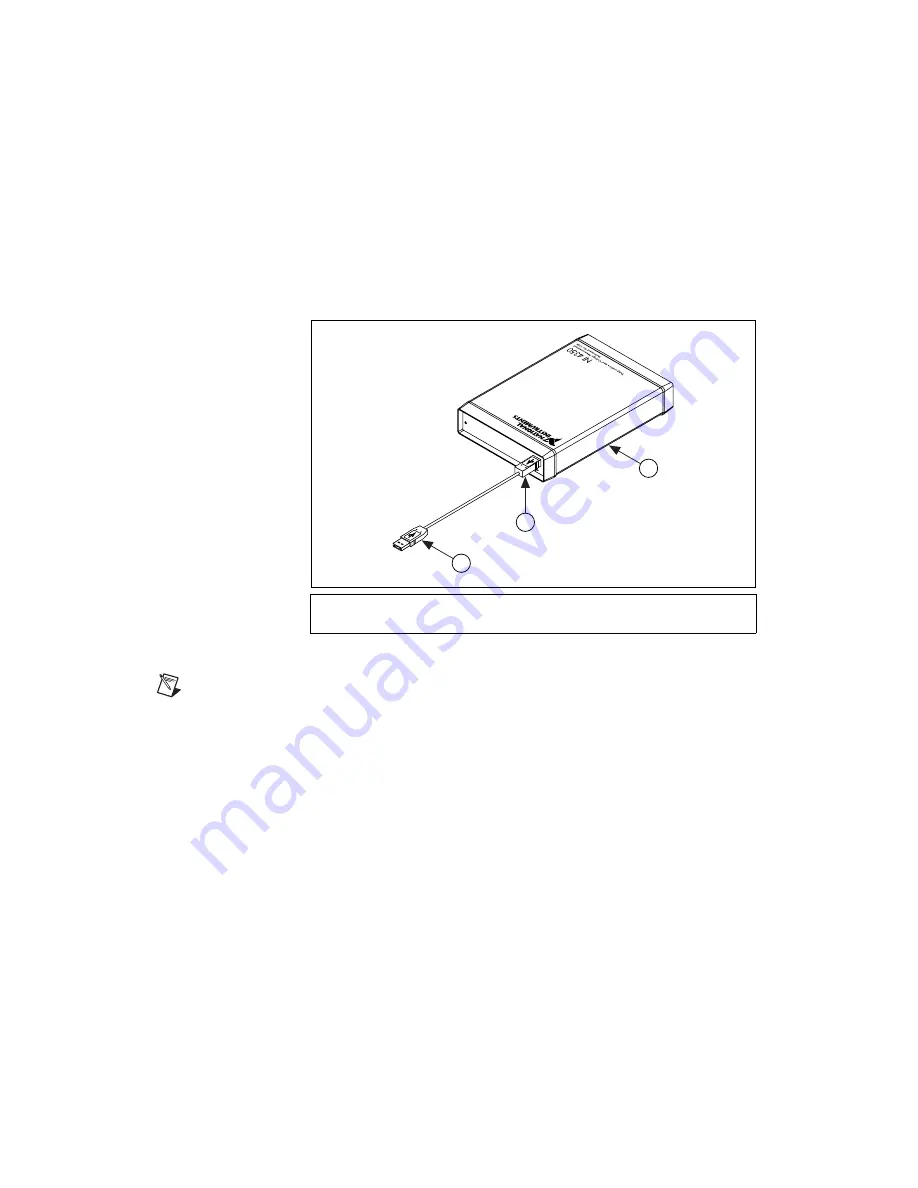
NI USB-4350
Figure 2.
NI USB-4350 with USB Cable
Note
The NI USB-4350 is only supported in Windows 2000/XP/Me/98.
You can connect the NI USB-4350 to any available USB connector that
supports high-power, bus-powered peripheral devices. The following are
general installation instructions, but consult the PC user manual or
technical reference manual for specific instructions and warnings.
1.
Connect the USB cable from the computer port or from any other hub,
to the port on the NI USB-4350.
2.
The computer should immediately detect the NI USB-4350. When the
computer recognizes the NI USB-4350, the LED on the front panel
blinks or lights up, depending on the state of the device.
If the LED lights up after the NI USB-4350 is connected to the host,
the NI USB-4350 is functioning properly. If the LED remains off or
blinks, refer to Table 1.
1
NI USB-4350
2
Downstream USB Connector
3
Upstream USB Connector to PC
1
3
2