8
283NE
5.3
Photo
The photo icon
is located on the lower left hand corner of the Main Menu. Once the icon has been highlighted, enter
button
to confirm your selection. Make sure your memory card is inserted in the unit
or a USB memory stick
is added in the USB port
before entering into this screen.
5.3.1 Display a photo
Once you are in the main screen of the photo icon you will see a total of 9 prerecorded photos.
•
Press
or
to select the desired photo.
•
Press
or
to jump to the previous/next page of 9-photo.
When the desired photo is highlighted:
•
Press the enter button
to increase the size of the photo to a full screen display.
•
You can also scan through the photos in full screen mode by pressing
or
.
•
Press
to change the brightness.
•
Press
to fit the picture to the screen.
For horizontal fit, the displayed photo will fit to the left and right margins. Some extend on the top and bottom may crop
away.
For vertical fit, the displayed photo will fit to the top and bottom margins. Dark banks may appear on the left and right
side.
5.3.2 Activate a slideshow
Once you have a photo in full screen mode:
•
Press the enter button
. The slide show will start automatically.
•
Press the ESC button
to stop the slide show.
To adjust the slideshow duration, see chapter 5.4.7.
5.4
Setting
The setting icon
is located on the lower right hand corner of the main menu.
Once the icon has been highlighted, press the enter button
to confirm
your selection.
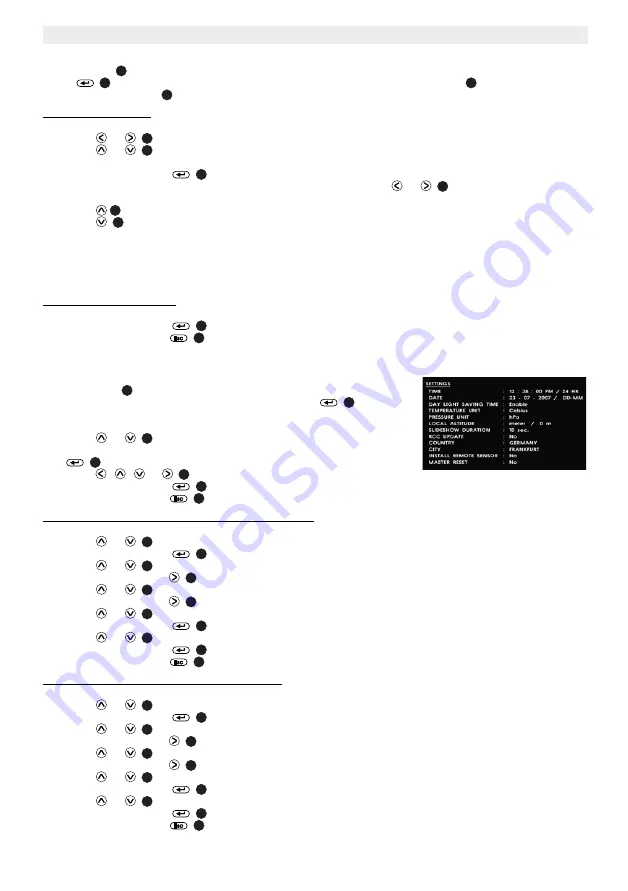
There are 12 different sections in the settings menu.
•
Press
or
to navigate through the sections.
•
Once the cursor has highlighted a desired section press the enter button
to confirm the selection.
•
Press
,
,
or
to make the appropriate changes to the setting.
•
Press the enter button
to confirm.
•
Press the ESC button
to return to the main menu.
5.4.1 How to adjust the clock time and the time format
In the setting menu:
•
Press
or
to
select
‘TIME’.
•
Press the enter button
to confirm. The hour digit is highlighted.
•
Press
or
to
change
the
hour.
•
Press the right button
.The minutes digits are highlighted.
•
Press
or
to
change
the
minutes.
•
Press the right button
.The seconds digits are highlighted.
•
Press
or
to
change
the
seconds.
•
Press the enter button
.The time format is highlighted.
•
Press
or
to change the time format 12/24h.
•
Press the enter button
to confirm.
•
Press the ESC button
to return to the main menu.
5.4.2 How to adjust the date and the date format
In the setting menu:
•
Press
or
to
select
‘DATE’.
•
Press the enter button
. The month digit is highlighted.
•
Press
or
to
change
the
month.
•
Press the right button
. The day digit is highlighted.
•
Press
or
to
change
the
day.
•
Press the right button
. The year digits are highlighted.
•
Press
or
to
change
the
day.
•
Press the enter button
. The date format is highlighted.
•
Press
or
to change the date format (day/month or month/day).
•
Press the enter button
to confirm.
•
Press the ESC button
to return to the main menu.
c
4
9
10
6
6
4
6
6
6
4
8
d
4
6
4
6
6
8
6
4
6
6
6
6
6
4
6
4
8
6
4
6
6
6
6
6
4
6
4
8


