Page 12
8.
Fill the bearing assembly to the lower level of the
overflow vent.
9.
Add 5 or 6 drops of oil to the front and rear of
the motor. Use 20W non-detergent oil.
2F-10. Storage Tank Installation
1.
Be sure the floor is structurally capable of
supporting the tank when it is filled with water,
and is waterproof.
2.
Place the tank so that manholes, inspection
covers, nameplates and drain valves are
accessible.
3.
Be sure the tank is suitable for the water in the
system. Some water is corrosive and requires a
protected tank. Most tanks are available with
glass, plastic, or galvanized linings.
4.
If the tank is glass-lined, it should be equipped
with a suitable magnesium anode. It is a good
practice to replace the anode when it is
approximately 50 percent used. The factory
warranty on a glass-lined tank may be void if a
satisfactory anode is not in place at the time of a
failure or if it is consumed by cathodic action.
5.
The tank must be lined if a water softener is
installed in the system.
6.
Make sure the tank connections in the heater-
tank circulating loop are the proper size (see
Section 2F-5). If tappings are smaller than the
recommended pipe size, a larger pump may be
required. Consult the factory if in doubt.
7.
Install a pipe in the tank drain fitting that goes to
a floor sink, and install a drain valve. If a floor
sink is not available, install a hose bib.
8.
Hot water tanks in an existing installation are
likely to have silt deposits on the bottom.
Therefore, it is important to extend the pump
suction pipe in the tank to a position near the top.
Pipe the return from the heater to the bottom of
the tank.
2F-11. Thermal Circulation of Hot Water
in Cold Water Supply Lines
Under certain circumstances, thermal circulation
will occur in the cold water pipe supplying the water
to the heating system. This happens in a multi-story
building when the cold water pipe rises from its
connection to the system. To correct the problem, a
check valve in the cold water line supplying the heater
will prevent thermal circulation, and a small expansion
tank will permit heated water to expand without
popping off the relief valve.
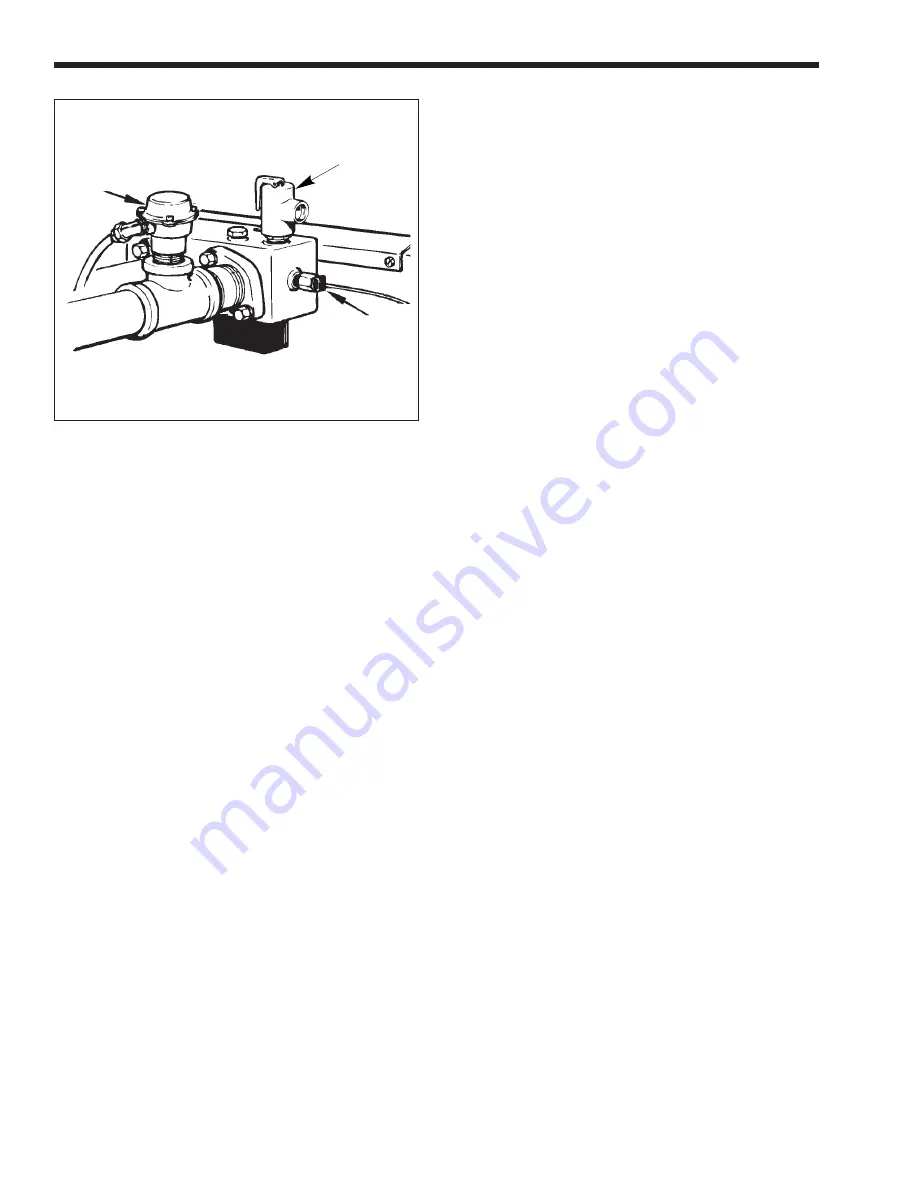
Flow
Switch
High-Limit
Dry Well
Pressure
Relief Valve
is turned back on. To eliminate the airlock, open the
pressure relief valve (see Figure 22) and allow the air
to bleed out until water starts to flow. As soon as full
circulation is restored, the trapped air will be released
through the hot water faucets.
2F-9. Pump Installation (Model VW)
1.
Install a properly sized pump to provide water
circulation between the heater and the storage
tank.
2.
Size the pump to avoid an excessive temperature
rise (see Table 4), and to provide the correct flow
for prevailing water hardness conditions.
3.
Install the pump in a cool location. The life of the
pump can be shortened by exposure to excessive
heat. If the pump is equipped with a thermal
protection device, excessive heat may trip the
thermal switch. This could cause the pump to
shut down intermittently, resulting in rapid
scaling of the heat exchanger.
4.
If designed for floor mounting, install pump
securely on concrete block or pad at least
6 inches (152 mm) above floor level. This will
prevent flooding of the motor when the floor is
washed.
5.
Do not suspend floor mounted pumps from
piping.
6.
Plumb piping to avoid putting strain on the pump
casing.
7.
Check the oil level in the pump before starting
the heater. Oil the pump every three months. Oil
pumps located in excessively hot or dusty
locations once a month. Self-lubricating pumps
do not require oiling.
Figure 22. Pressure relief valve.


