PACIFIC D23
25 |
P a g e
PACIFIC D23
Nardi Compressori – www.nardicompressori.com
7.15
VALVE REPLACEMENT – FIRST STAGE:
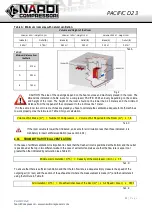
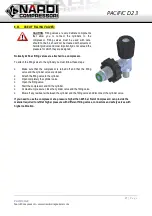
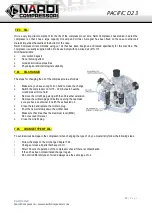
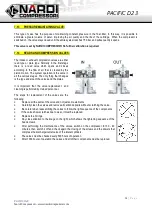
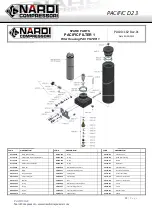
Look carefully at the image below for the exact positioning of the valve and
make sure that the written word “TOP” or the letter “T” is facing upwards. If
seals or O-rings are not in good condition, they must be replaced.
7.17
VALVE REPLACEMENT – SECOND STAGE:
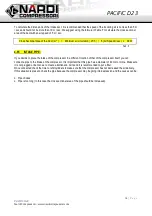
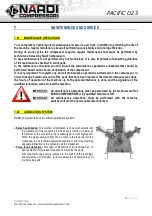
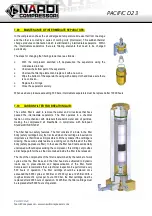
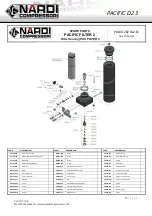
The steps for replacement or cleaning of this valve are as follows:
To replace the valve, you need to:
•
Disconnect the cooling hoses from the fittings.
•
Remove the screws and detach completely the head from
the cylinder.
•
Put the head in a vice.
•
Unscrew the valve bodies (one of these bodies is unscrewed
with a special tool that is to be requested to Nardi
Compressori).
•
Clean and remove all debris.
•
If the parts show signs of wear, change the worn parts.
•
Mount all the components following the same sequence and
changing the seals.
•
On the bottom of the head there are three points that need
to be engraved with a punch after the valve is set.
•
Test the valve by blowing compressed air in the flow
direction.
•
Check the O-ring seal and replace if damaged.
•
Attach the head to the cylinder.
•
Secure the cooling tubes.

