Nacecare TP400F Owner'S Manual Download Page 6


6

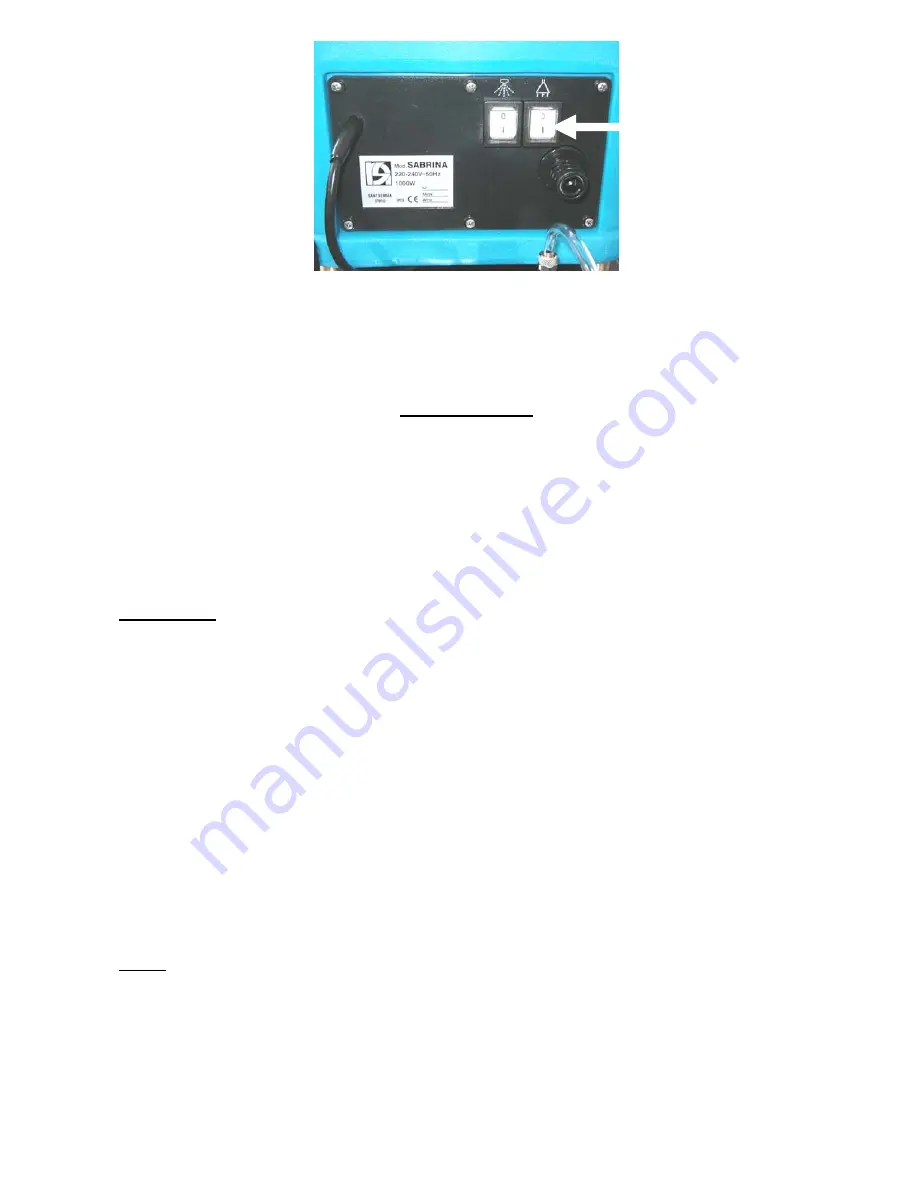
9.  Switch on the vacuum motor. 


At this point the machine is ready for work. The optimal working air pressure is 4 bars. The 

air pressure is indicated on the air pressure gauge on the regulation panel. 


Working method 


1.  In order to spray foam, pull the lever on the foam brush accessory. Spray foam uniformly 

on the surface to clean. The ideal thickness of the foam is about ¼”. 

2.  Let the foam react with the surface for 30 seconds. If necessary, use the brush to agitate 

the foam. 


ATTENTION: 

 You only need to spray enough foam to cover the area to be cleaned. Keep in 

mind that only the foam that comes in to contact with the surface is cleaning the surface. 


3.  Vacuum the foam from the surface. It is 

mandatory

 that you use 

defoamer

 in the 

recovery tank prior to vacuuming the foam. If defoamer is not used, the foam can be 

sucked in to the vacuum motor and damage it. 


4.  While using the machine, if for any reason you should need to switch the compressor on 

again using the compressor ON/OFF switch, you must empty the air tank. Otherwise the 

compressor may be unable to start, because of the air pressure inside the air tank. To 

empty the air tank, spray air only with the foam brush accessory, with both compressor 

and pump switched off. 

NOTE: 

The compressor is provided with a safety thermal protection, which intervenes to 

protect it from an overheating. If the compressor stops suddenly, when the pressure or the 

air has not yet reached its set value, then it can be due to an overheating. If this happens, 

check that the voltage supplied to the machine corresponds to the value indicated on the 

label and that the set point for the air pressure is not too high. Switch the compressor off, 

empty the air tank and wait approx. 10 minutes before switching the compressor on. 

Summary of Contents for TP400F

Page 1: ...Owners Manual TP400F NaceCare Solutions 1205 Britannia Road East Mississauga Ontario Canada L4W 1C7 Toll Free 1 800 387 3210 Toll Free Fax 1 800 709 2896 ...

Page 2: ...ockets If an electrical extension cord is used check that it corresponds to the absorbed power of the machine It must be sealed against water SJTW Rated Take care of the cable It is essential that it is protected from water tearing and chemical agents Do not repair the cable if it is damaged replace it with a new one Do not pull the cable to move the machine or to remove the plug from the wall soc...

Page 3: ...he recovery tank used to recover the dirt sucked with the vacuum motor The solution pump and the vacuum motor situated inside the solution tank The control panel for the pump and for the motor The control panel for the compressor and air pressure regulator Preparation for use To prepare the machine for use 1 Insert the male quick disconnect fitting located at the end of the solution hose coming ou...

Page 4: ... open the foam outlet valve 3 Raise the recovery tank after releasing the spring clips holding it to the solution tank 4 Add warm water into the solution tank Add chemical in to the solution tank according to the dilution rate suggested by the manufacturer 5 Re connect the recovery tank to the solution tank ...

Page 5: ...itch to the position I The pump switch is situated on the pump and vacuum motor control panel 8 Switch the air compressor on by moving the switch to the position I The compressor switch is located on the foam regulation control panel The compressor will run until full tank pressure is reached Approx 1 minute After this the compressor motor will only turn on to recharge the tank ...

Page 6: ...efoamer is not used the foam can be sucked in to the vacuum motor and damage it 4 While using the machine if for any reason you should need to switch the compressor on again using the compressor ON OFF switch you must empty the air tank Otherwise the compressor may be unable to start because of the air pressure inside the air tank To empty the air tank spray air only with the foam brush accessory ...

Page 7: ...nctions Wearing parts like carbon brushes bearings etc which must be replaced in time to avoid damage to the other components of the machine can not be then covered by warranty 7 Every 2 3 months drain the air tank by the valve located at the bottom of the air tank Condensation forms in the air tank during normal usage To do this unscrew the circular cover located below the machine locked with 2 s...

Page 8: ...s generated by the machine There are 2 adjustments on the machine 1 Adjusting the air pressure Before making any adjustments you must wait for the compressor to come up to full pressure Foam Consistency For dryer foam you must increase the air pressure For more humid foam you must decrease air pressure NaceCare Solutions 1205 Britannia Road East Mississauga Ontario Canada L4W 1C7 Toll Free 1 800 3...

Reviews: