


myenergi
Pioneer Business Park, Faraday Way
Revision 4.2 June 2022
Stallingborough, Lincolnshire, England, DN41 8FF
D3171
3.
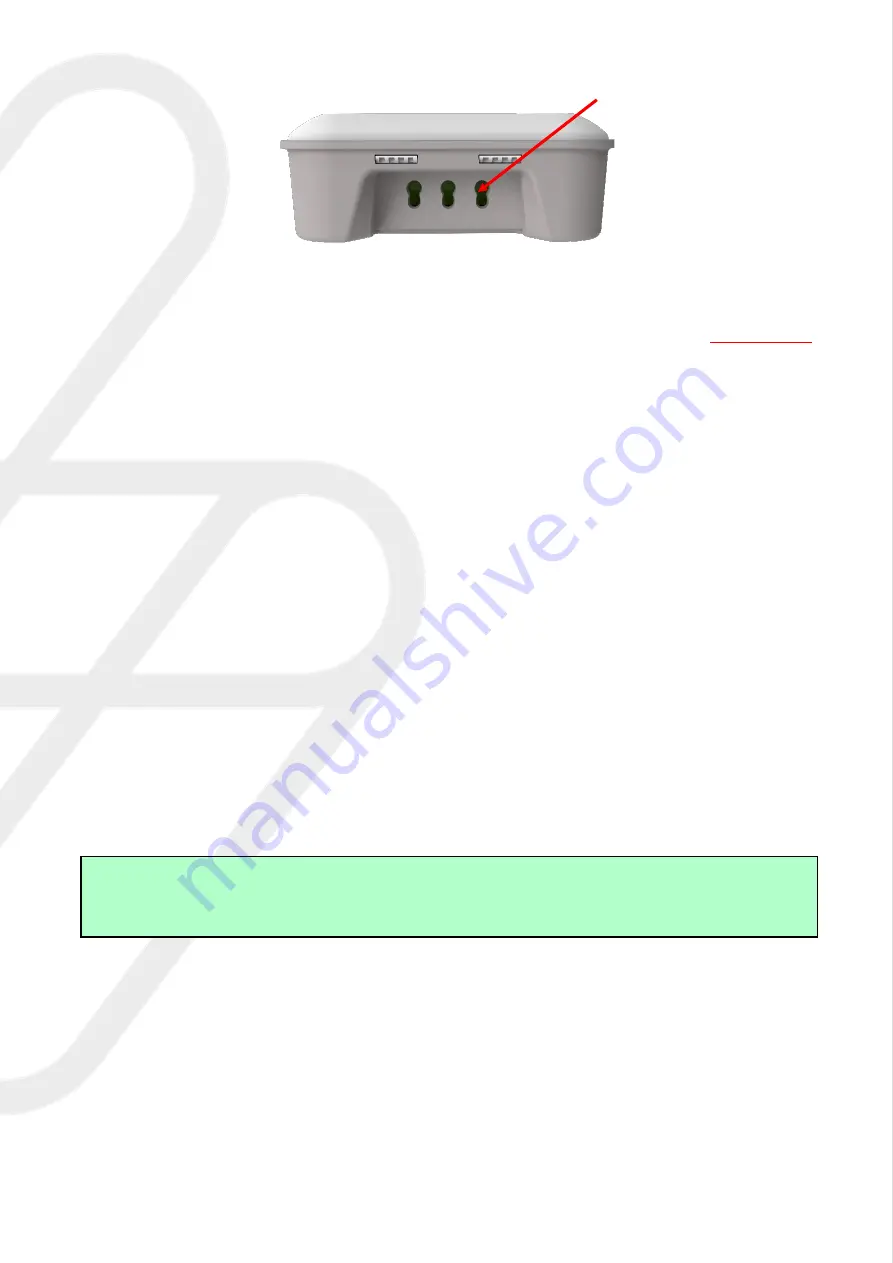
Connect 1,2 or 3 CT’s to the CT input(s), the red wire should be connected to the (+)
terminal and the black wire to the (-) terminal of the harvi device.
4.
Ensuring there is power being drawn on the chosen live tail, allow up to
two minutes
for the status LED to start flashing green.
Step 2:
Pairing with
myenergi
device
1.
Press the pair button briefly
2.
By default the LED should flash blue once, indicating that harvi is on channel 1.
However, there may be times when the channel may need to changed; see “
Optional:
Changing Channel
”
3.
Then the LED will flash red to indicate the
harvi
is in pairing mode.
4.
First, check the
myenergi
device you are pairing
harvi
to is set as “Master”.
5.
Then, select Settings > Advanced > “enter passcode” > Linked Devices > Pairing
Mode
6.
The
harvi
should appear on the screen within a few seconds.
7.
Check the serial number on the screen matches the number on the front of the
harvi
device and press (
) or (+) to add the harvi device.
NOTE
If pairing the
harvi
to a network of already paired devices, the
harvi
should only be paired with the
‘Master’.