Prescan the Image
A Prescan is a quick low-resolution scan of the entire
original image. From this low-resolution scan you can
get a clearer idea of the image area you want to include
when you click
Scan. To Prescan, the steps are:
1. Place the document face down on the scan
window glass.
2. Click the
Prescan button in the
TWAIN dialog box. After the
scanner has scanned the
document, the scanned image will appear in the
Preview Window. From the Prescan image, you
can now set the exact image area you wish to
include in your final scan.
Set Up the Scan Parameters
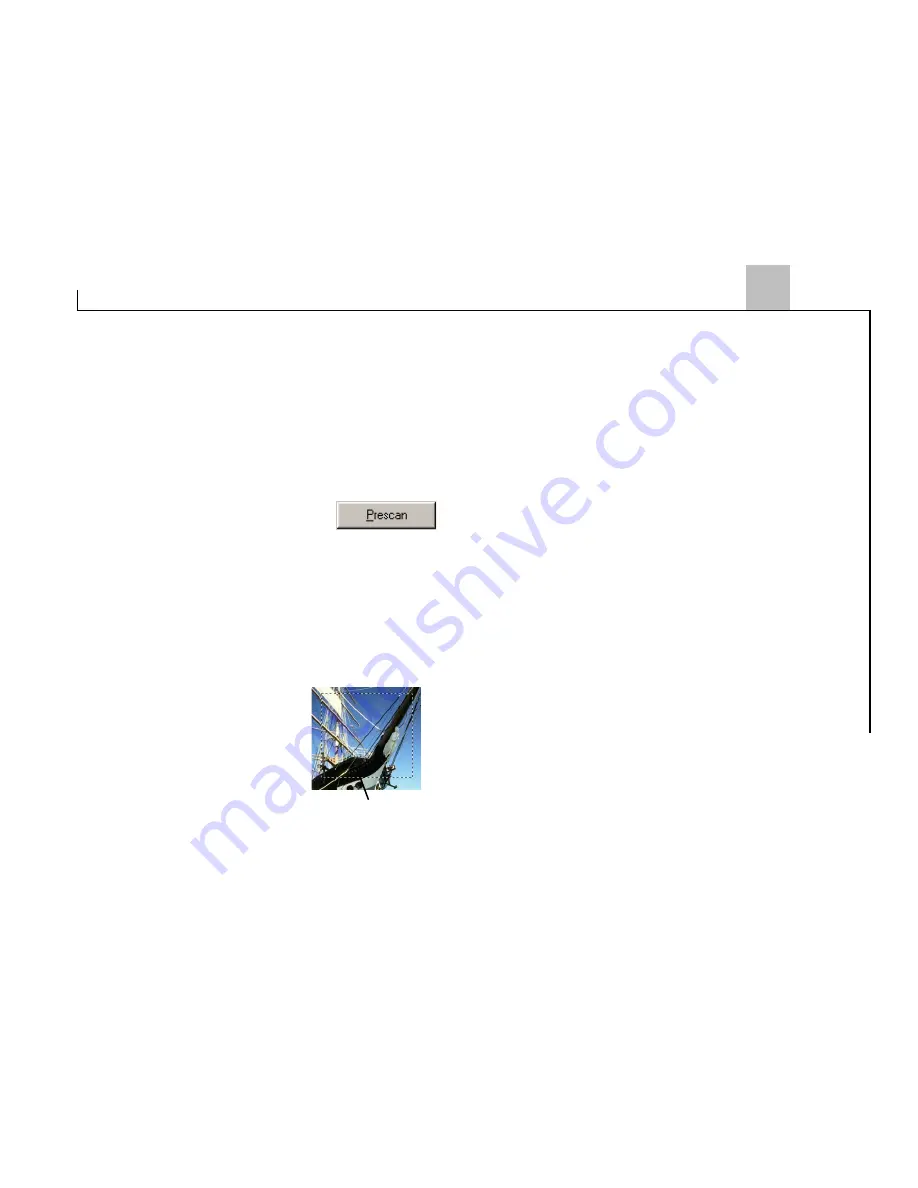
1. Set the desired image area to be scanned. Use
the Crop Frame in the Preview window to outline
the image area you wish to
scan. Click one of the sides
or corners of the Crop Frame
and drag it out or in to the
desired length and width. To
move the entire Crop Frame,
position the mouse cursor
inside it and drag with the
left mouse button.
Only the area inside the Crop Frame will be
included in the resulting scanned image when you
click
Scan. The size information at the bottom of the
dialog box is automatically updated when the Crop
Frame is resized.
2. Select the desired scan mode. The Scan Mode
determines how the scanner will read the image.
•
36-Bit Color captures images in 68.7 billion
colors
•
24-Bit Color captures images in 16.7 million
colors
•
CMYK captures images for output to a color
printer
•
256Gray captures images in 256 grayscale
•
256FastGray captures images faster than
256Gray but with less detail
•
Text/Line Art
is used for text documents or black-
and-white images
3. Select the scan source. Since we are going to
scan a color photograph, choose Reflective.
4. Select the desired resolution. Resolution is a
measure of how much image detail information
Crop frame
17


