16
Contrast Control
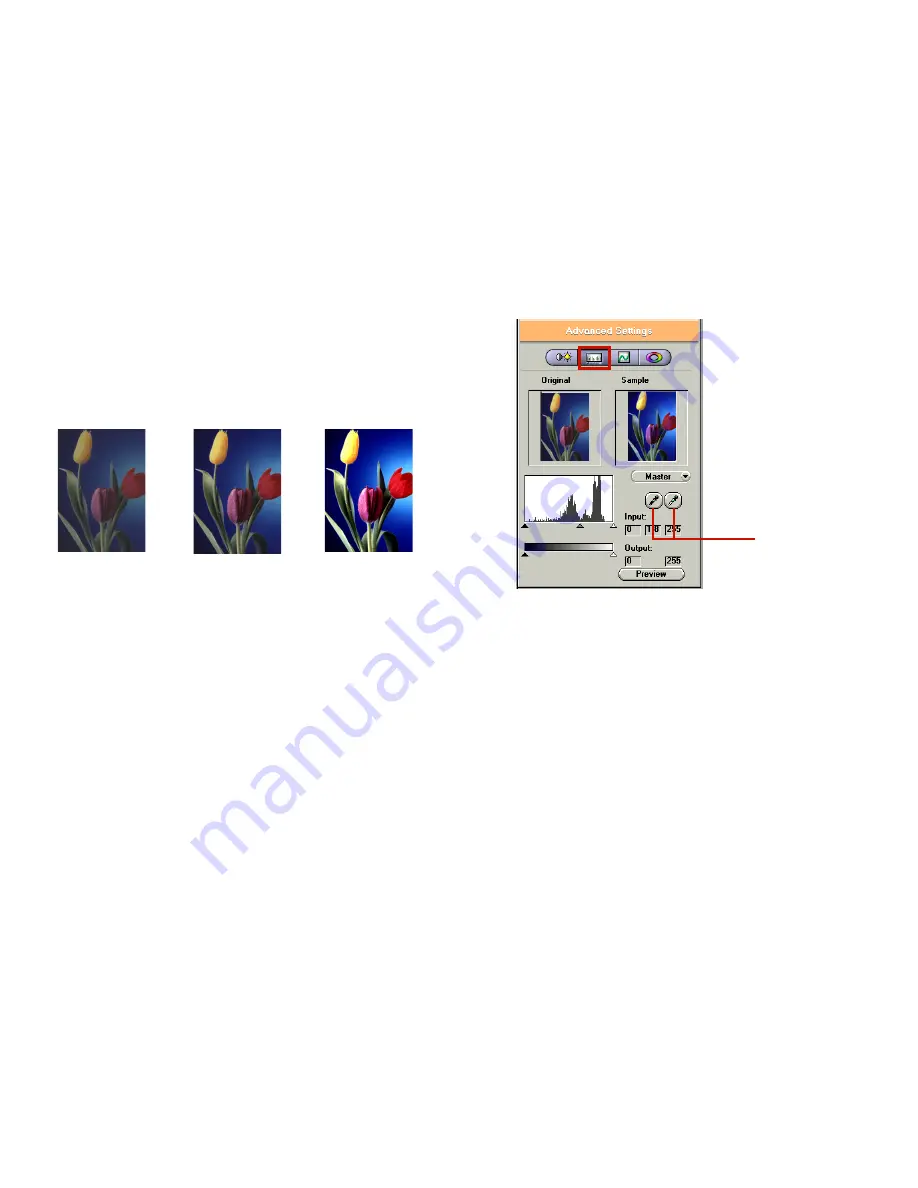
Using 255 steps, this tool controls the disparity in tone
between the dark and light areas of an image. Positive values
create greater differences between dark and light areas of
the image, whereas, negative values create greater similarities
between the dark and light areas of the image.
Contrast –50
Contrast 0
Contrast 50
Preview Button
Click the Preview button to see any changes made to the
image. The changes will appear in the Preview window.
Level
You can easily use the level slider to adjust an image’s
contrast and brightness. You can drag the little white triangle
to control the amount of hightlights, and the black triangle
to the shadows, if you haven’t set the two values using the
eyedroppers. The gray triangle in the middle controls the
image’s midtone. After the highlight and shadow values are
determined, use the gray triangle to roughly control an
image’s contrast.
You can control each channel’s levels if you scan in RGB.
Eyedropper tools
Eyedroppers are used to identify an image’s hightlights and
shadows. Click on the darkest area that still contains detail
with the black eyedropper to set the shadow value. Any
darker parts will be regarded as black. And then the lightest
area with the white eyedropper to set the hightlight. This is
the first step to control an image’s overall tonal range.
Eyedroppers


