


M1 CLiC issue 5
Page 12 of
24
Networking introduction
When unit is first turned on, or when the network is changed, the unit will require setting up before network
functions such as internet radio or media streaming are available. This should only need to be done once (per
network), as the unit will remember the settings even when switched off and unplugged.
1
st
Setup for wired installations (recommended, when a wired network RJ45 plug is available):
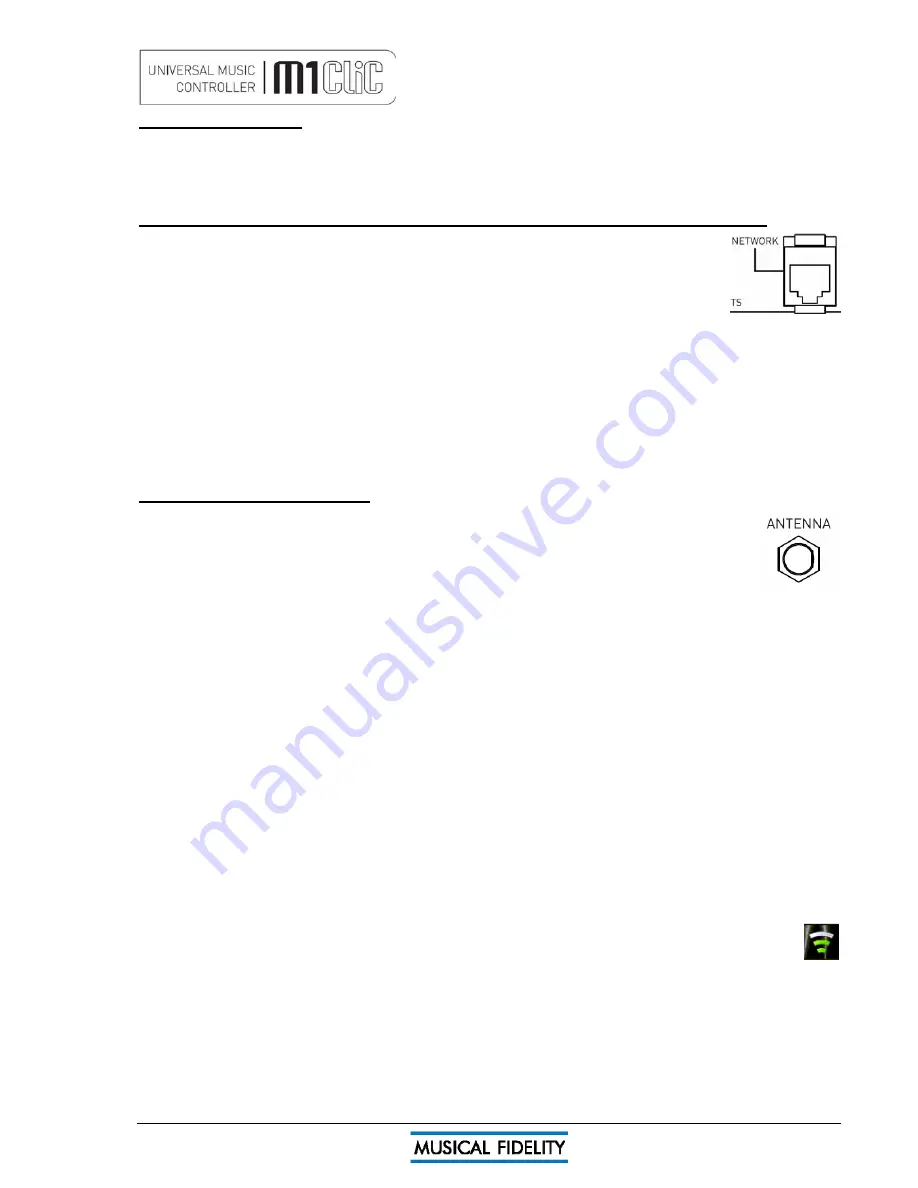
Switch off, and plug the supplied 10/100 RJ45 (also called UTP) cable into the silver
NETWORK socket (see right) on the back panel. Plug the other end into the router or local
network wall socket.
Switch the unit back on, and wait for it to start up. If the unit is already on, press
PLAY/VIEW button to go to the top of the main menu (“Favorites” should be highlighted)
Use navigate down (
▼
) button to go to the bottom of the list so “Settings” is highlighted.
Press “OK” button. “Network” should already be highlighted.
Press “OK” button again. “Network setup” should already be highlighted.
Press “OK” button and “Wired” should already be highlighted.
Press “OK” button again and system will flash up a message on white background asking to confirm wired mode
operation. Press “OK” or “
►
” to confirm, or “
◄
” to back out.
Unit will now reset itself to run in wired mode.
Under “Wired”, “Network Settings”, “Settings” the commonest setting should be selected automatically:
“Automatic (DCHP)”. This would be suitable for most home networks. We do not recommend changing this
setting, unless the network administrator or provider advises changing it is necessary.
1
st
setup for wireless installations:
Switch off, and plug the supplied aerial onto the gold ANTENNA SMC threaded plug (see right)
on the back panel. Make sure the pin in the plug is straight, then place socket on aerial lead over
plug. Tighten nut on the aerial lead (by hand, do not use tools) and make sure the aerial is
placed as high as possible, in direct line of sight of the wireless router/hub.
Switch the unit back on, and wait for it to start up. If the unit is already on, press PLAY/VIEW
button to go to the top of the main menu (“Favorites” should be highlighted)
Use navigate down (
▼
) button to go to the bottom of the list so “Settings” is highlighted.
Press “OK” button. “Network” should already be highlighted.
Press “OK” button again. “Network setup” should already be highlighted.
Press “OK” button and select “Wireless”.
Press “OK” button again and system will flash up a message on white background asking to confirm wireless
mode operation. Press “OK” or “
►
” to confirm, or “
◄
” to back out.
Unit will now reset itself to run in wireless mode.
Make sure that the required wireless network’s name (also referred to as “SSID”) is known. The network access
key “”WEP” or “WEP/PSK” will also be required. The network/internet provider should be able to help if required.
Select “Scan” to view the locally available wireless networks.
Take care as other people’s networks nearby may be shown in this list, please make sure that the correct
network is chosen.
Using the up/down arrow keys enter in the required key. Press “OK” when done.
If successful, the unit will revert back to “network setup”.
Correct setup may be checked by selecting “network info”. The unit should report back with an IP address e.g.
“192.168.1.128” (n.b. these numbers will most likely be different in different network setups).
Under “Wireless”, “Network Settings”, “Settings” the commonest setting should be selected automatically:
“Automatic (DCHP)”. This would be suitable for most home networks. We do not recommend changing this
setting, unless the network administrator or provider advises changing it is necessary.
When using wireless, please note that for reliable and sound audio performance, a strong signal is
required, usually 2 bars, on the signal strength meter (see right). Move and position the aerial for best
possible reception.
External interference and/or signal absorption will still affect performance of the receiver and in extreme cases
a wired connection should be considered.
Network setup


