13
Eye Measurement Mode
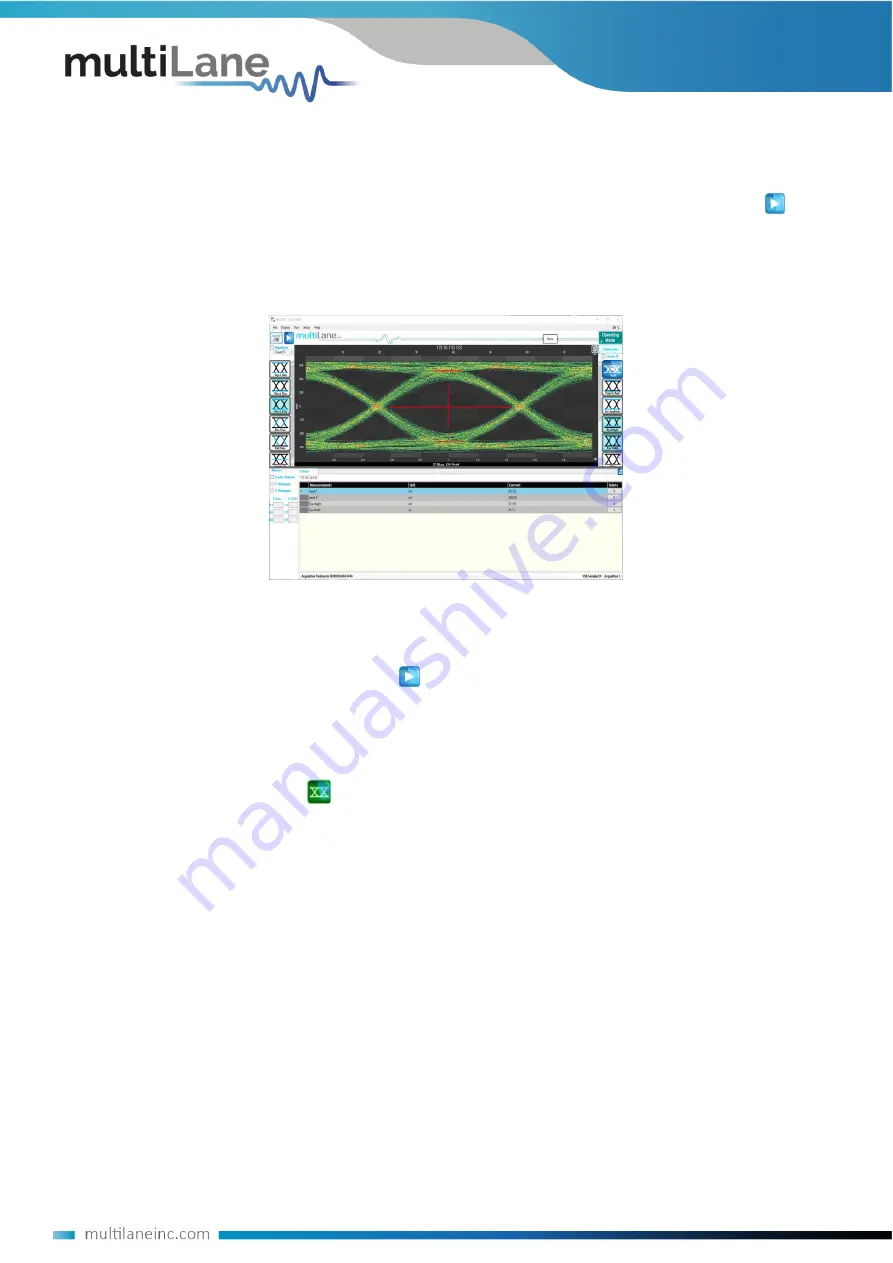
Regardless of hardware or simulation mode, it is possible to draw the eye and capture
measurements after filling the configuration window and connecting to the instrument.
In Eye Mode, in order to draw the eye diagram, click on the
Start Data Acquisition
button
Check the
Check All
button to view all the eye measurements down the screen for one time
or select the needed measurement only by pressing on the desired icons. Use the second
option to reduce measurement operation time.
Figure 13: Measurements Mode
If a large number of acquisitions need to be captured, click on the
Repetitive
check box, then
press the
Start Data Acquisition
button
. Check the
Count
Text box and specify the number
of acquisitions to automatically stop captures after a certain number of measurements.
By default, the measurements are displayed continuously. In this case, the eye diagram is
frozen after the first acquisition.
By default, Eye Mode is chosen; if you are located in Pattern Capture mode, to move to the
select
Switch to Eye Mode
to switch back.
During the acquisition phase the
Start Data Acquisition
button becomes a red stop acquisition
functionality. Clicking on the red stop button will stop after completing the acquisition
currently in progress and will display the eye and its statistical measurements.
In order to restart the acquisitions, click again on the
Start Data Acquisition
button; a new
set of acquisitions begins. Accumulated data continues across several runs if not cleared.
In order to save data, statistical measurements and configuration files, check the
Saved Data
folder under the deployment directory. A folder is created for each ML-DSO and inside of this
folder the user can find 3 different files; statistical measurements, configuration and the data
file.


