background image

1

5

Maintaining 

Your Log 

Splitter

WARNING: Before cleaning, 
lubricating, repairing, or inspecting, 
disengage the control lever and stop 
engine. Disconnect the spark plug 

wire and ground it against the engine to prevent 
unintended starting. Always wear safety glasses 
during operation or while performing any adjust-
ments or repairs.

Conditions that Will Void Warranty

1.  Failure to maintain proper fluid level in reservoir 
2.  Changing the relief valve setting or pressure adjust-

ment of control valve without proper knowledge and 
instruction from the factory

WARNING: Higher pressure could 
cause the hoses to burst, cylinder 
to rupture, and intense fluid to be 

released, which could result in serious personal 
injury.

3.  Disassembling the pump 
4.  Use of incorrect hydraulic fluid 
5.  Lack of lubrication or improper lubrication of the 

beam or unit

6.  Excessive heating of the hydraulic system 
7.  Attempting to start unit in temperatures under 20°F 

without pre-heating fluid in reservoir

8.  Unattended leaks in hydraulic system 

Hydraulic Fluid

•  Check the hydraulic fluid level in the log splitter 

reservoir tank before each use. Maintain fluid level to 
just below the oil plug.

•  Have the hydraulic fluid in the reservoir changed every 

100 hours of operation. See your authorized service 
dealer to have the hydraulic fluid changed.

Beam and Splitting Wedge

•  Lubricate top and bottom of the beam (where it comes 

into contact with the cylinder), before each use, with 
engine oil.

Hose Clamps 

(If Equipped)

•  Check, before each use, if hose clamps on the suction 

hose (attached to the side of the pump) are tight. 
Check the hose clamps on the return hose at least 
once a season.

Engine

Refer to the Engine maintenance section for all mainte-
nance instructions.

Changing the Belt

WARNING: Be sure to shut the engine 
off, disconnect the spark plug wire(s) 
and ground against the engine to 
prevent unintended starting before 
removing the belt.

The belt on your log splitter is subject to wear and should 
be replaced if any signs of wear are present.

IMPORTANT

: The V-belt found on your log splitter is a 

non-clutching, constant tension belt. A substitute (non-
OEM) V-belt can be dangerous. For a proper working 
machine, use factory approved belts.
To change or replace the belt on your log splitter, proceed 
as follows:
1.  Disconnect the spark plug wire and ground it against 

the engine.

2.  Drain the fuel tank or place a piece of plastic beneath 

the cap to prevent gasoline leakage.

3.  Carefully raise the rear of the log splitter up on blocks.
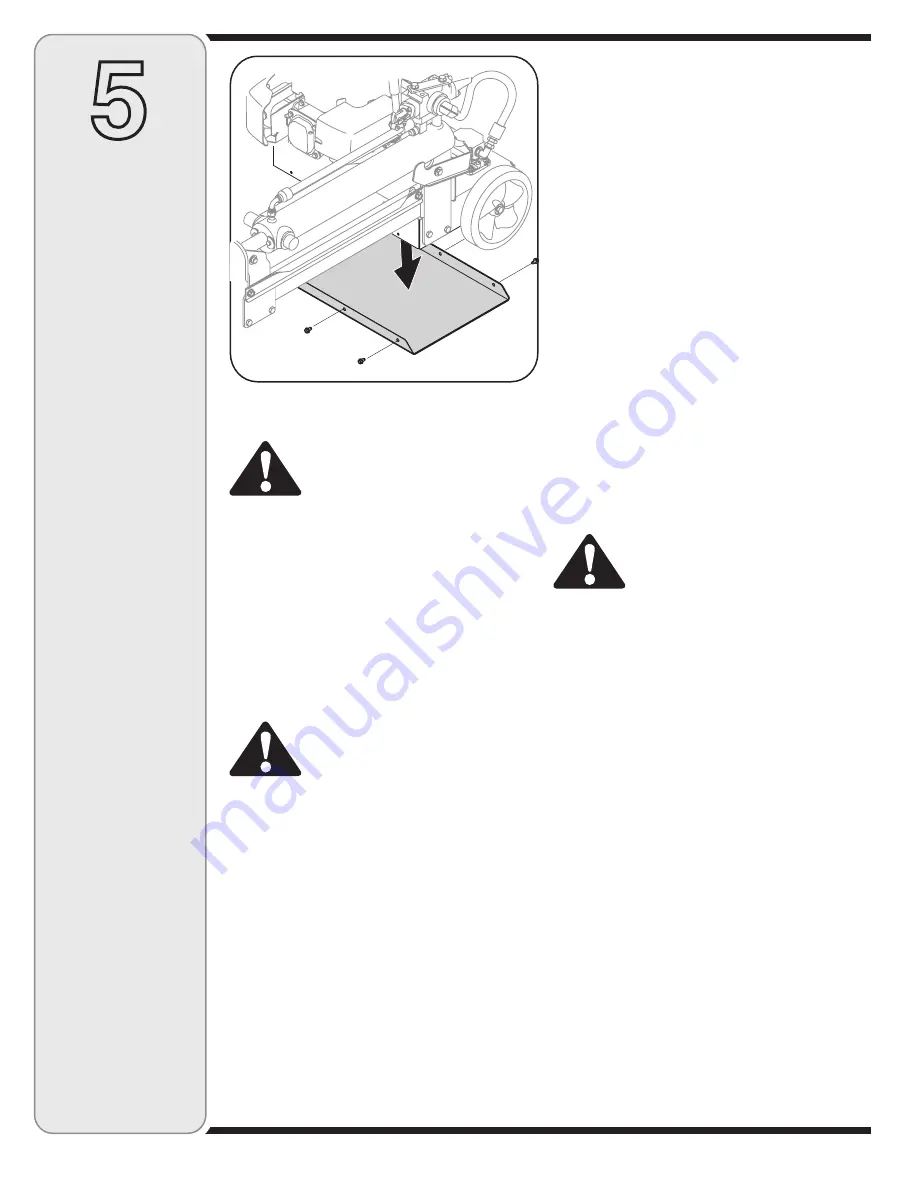
4.  Remove the belt cover by removing the six self-tap-

ping screws that fasten it to the frame. See Figure 5-1.

Figure 5-1

Summary of Contents for 5DM Series

Page 1: ...ed in effective working order by the operator In the State of California the above is required by law Section 4442 of the California Public Resources Code Other states may have similar laws Federal la...

Page 2: ...to the retailer from which it was purchased without first contacting Customer Support Customer Support If you have difficulty assembling this product or have any questions regarding the controls opera...

Page 3: ...e through a pin hole leak and cause serious injury by puncturing the skin and causing blood poisoning Never check for leaks with your hands DANGER Rear Operator s Manual Hold log on its sides not on e...

Page 4: ...you 14 This machine should be used for splitting wood only do not use it for any other purpose 15 Follow the instructions in the manual s provided with any attachment s for this machine Preparation 1...

Page 5: ...e Maintenance and Storage 1 Stop the engine disconnect the spark plug and ground it against the engine before cleaning or inspecting the machine 2 Stop the engine and relieve hydraulic system pressure...

Page 6: ...hipped without hydraulic fluid in the reservoir tank You MUST add fluid before operating Proceed with the following steps 1 Remove oil plug which is located on the end of the beam assembly See Figure...

Page 7: ...care when han dling gasoline Gasoline is extremely flammable and the vapors are explosive Never fuel the machine indoors or while the engine is hot or running Extinguish cigarettes cigars pipes and ot...

Page 8: ...ary WARNING Read understand and follow all instructions and warnings on the machine and in this manual before operating WARNING Wear leather work gloves safety shoes ear protection and safety glasses...

Page 9: ...Vapors are flammable 1 Check to make sure that cylinder is in the locked position engaging safety switch See Figure 4 2 2 Pull out the choke knob located on the engine See Figure 4 3 inset NOTE Use o...

Page 10: ...h wheels 3 Place the log against the push bracket Only split wood in the direction of the grain 4 To stabilize the log place your hand only on sides of log Never place hand on the end between the log...

Page 11: ...level regularly 2 Use an approved hydraulic fluid Approved fluids include Dexron III or a 10 Weight AW hydraulic oil 3 Keep hoses clear and unblocked 4 Bleed air out of hoses before operating 5 Flush...

Page 12: ...hanged every 100 hours of operation See your authorized service dealer to have the hydraulic fluid changed Beam and Splitting Wedge Lubricate top and bottom of the beam where it comes into contact wit...

Page 13: ...not recommend the use of pressure wash ers or garden hose to clean your unit They may cause damage to bearings or the engine The use of water will result in shortened life and reduce serviceability 2...

Page 14: ...in gas cap plugged Cylinder rod will not move 1 Replace belt 2 Disconnect hydraulic hoses remove shipping plugs reconnect hoses 3 See authorized service dealer 4 Correct engine pump alignment as nece...

Page 15: ...onditions 1 Correct alignment as necessary 2 See authorized service dealer 3 See authorized service dealer 4 Flush and clean hydraulic system 5 Flush and clean hydraulic system 1 Engine pump misalignm...

Page 16: ...arting engine make sure spark plug muffler fuel cap and air cleaner are in place Do not crank engine with spark plug removed If fuel spills wait until it evaporates before starting engine When operati...

Page 17: ...r items that could become caught Rapid retraction of starter cord kickback will pull hand and arm toward engine faster than you can let go Broken bones fractures bruises or sprains could result When s...

Page 18: ...a from the chart to the right NOTE A 5w30 synthetic oil may be used to improve startability for cold weather temperatures below 40 degrees F IMPORTANT Using nondetergent oil or 2 stroke engine oil cou...

Page 19: ...sure the area is dry before starting the engine Avoid repeated or prolonged contact with skin or breathing of vapor Check Fuel Level 1 Clean around fuel fill before removing cap to fuel 2 Fill tank t...

Page 20: ...pect keep spark plug side of engine up Transporting or tipping engine spark plug down may cause smoking hard starting spark plug fouling or oil saturation of air cleaner Periodic inspection and adjust...

Page 21: ...10 2 Replace paper element when dirty or damaged Replace foam element when damaged 2 To clean foam element separate it from the paper element and wash in liquid detergent and water Allow to dry thoro...

Page 22: ...gasoline If you keep a container of gasoline for refueling make certain it contains only fresh fuel Gasoline oxidizes and deteriorates over time causing hard starting 3 If the cylinder was coated wit...

Page 23: ...NOTES 23...

Page 24: ...ies 5DM 53 8 18 A A B B 20 27 35 57 33 38 29 36 26 17 4 7 44 42 39 16 4 54 45 52 48 50 49 7 28 58 42 15 8 13 11 46 56 24 22 8 42 19 21 23 31 37 30 33 32 34 12 6 9 3 10 14 59 5 2 25 7 51 55 41 40 43 48...

Page 25: ...nsion 480 OD x 5 0 24 736 04178A Washer Slotted Felt 25 737 04148 Plug Drain 26 738 0930 Screw Shldr 560 x 165 27 781 04168 Bracket Lock Cylinder 28 718 04241 Cylinder 29 710 0870 Screw 3 8 16 x 625 3...

Page 26: ...26 Engine 1P61...

Page 27: ...ly 15 951 10307 Flywheel Key 16 951 10305 Air Cleaner Housing Assembly Complete 17 951 10304 Muffler Stud Assembly 18 951 10363 Fuel Line Kit Inc hoses clamps filter 19 951 10358 Fuel Filter 20 951 10...

Page 28: ...Warranty Coverage MTD must warrant to the ultimate purchaser and each subsequent purchaser that the engine is 1 Designed built and equipped so as to conform with all applicable regulations adopted by...

Page 29: ...se of any non exempted add on or modified parts shall be grounds for disallowing a warranty claim made in accordance with this article The engine manufacturer shall not be liable under this article to...

Page 30: ...owing cases a Log splitter pumps valves and cylinders have a separate one year warranty b Routine maintenance items such as lubricants filters blade sharpening tune ups brake adjustments clutch adjust...

Page 31: ...Si se utiliza un amortiguador de chispas el operador lo debe mantener en condiciones de uso adecuadas En el Estado de California las medidas anteriormente mencionadas son exigidas por ley Art culo 44...

Page 32: ...roncos P gina 38 Mantenimiento de la m quina rompetroncos P gina 42 Soluci n de problemas P gina 44 Ap ndice de Motor P gina 46 Pr cticas de Operaci n Seguras de Motor P gina 46 Funcionamiento de Su M...

Page 33: ...fluid can escape through a pin hole leak and cause serious injury by puncturing the skin and causing blood poisoning Never check for leaks with your hands DANGER Rear Operator s Manual Hold log on it...

Page 34: ...nicamente para cortar madera no la use con ning n otro prop sito 15 Siga las instrucciones del de los manual es entregado s con cualquier accesorio de esta m quina Preparativos 1 Siempre use zapatos d...

Page 35: ...el motor y libere la presi n del sistema hidr ulico antes de reparar o ajustar los accesorios mangueras tubos u otros componentes del sistema 3 Para evitar incendios limpie la suciedad y grasa de las...

Page 36: ...env a sin fluido hidr ulico dentro del tanque de dep sito Usted DEBE agregar fluido antes de hacerla funcionar Realice los siguientes pasos 1 Retire la tapa de combustible ubicada en el extremo del m...

Page 37: ...o al trabajar con gasolina La gasolina es sumamente inflamable y sus vapores pueden causar explosiones Nunca agregue combustible a la m quina en interiores o mientras el motor est caliente o en funcio...

Page 38: ...se puede volver de forma manual a la posici n neutral de ser necesario ADVERTENCIA Lea comprenda y siga todas las instrucciones y advertencias que aparecen en la m quina y en este manual antes de hac...

Page 39: ...s son inflamables 1 Aseg rese de que el cilindro est en la posici n fija con el interruptor de seguridad engranado Vea la Figura 4 2 2 Tire de la perilla del cebador ubicada en el motor Vea el recuadr...

Page 40: ...lante y por detr s 3 Coloque el tronco contra el soporte de empuje Solamente corte la madera en el sentido de la veta 4 Para estabilizar el tronco coloque la mano solamente a los lados del tronco Nunc...

Page 41: ...o aprobado Entre los fluidos aprobados se incluyen Dexron III o un aceite hidr ulico AW de peso 10 3 Mantenga las mangueras limpias y destapadas 4 Purgue el aire de las mangueras antes de usarlas 5 En...

Page 42: ...torizado para cambiar el fluido hidr ulico Vigueta y cu a de corte Lubrique la parte superior e inferior de la vigueta en el lugar donde hace contacto con el cilindro antes de cada uso con aceite de m...

Page 43: ...ra limpiar su unidad Pueden producir da os a los cojinetes o al motor El uso de agua acortar la vida til de la m quina y reducir su capaci dad de servicio 2 Limpie la unidad con un trapo embebido en a...

Page 44: ...plador y l mpielo Causa Problema Soluci n Soluci n de problemas hidr ulicos Saltos ocasionales vacilantes a alta velocidad 1 Ajuste la distancia disruptiva a 0 76 mm 0 03 pulg 1 La separaci n de la bu...

Page 45: ...l distribuidor de servicio autorizado 3 Consulte al distribuidor de servicio autorizado 4 Enjuague y limpie el sistema hidr ulico 5 Enjuague y limpie el sistema hidr ulico 1 Alineaci n incorrecta del...

Page 46: ...o incline el motor o el equipo a un ngulo que cause que se derrame gasolina No cebe el carburador para apagar el motor Cuando transporte el equipo h galo con el tanque VAC O Cuando almacene gasolina o...

Page 47: ...stencia luego jale r pidamente Antes de arrancar el motor retire todos los equipos externos cargas del motor Los componentes del equipo acoplados directamente tales como por ejemplo cuchillas rotores...

Page 48: ...de su zona NOTA Se puede usar un aceite sint tico 5w30 para mejorar el encendido cuando el clima est fr o tempe raturas inferiores a los 40 F IMPORTANTE El uso de aceite sin detergente o para motor d...

Page 49: ...est seca antes de arrancar el motor Evite el contacto prolongado con la piel o inhalar los vapores Verifique el nivel de combustible 1 Antes de sacar la tapa para cargar combustible limpie alrededor...

Page 50: ...nsportar equipo o para inspeccionar mantenga el lado de la buj a del motor hacia arriba Si la buj a del motor se transporta o se inclina hacia abajo puede causar humo un arranque dif cil contaminaci n...

Page 51: ...a o o cada 100 horas de operaciones m s a menudo de ser usado en condiciones muy polvorientas ADVERTENCIA Nunca use gasolina o solventes de punto de encendido bajo para limpiar el elemento del depura...

Page 52: ...en el sistema combustible o en las piezas principales del carburador Si la gasolina en su motor se deteriora durante el almacenamiento debe reparar o reemplazar el carburador y otros componentes del s...

Page 53: ...NOTAS 53...

Page 54: ...Asistencia al Cliente de Distribuidores de MTD llame al n mero 800 800 7310 REQUERIMIENTOS DE GARANT A SOBRE DEFECTOS PARA MOTORES PEQUE OS DE EQUIPO TODO TERRENO DE 1995 Y VERSIONES POSTERIORES Esta...

Page 55: ...imiento o reparaciones bajo garant a y se suministrar sin cargo al propietario Dicho uso no reducir las obligaciones de garant a de MTD 10 No se podr n usar piezas adicionales ni modificadas que no es...

Page 56: ...tienen una garant a separada de un a o b Los art culos necesarios para el mantenimiento de rutina como por ejemplo lubricantes filtros afiladores de cuchillas sincroni zaci n del motor los ajustes de...

Reviews: