


10
5.
Pull the rod 3; watch the monitor to check is the image is clear. If not, adjust fine knob.
6.
For higher synchronization demanded, do below.
1)
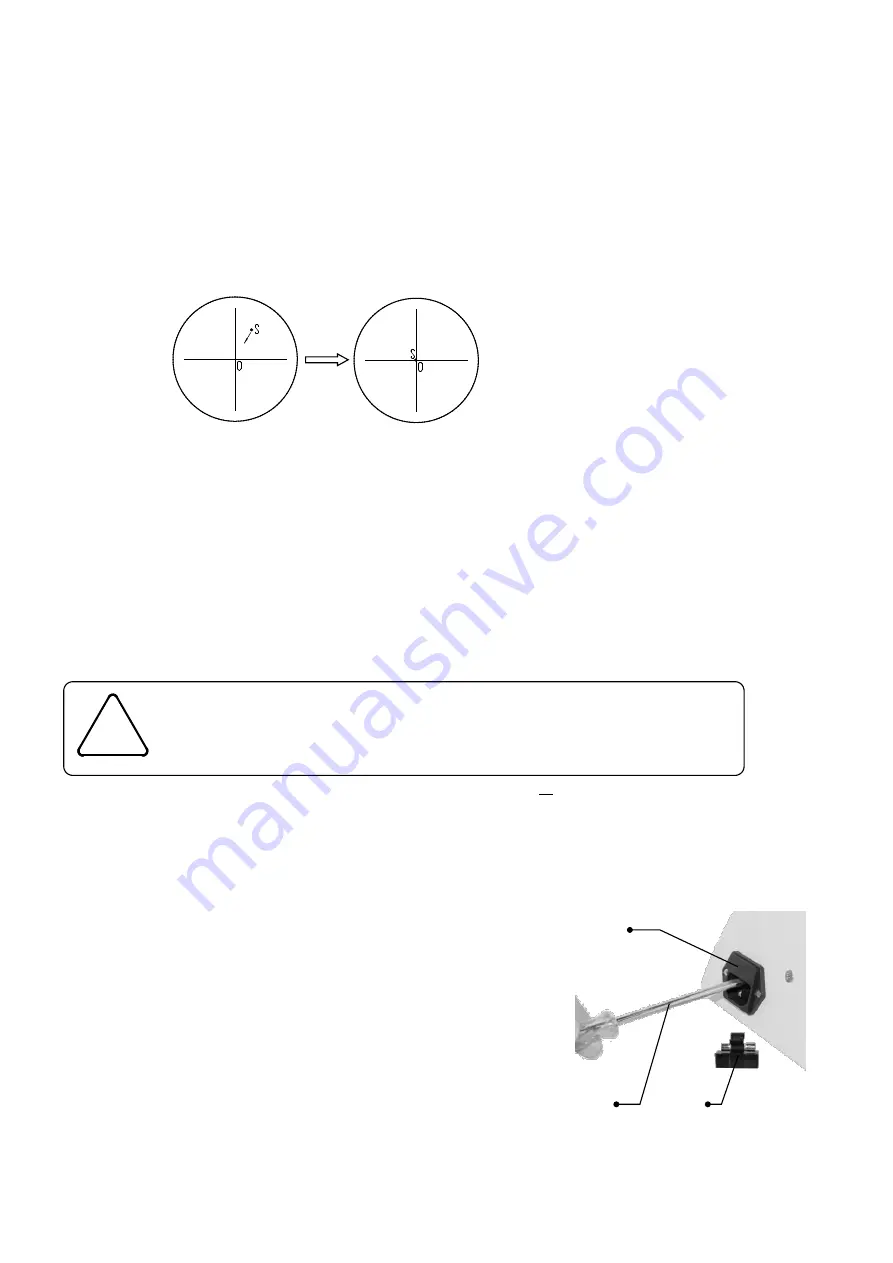
Push rod 3, observe specimen image. Find a target (a target easily to be recognized, as S in figure 16-a) and
remove it to the field center. Remove it to the cross point of the graduation eyepiece if you have as figure 16-b.
2)
Pull rod 3, watch the image on the monitor and check if the target above is near the field center. If it is a long
distance, adjust the three screws on the output interface and remove the target to the center.
3)
Move the specimen and check if the moving direction coincides with that of the monitor image. If not, adjust
the camera direction. Unscrew the screws on the interface, rotate the camera and make the two directions the same
and finally lock the screw.
VI. Replace Bulb and Fuse
This instrument fuse is used to light for transmitted lighting system, fuse 3 is integrated at the input power adapter of
host, as figure 17.
1. Replace transmission illumination halogen bulb
(1) Turn off the power switch 1, and unplug the power cord 2, as figure 17.
(2) Take out fuse basement 2 by flat screwdriver 1 as image shows, then take
off broken fuse and insert new fuse, out the fuse basement back to host input
power adapter.
(3) Re connect power to check if it works well.
2. Replace body fuse
The fuse is installed in the fuse socket 3, replace according the following
steps.
(1) Turn off the power switch 1 and unplug the power cord 2. See Fig. 29.
(2) Loose the fuse socket nut 2, remove the damaged fuse and replace a new
one. See Fig. 30.
(3) Connect the power cord and turn on the power switch to check whether the
a
b
Figure 16
Turn off the power switch and unplug the power cord before replacing the
bulb and the fuse, otherwise fire, personal injury or damage to this unit
may occur due to electric short circuit.
!
Warning!
Figure 17
1
2
3
Summary of Contents for MF52-N
Page 2: ...Inverted Fluorescence Microscope MF52 N ...
Page 6: ......


