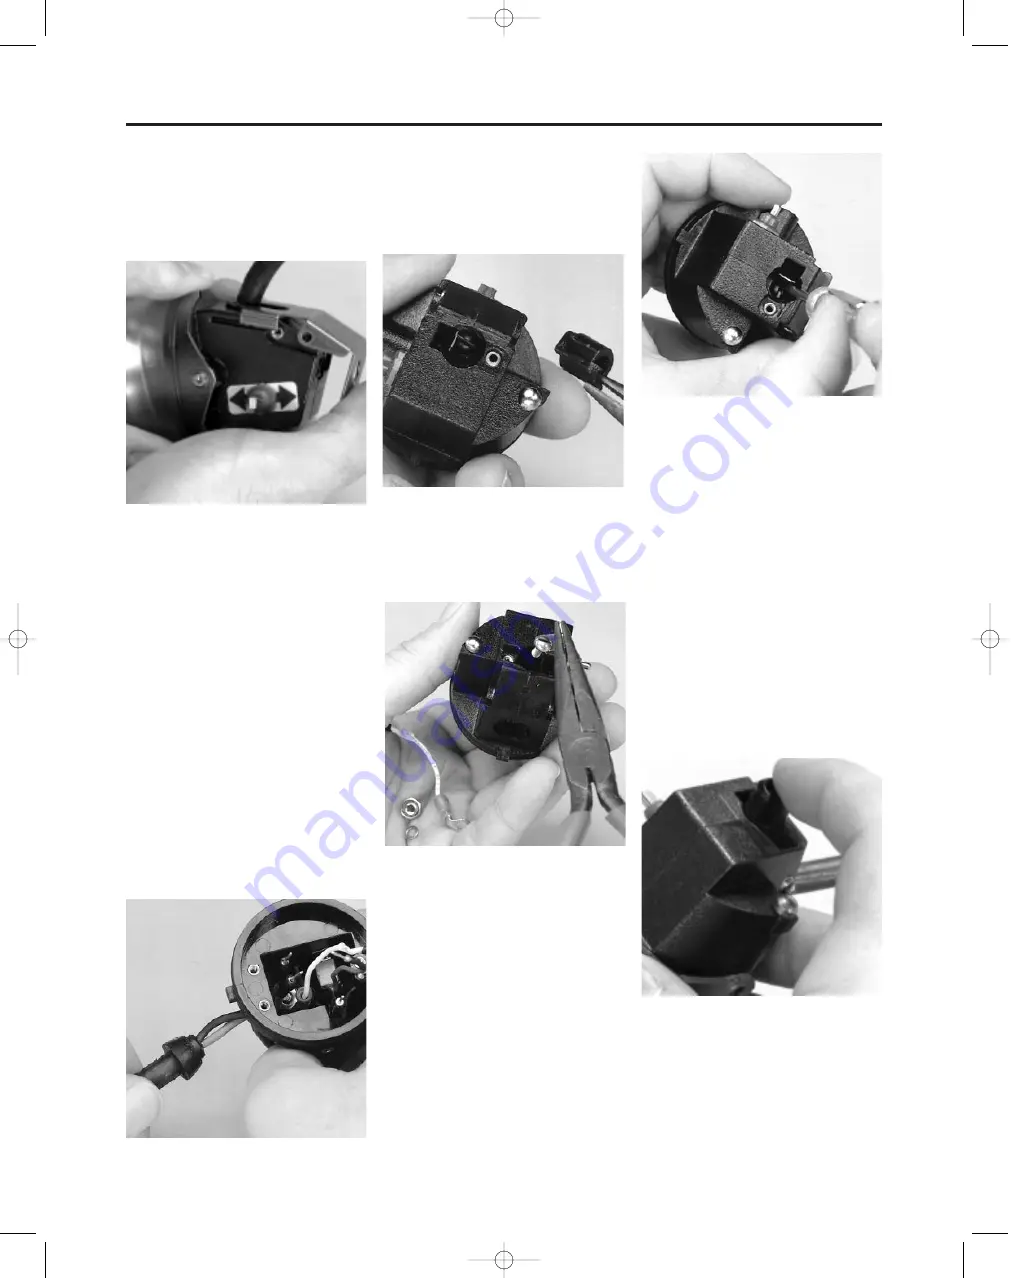
2. Be careful that you do not bend
the cap hook as it is removed.
Installing a new Cap Hook
1. Line up the base of the cap hook with
the grooves in the lamp-housing.
Note
The grommet portion of the cable may
have to be pushed into the base of the
lamp-housing.
2. Press the cap hook into place and
install the two screws and lock-
washers to secure it to the lamp-
housing. Be careful that you do
not bend the charging key.
Removing the Charging Barrel
(P/N 89947), Charging Contact
(P/N 89948), and Contact Wire
Assembly (P/N 484821)
1. Remove the bezel.
2. Remove the main lamp and reflec-
tor, the spring and the secondary
bulb.
3. Remove the main circuit board.
4. Remove the cap hook.
5. Grasp the cable below the grom-
met and pull it out of the lamp-
housing.
This removes the headpiece-end
of the cable and battery cover
assembly.
6. Using long-nose pliers, grasp the
charging barrel (P/N 89947) and
pull it out of the lamp-housing.
7. Unthread and remove the screw
(P/N 633694), charging contact
(P/N 89948), nut (P/N 50249), lock-
washer (P/N 56874), and the con-
tact wire assembly (P/N 484821)
(the white wire).
Re-installing the Charging Barrel,
Charging Contact, and Contact
Wire Assembly
1. Insert the screw into the charging
contact, then insert the screw into
the hole in the center of the lamp-
housing.
2. Temporarily, insert the charging
barrel to hold the charging contact
and screw in place.
3. Install the contact wire assembly
(white wire), the lockwasher and
the nut on the screw inside the
headpiece.
4. Remove the charging barrel and
secure the assembly by tightening
the screw.
5. To re-install the charging barrel.
a. Position the charging barrel so
that the end with the holes
faces you.
b. Turn the charging barrel until
the flat side lines up with the
charging contact and the
notch is on the right (at about
the 5 o’clock position).
c. Insert the charging barrel into
the lamp-housing and press it
in place.
6. Re-install the cable through the hole
at the bottom of the lamp-housing.
Press the grommet in place.
7. Re-install the cap hook.
8. Re-install the main circuit board.
9. Re-install the main lamp and
reflector, the spring and the sec-
ondary bulb.
10. Re-install the bezel.
8
TAL 998 (L) Rev. 2 - 817184
Maintenance
817184 8/13/99 9:43 AM Page 8


