


17
7.1.1.5
Display Lock Button and Indicator
The
display
lock
status
of
the
last
speed
captured
is
displayed
as
well.
This
button/indicator
can
be
used
to
lock
the
reading
to
the
screen
so
it
cannot
be
overwritten.
If
the
lock
is
engaged,
the
padlock
on
the
button
appears
locked
and
the
reticle
in
the
HUD
will
change
to
a
padlock.
If
the
lock
is
not
engaged,
the
padlock
on
the
button
appears
unlocked.
To
remove
the
lock,
simply
press
the
lock
button.
The
locked
readings
will
be
removed
once
the
lock
is
disengaged
and
the
reticle
will
return
to
normal.
7.1.1.6
Menu Button
This
button
enables
access
to
the
menu
system
to
configure
laser
settings.
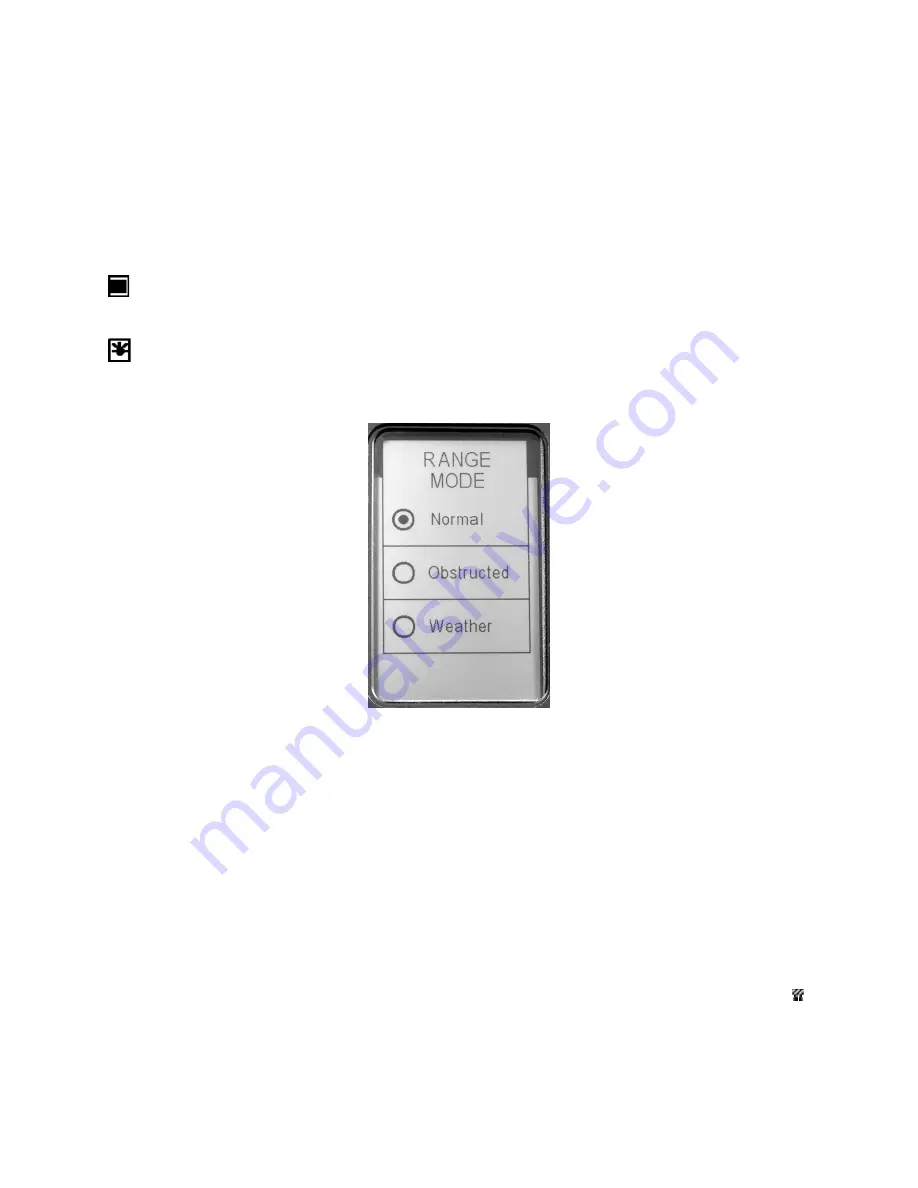
7.1.1.7
Range Mode Select Button
The
range
mode
button
displays
a
pop
up
window
(Figure
9)
that
sets
the
ranging
mode
for
the
laser.
These
modes
will
vary
and
allow
for
different
performance
due
to
distinct
operating
environments.
Figure
9
‐
Range
Mode
Select
Popup
Window
7.1.1.7.1
Normal
Range
Mode
This
range
mode
is
the
normal
mode
for
the
laser.
No
additional
restrictions
are
placed
onto
the
laser
targeting
functionality.
In
this
mode,
the
laser
will
acquire
targets
anywhere
between
the
established
minimum
and
maximum
ranges
as
entered
by
you.
In
normal
range
mode
there
will
be
no
icons
displayed
as
a
range
mode
setting
on
the
Home
screen
or
in
the
HUD,
if
so
enabled.
7.1.1.7.2
Obstructed
Mode
This
mode
is
used
to
acquire
targets
out
beyond
a
very
short
range.
This
mode
is
useful
when
shooting
the
laser
from
locations
with
potential
nearby
object
interference
or
a
window
in
close
proximity
to
the
operator.
The
laser
continues
to
operate
in
normal
ranging
mode,
however,
reflections
that
are
closer
than
the
minimum
distance
for
this
mode
will
not
be
shown.
In
this
mode,
the
laser
will
acquire
targets
anywhere
from
approximately
30
feet
out
to
the
maximum
range
setting.
The
obstructed
mode
icon
( )
will
appear
on
the
Home
screen
and
in
the
HUD,
if
enabled.


