


VPort 2310 User’s Manual
System Configuration
4-13
that it fits the desired VMD area.
Step 3:
Use
Window Name
to assign a name to this VMD window
(refer to the
Trigger
Condition
in the
Configuration/Application
page).
Step 4:
Set up the
Sensitivity
and
Percentage
parameters by moving the percentage cursor
.
Step 5:
Click on the
Save
button to save the settings
.
Step 6:
To test the VMD condition, check the action of the graphics bar on the left side of the
save button.
Wave your hand in front of the camera, in the VMD area, and then note
which color shows up in the graphics bar.
Green means VMD is not triggered, and Red
means VMD is triggered.
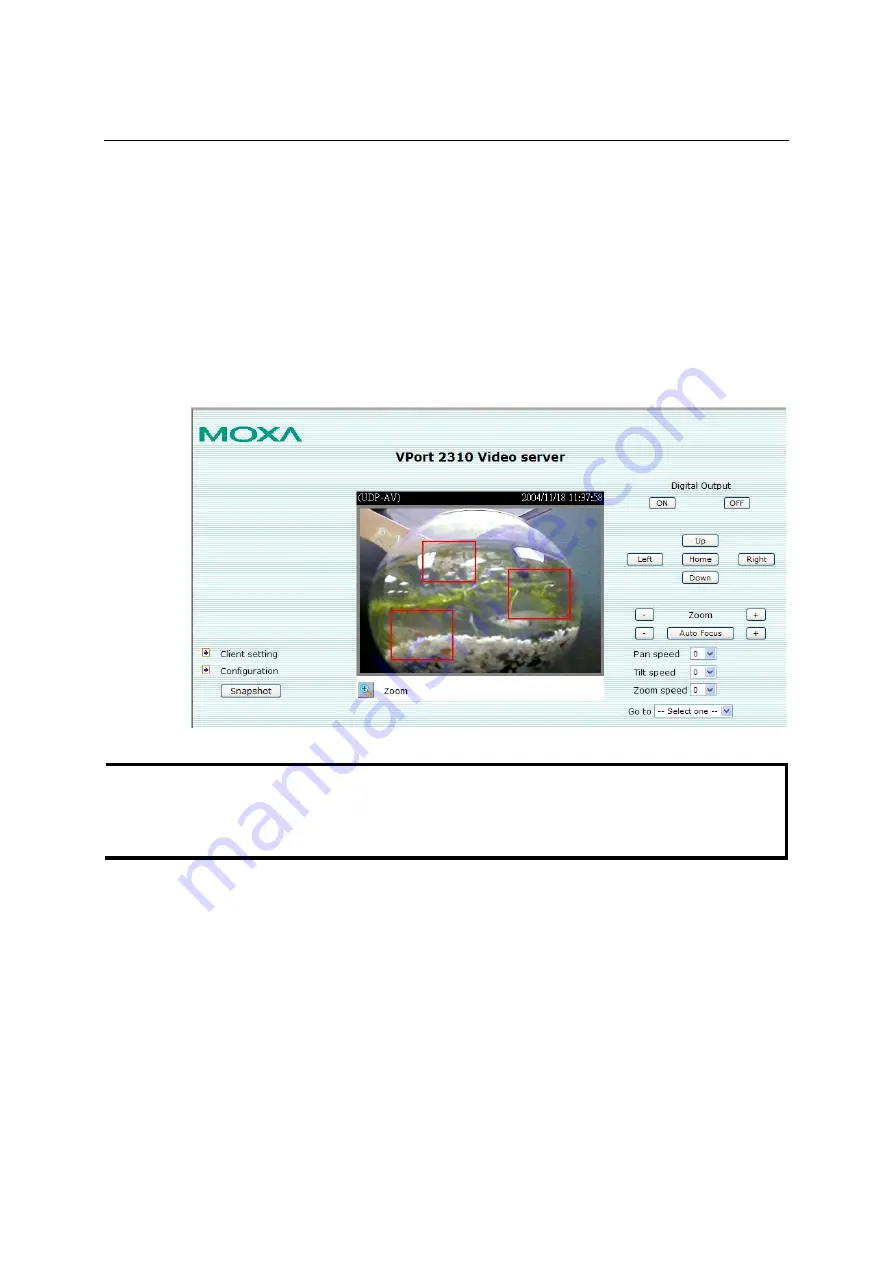
Step 7
: Users will see a red frame with the VMD window size in the homepage’s image if the
VMD is triggered.
NOTE
Motion detection is provided as a reference because it is environment-dependent. When the
settings are configured to be very sensitive to motion, some triggered events might actually be
false alarms, since in fact there is only a tiny difference between sequential images. False alarms
can be triggered by the flashing of florescent lights, shifting of shadows, etc.


