


Use the steps below as a guide to quickly set up your camera so it will function using the factory
default settings.
STEP 1
Open camera cover. Press the battery chamber release button. Install 8 AA batteries.
Recommended for use: Energizer® lithium batteries.
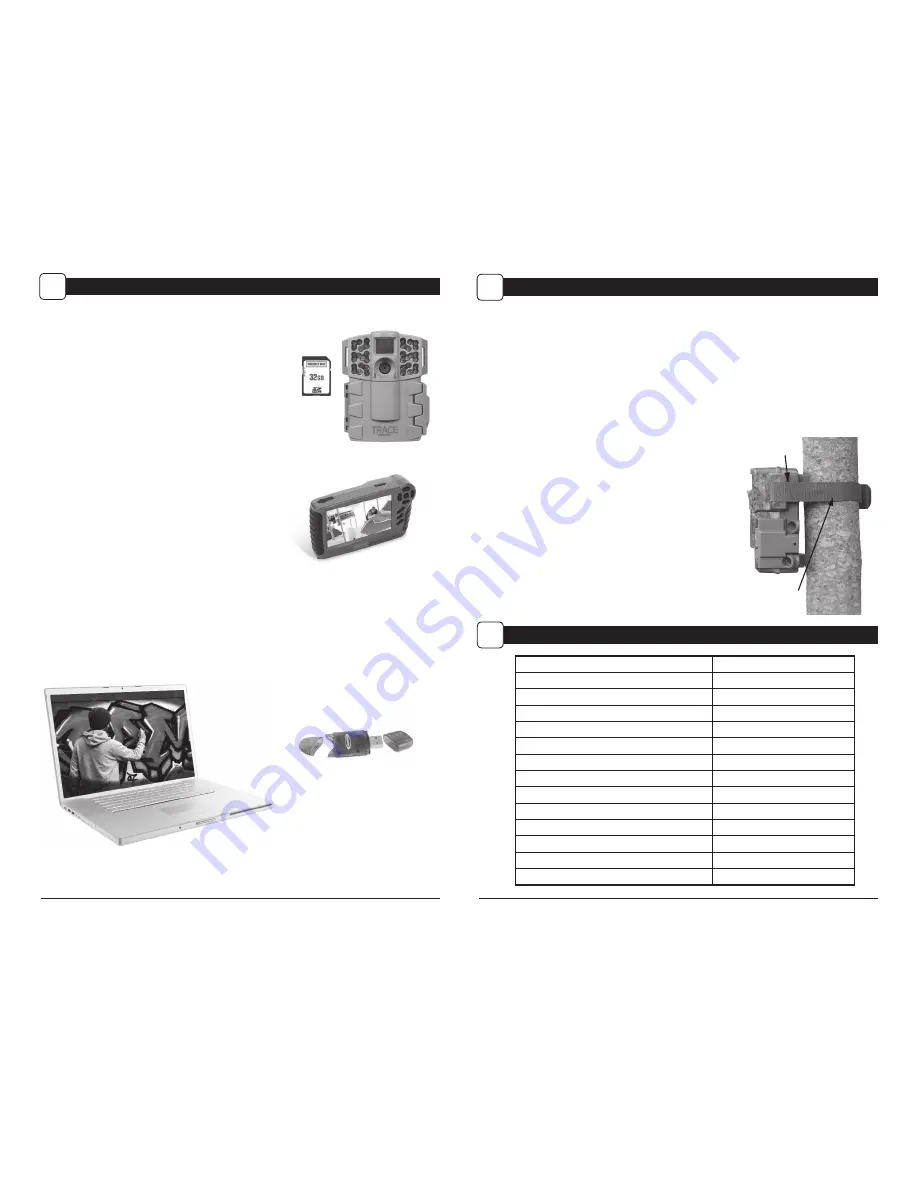
STEP 2
Insert SD Memory Card until you hear an audible click. Camera will not operate without SD Card.
Slide the power switch to ON. Press the Menu button to switch the camera to Setup, press Left button
to enter the OPTIONS and set time and date.
STEP 3
Mount camera in desired location using a mounting strap
or mounting bracket.
NOTE: Camera must be attached to
a stable object for motion detection to function properly.
STEP 5
Slide the power switch to ON. Close cover. The camera
will operate using Default settings. You may also
customize the settings if required.
Page 3
PREMISE PRO Digital Surveillance Camera
Page 10
PREMISE PRO Digital Surveillance Camera
STEP 4
Switch camera to IR Aim. Aim camera using motion
detection to determine target area. Walk in front of the
camera at the desired distance and the camera LED will
flash showing the covered area. Switch camera to
ON
.
DATE/TIME:
01/01/16 11:11pm
CAPTURE MODE:
3 PHOTO
START TIME:
ALWAYS ON
STOP TIME:
MIDNIGHT
CAMERA NAME:
TRACE CAM
ERASE ALL IMAGES:
NO
MANAGED MEMORY:
OVERWRITE OLDEST
PHOTO QUALITY:
LOW (4MP)
VIDEO QUALITY:
HD (1280x720)
VIDEO LENGTH:
30 SECONDS
SECURITY CODE:
00000
AC CONNECTED:
NO
WI-FI SD CARD:
NO
RESET TO FACTORY DEFAULTS:
NO
See the full line of TRACE camera accessories at www.moultriefeeders.com
There are a number of ways for you download and view
the pictures, videos in the field or at another location.
Removing the SD Card
To remove the SD Memory Card, open the camera cover
and push gently on the SD card and it will pop out slightly
allowing you to remove it. Load the SD card into the
player or card reader to view or move stored images to
another location.
Important
Make sure that the camera is in the OFF position before
removing SD card.
ln the Field
You can download the pictures, videos, and time lapse
pictures with the aid of external devices. To download,
use an external player or card reader that is
supported by 12V DC or Mini USB Jack.
At Home
Remove the entire camera and transport to another location to download images. To connect the
camera to a PC computer, turn the camera ON, press the MENU button once to change to SETUP
Mode. Connect the USB cord (not included) between the USB out port and the PC computer. The
computer will recognize the camera as a removable drive. The unit works with Windows XP/Vista/7 or
Mac OS X 10.1 or higher. Copy the images and videos from the camera onto your PC for further
editing or printing. When the USB cable is disconnected, the camera will go back to SETUP mode.
VIEWING YOUR IMAGES
G
Eyelet
Mounting
Strap
QUICK START INSTRUCTIONS
B
DEFAULT SETTINGS
C


