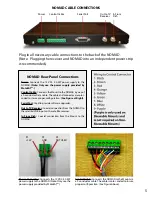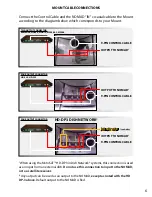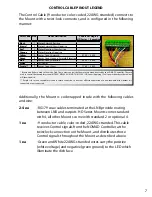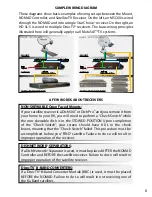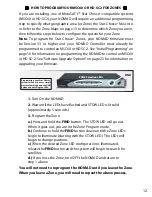
1. Turn On the NOMAD.
2. Wait until the LEDs have flashed and STOW LED is lit solid
(approximately 5 seconds.)
3. Program the Zone:
a.) Press and hold the FIND button. The STOW LED will go out.
When it goes out, you are in the Zone Program mode.
b.) Continue to hold the FIND button down until the Zone LEDs
begin to illuminate (starting with the STOW LED.) The LEDs will
begin to change positions.
c.) When the desired Zone LED configuration is illuminated,
release the FIND button and the system will begin its search for
satellites.
d.) If you miss the Zone, turn OFF the NOMAD and return to
step 1 above.
You will not need to reprogram the NOMAD until you leave the Zone.
When you leave a Zone, you will need to repeat the above process.
HOW TO PROGRAM YOUR MSC60 OR HD-SC2 FOR ZONES
If you are installing one of MotoSAT’s™ Star Choice
©
-compatible systems
(MSC60 or HD-SC2), your NOMAD will require an additional programming
step to specify what geographic area (or Zone) the Star Choice
©
Mount is
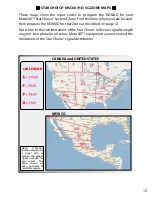
in. Refer to the Zone Maps on page 13 to determine which Zone you are in,
then follow the steps below to configure the system for your Zone.
Note: To program for Star Choice
©
Zones, your NOMAD firmware must
be Version 33 or higher and your NOMAD Controller must already be
programmed to control an MSC60 or HD SC-2. See “Initial Programming” on
page 10 for information on programming the NOMAD to control an MSC60
or HD SC-2. See “Software Upgrade Options” on page 23 for information on
upgrading your firmware.
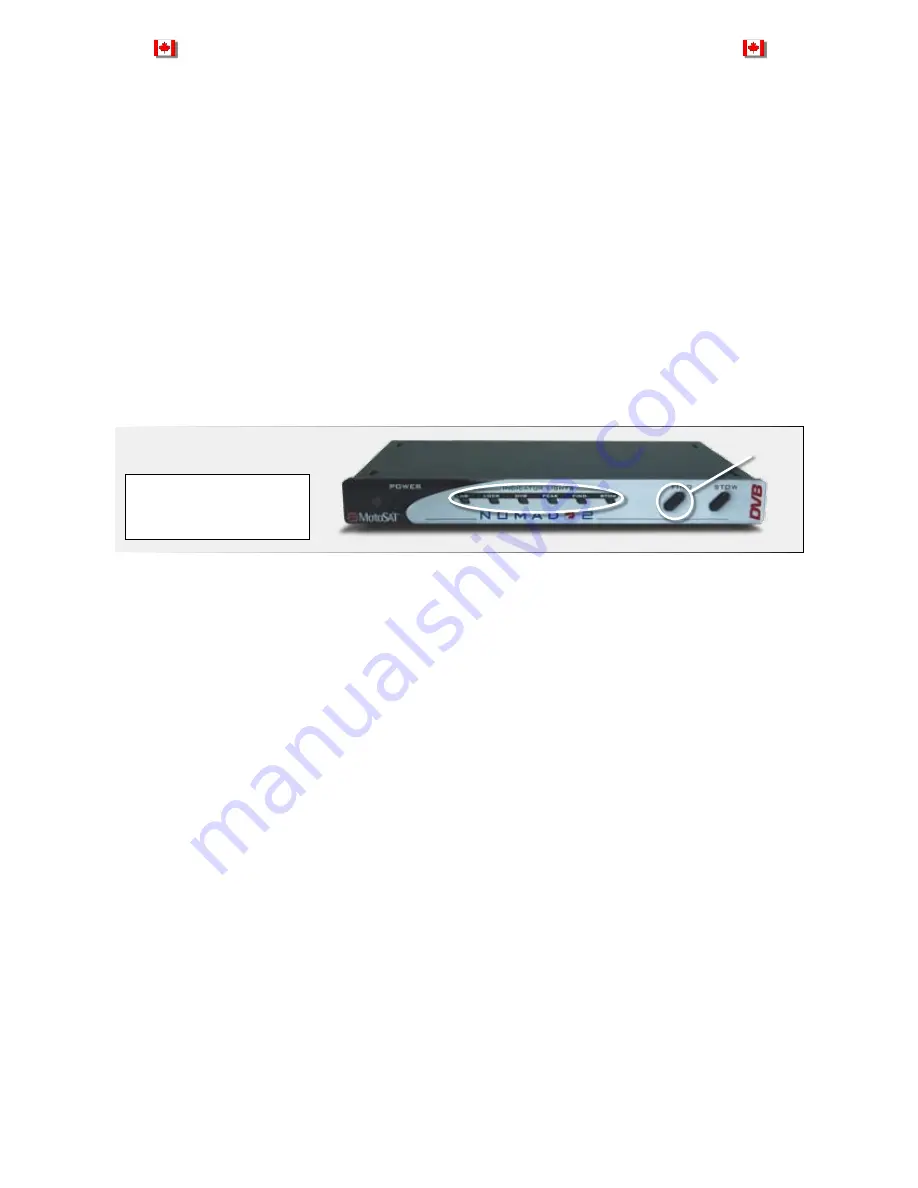
Programming your Star Choice
©
system for Zones is a very simple
matter of holding down the FIND
button and watching the LEDs.
ZONE Selection LEDs
FIND
12
Summary of Contents for Nomad 2
Page 1: ...901 NOMAD IM Rev 08 16 08 NOMAD 2 NOMAD 3 OWNER S GUIDE ...
Page 3: ...1 INSTALLATION ...
Page 10: ...2 SETUP ...
Page 16: ...3 OPERATIONS ...
Page 20: ...4 TROUBLESHOOT ...
Page 23: ...5 UPGRADES ...
Page 29: ......


