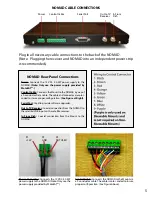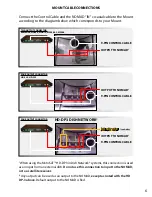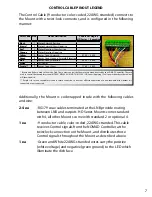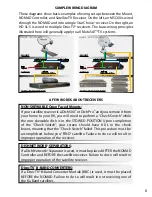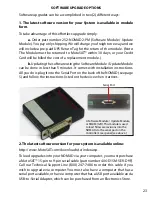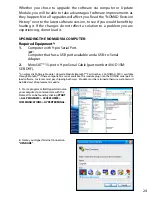
TO PROGRAM:
INITIAL PROGRAMMING
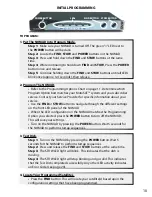
1. Put The NOMAD Into Program Mode.
Step 1: Make sure your NOMAD is turned Off. The green “ ” LED next to
the POWER button will be dark.
Step 2: Locate the FIND, STOW and POWER buttons on the NOMAD.
Step 3: Press and hold down the FIND and STOW buttons at the same
time.
Step 4: While continuing to hold down FIND and STOW, Press the POWER
button once and release.
Step 5: Continue holding down the FIND and STOW buttons until all LEDs
blink once (approx. 3-4 seconds), then release.
2. Program The NOMAD.
•
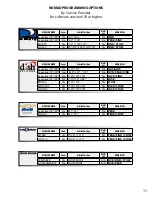
Refer to the Programming Options Chart on page 11. Determine which
Program Option best matches your MotoSAT™ system and your subscriber
service. Contact your Service Provider for specific information about your
service.
•
Use the FIND or STOW button to navigate through the different settings
on the front LED panel of the NOMAD.
•
When the LED configuration on the NOMAD matches the Programming
Option you selected, press the POWER button to turn off the NOMAD.
This will save your settings.
•
Turn on the NOMAD by pressing the POWER button. Wait 5 seconds for
the NOMAD to perform startup sequences.
3. Test Dish.
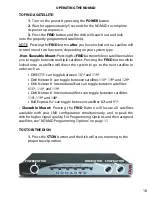
Step 1: Turn on the NOMAD by pressing the POWER button. Wait 5
seconds for the NOMAD to perform startup sequences.
Step 2: Press and release the FIND and STOW buttons at the same time.
Step 3: The STOW LED light will blink. This indicates that the dish is
moving.
Step 4: The STOW LED light will stop blinking and go solid. This indicates
that the Test Dish completed successfully. Any other LED activity indicates
an Error Code (see page 20).
4. Locate Your Programmed Satellites.
•
Press the FIND button. This will locate your satellite(s) based upon the
configuration settings that have been programmed.
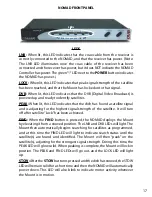
POWER BUTTON
FIND BUTTON STOW BUTTON
LEDs
10
Summary of Contents for Nomad 2
Page 1: ...901 NOMAD IM Rev 08 16 08 NOMAD 2 NOMAD 3 OWNER S GUIDE ...
Page 3: ...1 INSTALLATION ...
Page 10: ...2 SETUP ...
Page 16: ...3 OPERATIONS ...
Page 20: ...4 TROUBLESHOOT ...
Page 23: ...5 UPGRADES ...
Page 29: ......


