Hardware Preparation and Installation
2-2
2
!
Caution
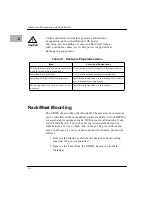
Unless otherwise instructed, perform all hardware
preparation and/or installation with power
disconnected. Installing or removing hardware items
(drive modules, cables, etc.) while power is applied may
damage the equipment.
Rack/Mast Mounting
The XR900 chassis, like other Modular Chassis system enclosures,
can be installed without modification in a standard 19-inch RETMA
(or equivalent) equipment rack. With minor modifications, it can
also be installed on a 19-inch mast (as in telecommunications
installations), or in a 23-inch rack or mast. The procedure is the
same in all cases. To rack- or mast-mount the chassis, proceed as
follows:
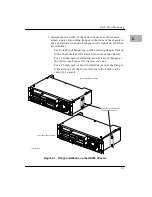
1. Remove the blank bezel from the desired rack mounting
location, if a bezel is installed.
2. Remove the bezel from the XR900 chassis, if a bezel is
installed.
Table 2-1. Hardware Preparation Items
Item
Location of Instructions
Setting jumper options on drive modules
used in this chassis (as required)
User’s manual for the respective drive module(s)
Installing drive modules
User’s manual for the respective module(s)
Installing external cables (as required)
Installation instructions in this manual, also other
user’s manual(s) as applicable
Mounting chassis in rack, on mast, or on
pedestal
Installation instructions in this chapter
Summary of Contents for XR900 Series
Page 1: ...XR900 Series Mass Storage Subsystem User s Manual MCPIOSA UM2 ...
Page 9: ...x ...
Page 11: ...xii ...
Page 43: ...Operating Instructions 3 10 3 ...
Page 53: ...Removal Replacement Procedures 4 10 4 Figure 4 4 Drive Module Release Latches 11060 00 9409 ...
Page 58: ...Support Information 5 4 5 ...


