7
Control Overview
To access the settings (parameters) that determine the sound
you turn a rotary knob
1
corresponding to the setting
that you want to change. Each rotary knob
1
is associ-
ated with it’s own ’parameter page’. Normally the display
will then change to show the settings for the parameter
page associated with that knob.
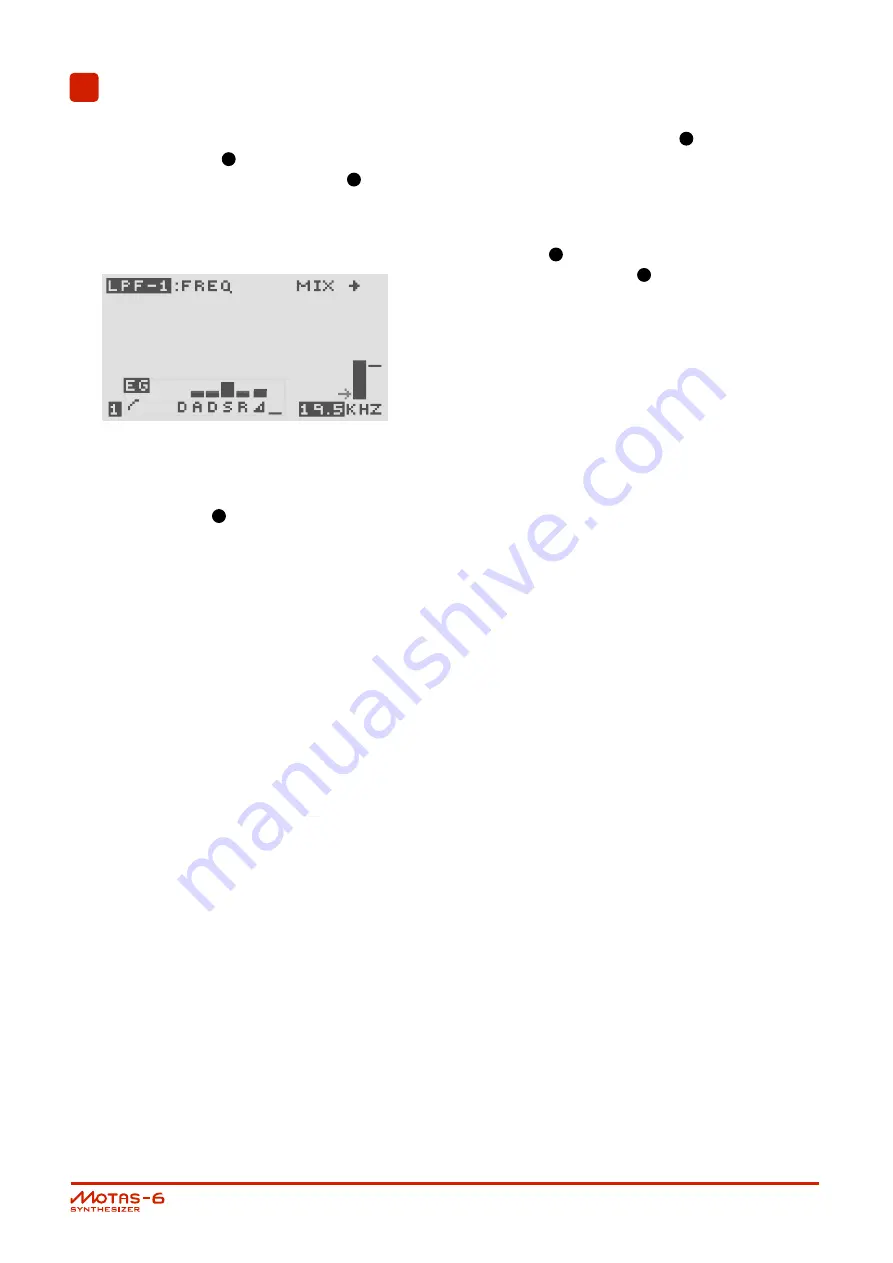
For example, the figure above shows the parameter page
for the low-pass filter 1 cut-off frequency.
Turning a rotary knob
1
normally has the side-effect of
also changing the offset value for that parameter page.
Use the ’value lock’ feature to prevent this. Press the
[BUTTON-VALUE LOCK]
button to toggle ’value-lock’ on and
off. When ’locked’ the adjacent LED will flash. Conversely,
use the ’page-lock’ mode to allow rapid hands-on changes
of parameter basic offsets such as sweeping filter cut-off,
changing oscillator mix levels etc. without changing the
active parameter page. Press the
[BUTTON-PAGE LOCK]
but-
ton to toggle ’page-lock’ on and off. When ’locked’ the ad-
jacent LED will flash.
Use the [ROTARY ENCODER] or
[BUTTON-UP]
or
[BUTTON-
DOWN]
buttons to change values. For faster data entry
when using the [ROTARY ENCODER] , push the [ROTARY
ENCODER] down at the same time as turning. You can
also press and hold
[BUTTON-UP]
or
[BUTTON-DOWN]
to rapidly
change a value. Hold down
[BUTTON-VALUE LOCK]
and use the
[ROTARY ENCODER] to edit values at the highest resolu-
tion possible.
In the case of any ’stuck’ notes e.g. if a MIDI keyboard is
unplugged whilst a note is ’on’, press and hold the [RO-
TARY ENCODER] wheel down and simultaneously press
[BUTTON-DOWN]
to turn all notes off.
Adjust
[BUTTON-VOLUME]
to set the output volume level.
Patch parameter editing
The sound generated by MOTAS-6 is controlled by the set-
tings on 33 parameter ’pages’ – each parameter has its own
’page’ shown on the display. These are explained in de-
tail in chapter
. To access a particular parameter page
turn the appropriate rotary knob
1
. The active parame-
ter page is shown by the adjacent flashing LED.
Fast patch changing
MOTAS-6 has 5 patches (sound setups) in memory ready
for fast access. To change the active patch press a fast-
access patch
2
buttons [1], [2], [3], [4] or [5]. The corre-
sponding fast-access patch
2
LED will be lit. See chapter
for more details.
Load/save/copy
To load or save patches, patterns or sequences press
[BUTTON-
LOAD]
or
[BUTTON-SAVE]
. To copy patch settings, reset set-
tings or randomise parameter page settings press
[BUTTON-
COPY]
. See chapter
for more details.
Vector morphing
MOTAS-6 has a vector morphing feature to allow smooth
transition from the sound parameters of one patch to an-
other using external controllers. To access the vector mor-
phing feature press
[BUTTON-RIGHT]
whilst the patch overview
page is displayed. See chapter
for more details.
Arpeggiator
MOTAS-6 has a powerful arpeggiator feature – press
[BUTTON-
ARPEG.]
. See chapter
for more details.
Pattern sequence
MOTAS-6 has a pattern sequencer. Press
[BUTTON-PATTERN]
to access the patterns and
[BUTTON-SEQUENCE]
to access the
sequencer. See chapter
for more details.
Monitor
To view signal level, the incoming MIDI signals and output
signals and access the oscilloscope and spectrum analyser
features use the ’monitor’ feature
[BUTTON-MONITOR]
. See
chapter
for more details.
Setup
To access various global settings and parameters (such as
MIDI receive channel, calibration and modulation sources)
press
[BUTTON-SETUP]
. See chapter
for more details.
Live patch editing
MOTAS-6 can send and receive MIDI NRPN messages to
allow external recording and full high-resolution control
of all patch settings. See chapter
for more details of
NRPNs.
MOTAS-6 has a parameter mapping feature that can be
used to send and receive simple MIDI CCs to control up to
24 patch parameters. See section
.
User Guide v1.31 [FOR SCREENREADERS]
page 8
Summary of Contents for Motas-6
Page 2: ......


