


29
EQUIPMENT PREPARATION
Initial Startup
When powering ON the ELI 280 the system requires the user to set certain configurations prior to obtaining an
ECG:
1.
Date and time (including daylight savings time selection).
2.
Language.
3.
AC filter frequency.
4.
Height/weight units of measure.
5.
WAM pairing (if used). (Refer to the WAM user manual for detailed pairing instructions to the device.)
See
System Settings
, to set language, AC filter frequency, and height/weight units of measure.
Calibrating the Touchscreen Display
The touchscreen display requires calibration upon initial use and at regularly scheduled preventive maintenance
intervals as prescribed in the service manual. Once initiated, the ELI 280 automatically begins the calibration
sequence (detailed below). Through on-screen prompts, the user will touch strategically placed crosshairs to
calibrate the display’s touch point accuracy.
1.
Initiate the calibration sequence by touching the
+
symbol in the upper left corner of the display.
2.
Touch the
+
symbol in the upper right corner of the display.
3.
Touch the
+
in the lower right corner of the display.
4.
Touch the
+
in the lower left hand corner of the display.
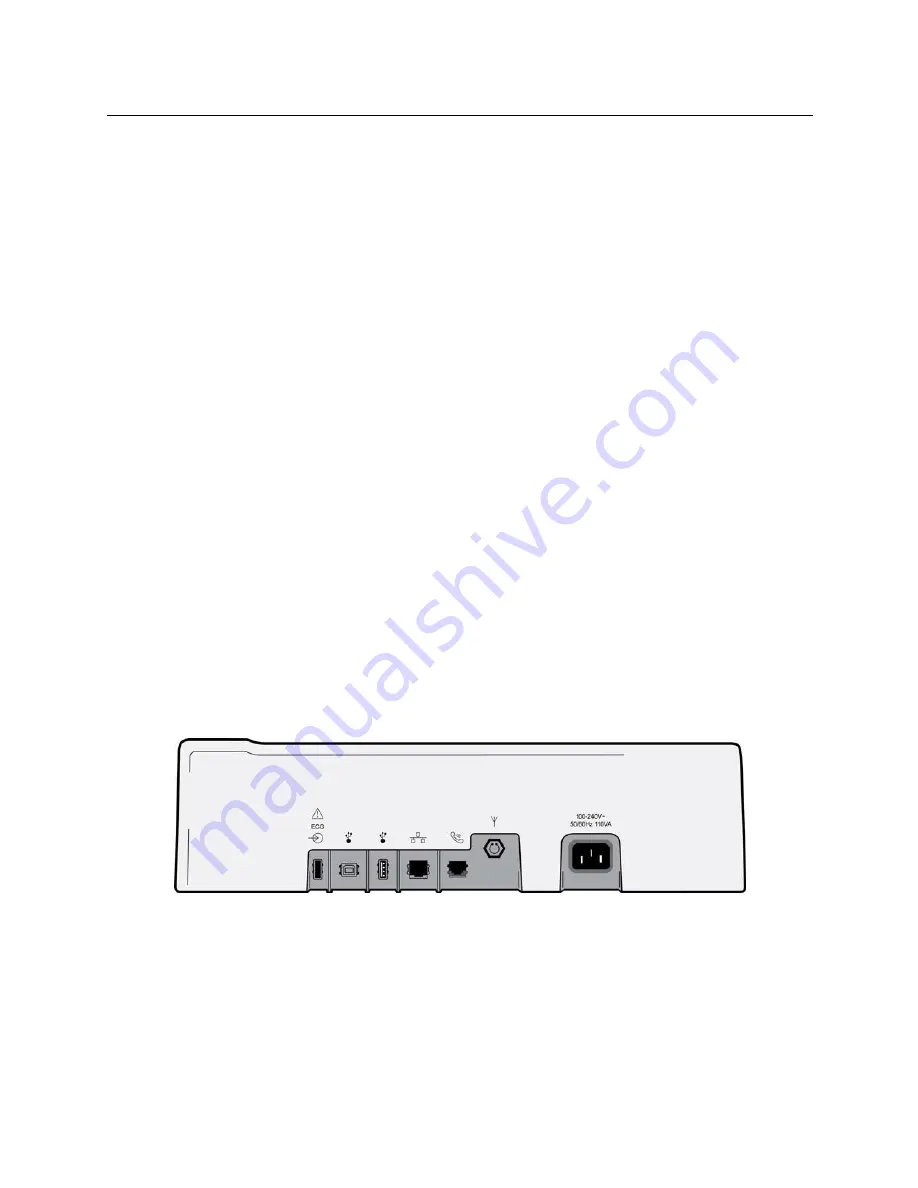
Connecting the Acquisition Module
Connect the AM12 to the ECG connector at the rear of the device. When using the optional WAM for ECG
acquisition, this connection is not required.
Figure 2-1
NOTE
: The device must be configured at the factory for use with the WAM. Select from the
WAM
Pairing
to determine the device’s setting. “WAM Option Not Available” will display if the device is not
configured to work with the WAM.
NOTE
: WAM must be paired to electrocardiograph before operation. Please see the WAM user manual
for instructions.
NOTE
: To use the AM12 in a WAM-configured device, turn the AM12 on, select WAM in the
Configuration Screen, and press “AM12 On.”
Summary of Contents for ELI 280
Page 5: ......
Page 6: ......
Page 26: ...INTRODUCTION 20 System Illustration Figure 1 1 Side View Figure 1 2 Writer Handle ...
Page 32: ......