background image


Chapter 3 Installing and Connecting the Switch     

This part describes how to install your Ethernet Switch and make connections to it. Please 
read the following topics and perform the procedures in the order being presented. 

3.1 Installation   

Please  follow  the  following  instructions  in  avoid  of  incorrect  installation  causing  device 
damage and security threat.   

  Put the Switch on stable place or desktop in case of falling damage.   

  Make sure the Switch works in the proper AC input range and matches the voltage 

labeled on the Switch.   

  To keep the Switch free from lightning, do not open the Switch’s shell even in power 

failure.   

  Make sure that there is proper heat dissipation from and adequate ventilation around 

the Switch.   

  Make  sure  the  cabinet  to  enough  back  up  the  weight  of  the  Switch  and  its 

accessories.   

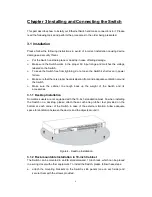
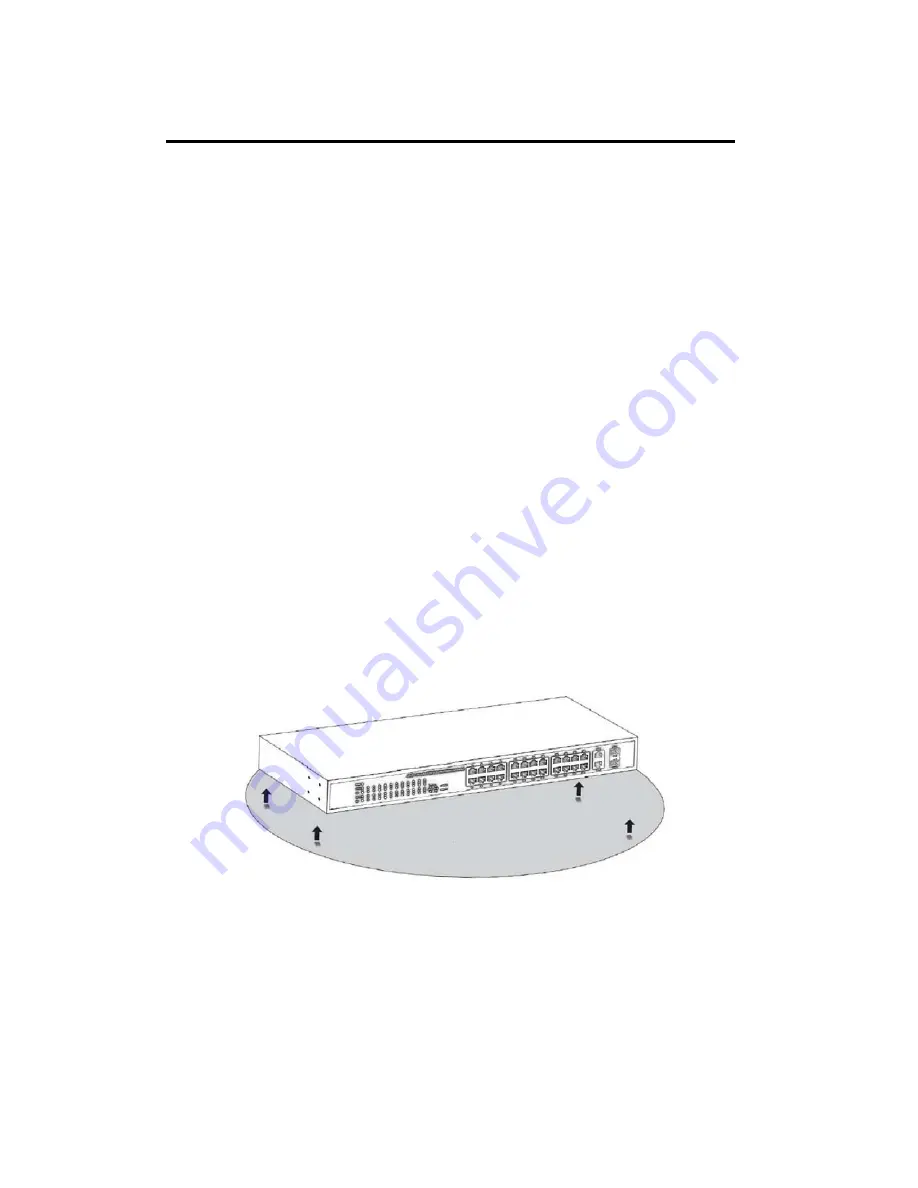
3.1.1 Desktop Installation   

Sometimes users are not equipped with the 19-inch standard cabinet. So when installing 
the  Switch  on  a  desktop,  please  attach  these  cushioning  rubber  feet  provided  on  the 
bottom  at  each  corner  of  the  Switch  in  case  of  the  external  vibration.  Allow  adequate 
space for ventilation between the device and the objects around it.   


Figure 4 - Desktop Installation 

3.1.2 Rack-mountable Installation in 19-inch Cabinet   

The Switch can be mounted in an EIA standard-sized, 19-inch rack, which can be placed 
in a wiring closet with other equipment. To install the Switch, please follow these steps: 

a.  attach  the  mounting  brackets  on  the  Switch’s  side  panels  (one  on  each  side)  and 

secure them with the screws provided.   

Summary of Contents for SW-UNM-24FE2GC-24POE

Page 1: ...SW UNM 24FE2GC 24POE 24 Port 10 100Mbps 2 Port Gigabit Combo POE Unmanaged Ethernet Switch User Manual Ver 1 1...

Page 2: ...a in one single cable allowing you to expand your network where there are no power lines or outlets where you wish to fix devices such as AP IP Cameras or IP Phones etc The Switch is easy to install a...

Page 3: ...0 1000Mbps RJ 45 ports 25T 26T Designed to connect to the device with a bandwidth of 10Mbps 100Mbps or 1000Mbps Each has a corresponding 10 100 1000Mbps LED SFP ports 27S 28S Designed to install the S...

Page 4: ...he port Off A device is disconnected to the port Flashing Sending or receiving data POE Orange On A Powered Device is connected to the port which supply power successfully Off No Powered Device connec...

Page 5: ...pation from and adequate ventilation around the Switch Make sure the cabinet to enough back up the weight of the Switch and its accessories 3 1 1 Desktop Installation Sometimes users are not equipped...

Page 6: ...r cord and check the power indicator is ON or not When it is ON it indicates the power connection is OK 3 2 Connect Computer NIC to the Switch Please insert the NIC into the computer after installing...

Page 7: ...x 10 100Mbps Auto Negotiation ports 2GE 2SFP LED indicators Link Act Link Act POE POE Power Power 25 26T 27 28S Link Act Transfer Method Store and Forward Switching Capacity 12 8G MAC Address Learning...

Page 8: ...7 www morrelltelecom com sales morrelltelecom com morrelltelecom...

Reviews: