35
www.morphyrichards.com
ALARMS
The alarm sub-menu allows the 2
independent alarm events to be
managed.
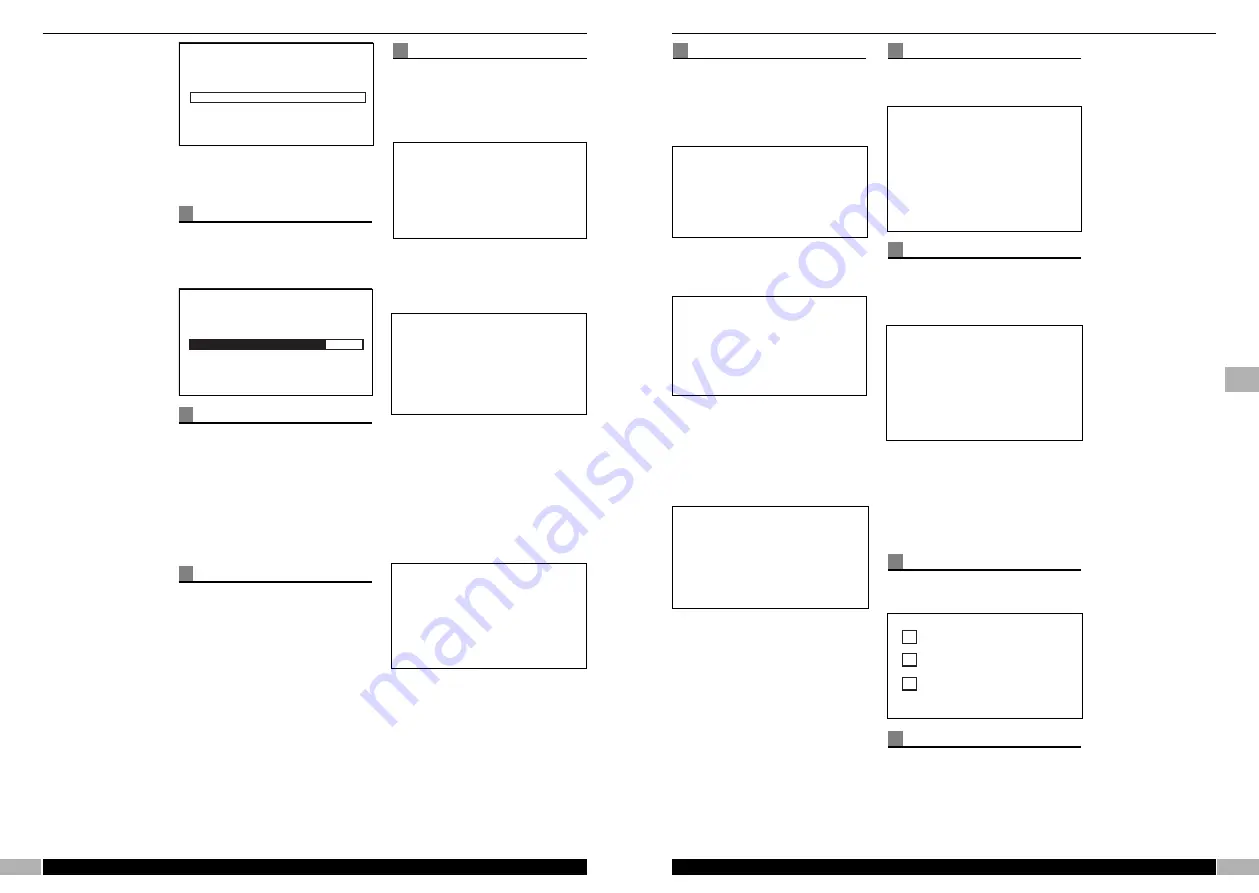
Choosing alarm, the screen will
show:
Highlight ‘Alarm 1 or 2’ and select.
Activation is shown with the ‘start’
and ‘End’ arrow.
Navigate to the desired alarm (from
1 to 2) and confirm the alarm entry
by pressing MENU/SELECT knob.
Setting up the alarm is then
achieved by highlighting ‘OFF’ and
‘Selecting’. Activation is shown with
the ‘Start’ and ‘End’ arrow.
Navigation using the
MENU/SELECT knob presents the
alarm type for once, everyday,
weekly, weekdays and weekends.
Once the type of alarm is
confirmed, use the navigation and
select mechanism to change the
time, date, station/buzzer.
Settings
This sub-menu allows the
management of the user specific
setting.
CLOCK
The clock can be selected to be
Auto - update (Default) and manual
set, where selection to manual will
provide the following:
Navigation to the parameter will
allow the field to be changed, using
the select and navigation function,
where ‘Start’ and ‘End’ arrow show
the field is currently being edited
and ‘Select’ confirms the currently
viewed option.
RADIO
This sub - menu allows selection of
the following features.
FM stereo
•
When selected (shown tick) will
enable FM stereo, otherwise Mono
will be forced in FM Mode.
Enable DAB DRC
34
www.morphyrichards.com
Tuning Bar will show position in
tuning spectrum.
Autoscan
A full scan will commence upon
selection of AutoScan.
The following screen will be shown:
Show/hide station
Similar to Favourites, this screen will
allow stations to be hidden from the
main, service selection, by ticking
the box shown next to the service
name.
It should be noted that a Factory
reset will clear this ‘User - Specific’
option.
Clear station list
This will present a final confirmation
screen when selected. the
confirmation screen will advise that
‘This will delete all your radio
stations’ from the station list. Simply
press ‘back’ to escape this screen,
or navigate to ‘Clear station list’ to
confirm this action.
Time recordings
Time recordings sub - menu allows
the recording events 1 to 12 to be
managed.
Choosing recording event, the
screen will show:
Highlight ‘Recordings 1-12’ and
select.
Activation is shown with the ‘Start’
and ‘End’ arrow.
Navigate to the desired recording
event (from 1 to 12) and confirm the
recording by pressing
MENU/SELECT knob.
Setting up the recording event is
then achieved by highlighting ‘OFF’
and ‘Selecting’.
Activation is shown with the ‘Start’
and ‘End’ arrow.
Navigation using the
MENU/SELECT knob presents the
recording event for once, every day,
weekly, weekdays and weekends.
Once the recording timer is
confirmed, use the navigation and
select mechanism to change the
start date, start time, duration and
channel.
Radio service C
DRM
177 kHz
(No signal)
Manual Tune
DRM
26000 kHz
Station found
61
Station Scan
r
r
ARE YOU SURE
This will delete all files
from your card
FORMAT MEMORY CARD
Back...
Enable FM stereo
Enable DAB DRC
Enable AFC
Back....
!
Backlight Always on
Back....
!
Contrast
Recording 1 of 12
Off
Back...
>
<Recordings 1 of 12
>
Off
Back....
>
Recording 2 of 12
<Off
Back...
>
Alarm 1 of 2
Off
Back...
Alarm 1 of 2
<Off
>
Back...
Clock
>
Radio
>
Display
>
Format memory card
>
Factory reset
>
Back...
>
<Manual Set
>
00:00
GMT=0
17 Nov 1858
24 hour clock
Back...
DRM
177 kHz
(No signal)
Manual Tune
DRM
26000 kHz
Station found
61
Station Scan
r
r
ARE YOU SURE
This will delete all files
from your card
FORMAT MEMORY CARD
Back...
Enable FM stereo
Enable DAB DRC
Enable AFC
Back....
!
Backlight Always on
Back....
!
Contrast
Alarm 1 of 2
<Off
>
Back...
Radio service A
Radio service B
Radio service C
DRM
177 kHz
(No signal)
Manual Tune
DRM
26000 kHz
Station found
61
Station Scan
r
r
ARE YOU SURE
This will delete all files
from your card
FORMAT MEMORY CARD
Back...
Enable FM stereo
Enable DAB DRC
Enable AFC
Back....
!
Backlight Alwa
Back....
!
Contrast
g
Summary of Contents for 27024
Page 20: ...40 27024MEE 09 06 ...


