Configuration
29
28
GenStar MPPT
4.0
Main Display
History
Settings
Setup and
Installer Setup
Display and
Button
Status
View control counters, solar
input, charging, DC load
control, Ready Blocks, date
and time, network
Can control DC Loads,
Counters, Charging,
System, External Source
Control (ESC) and Ready
Blocks. System commands,
allow controller re-boot and
factory settings reset (in
Installer Setup).
View error-event log, daily
records and historical
graphs
Analogous to LiveView
Settings Screen.
View I.D.s and versions,
charger, network, modes
and profiles, charging and
load states, faults, alarms.
networks, Ready Blocks,
External Source Control
(ESC) Timing Controls
ADJUST:
• LCD contrast, brightness,
backlight enable and timer,
auto-scroll, auto-scroll timer,
auto-return, language,
temperature units
PROGRAM:
• Soft-key commands
• Save and load settings between
charger and PC or SD card (in
Installer Setup)
• Time, date, network settings,
SD Card and Logger
PROGRAM:
• Charging, DC load, solar
input
• Settings for schedules, Ready
Blocks. ESC programming
requires LiveView webpage\
Installer Setup
• Upload new firmware from a
PC or SD Card; save settings to
SD card or PC
Commands
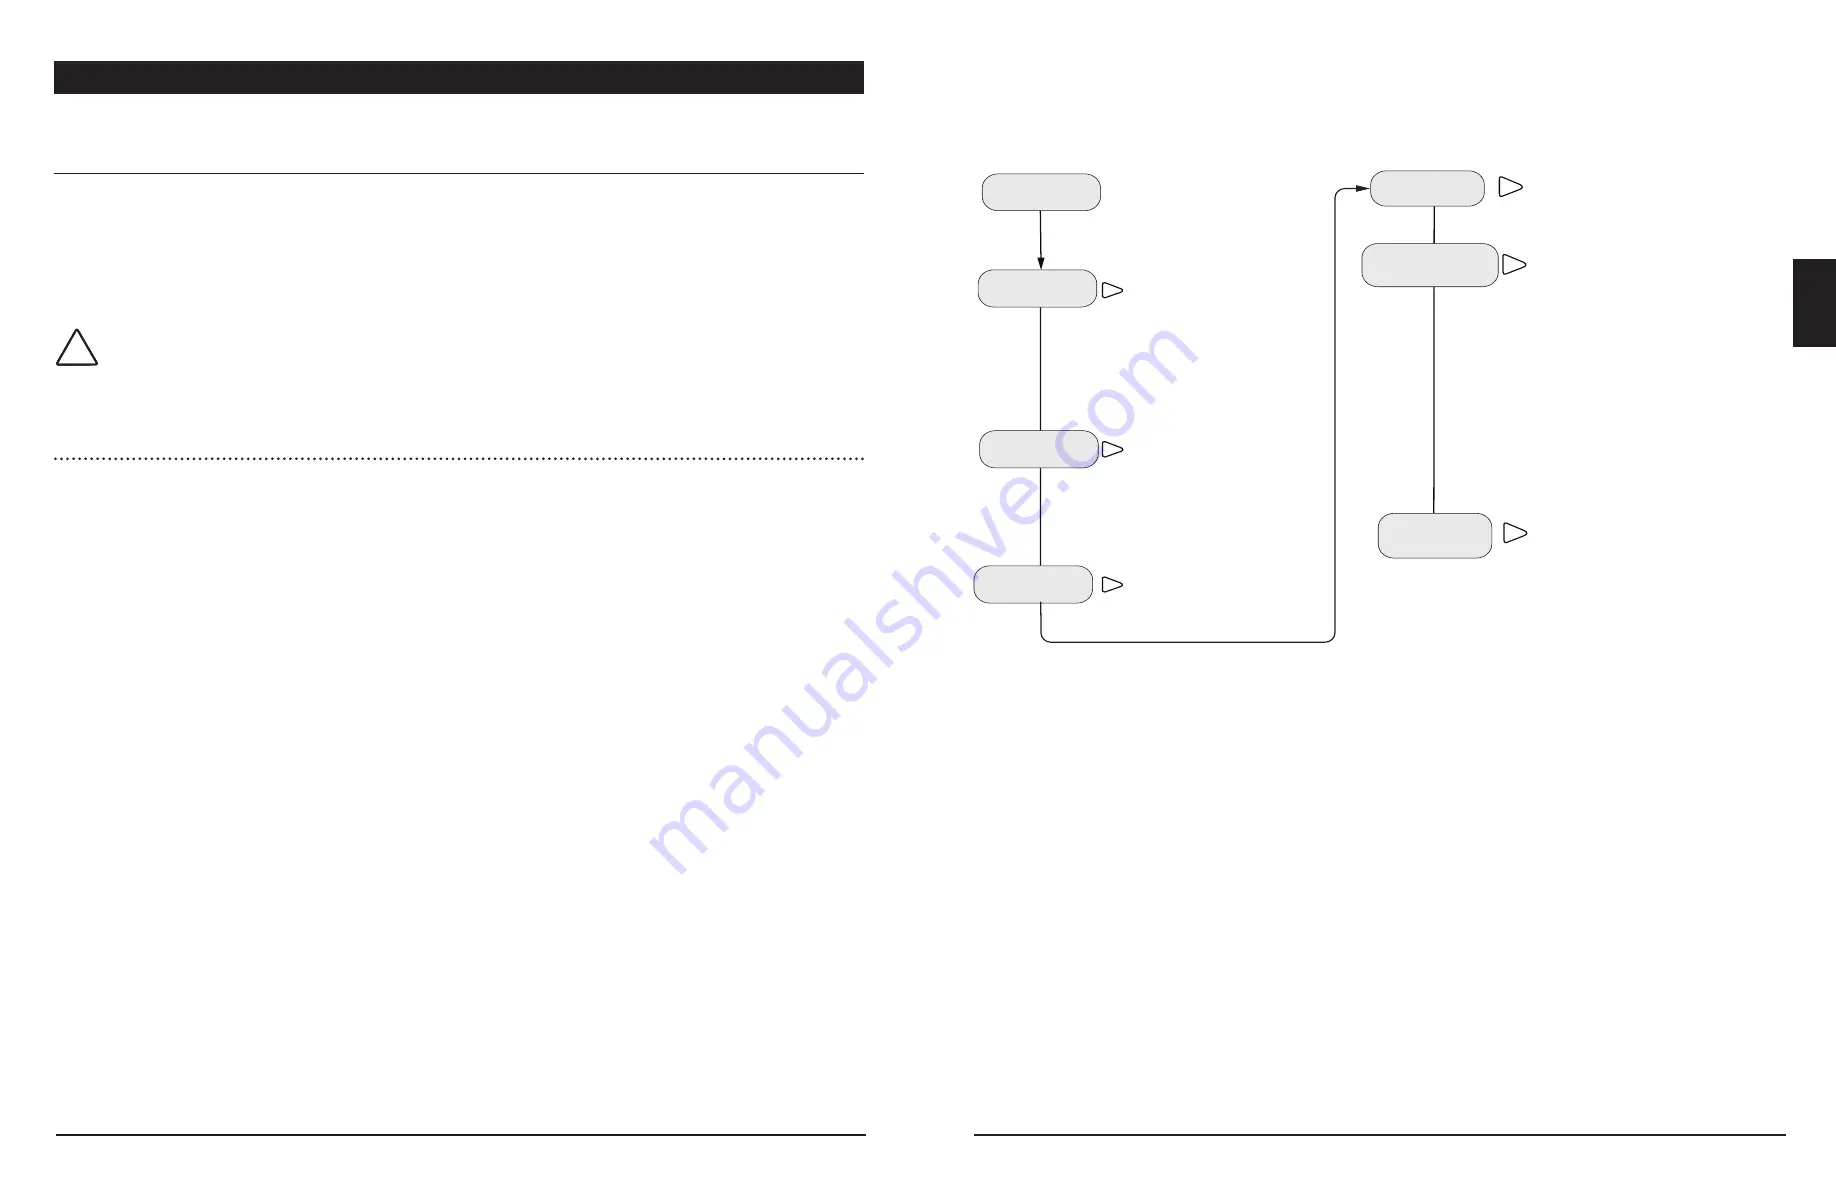
Figure 4-1. Main Local Meter Display Menus
4.0 CONFIGURATION
4.1 Adjusting Settings
All settings - excluding factory reset and controlling Ethernet writes - can be configured using
Morningstar LiveView web pages. See the main LiveView web page for locations and screens. The
configuration sections describe all settings details in terms of LiveView screens, and many settings
are also accessible within the Setup-Installer Setup on-board meter menus shown below in Figure
4-1.
CAUTION:
To effect changes, always use the
Save Button
in upper right corner of the settings area.
4.1.1 Using the Meter Display
To adjust LCD display appearance, menu-screen behavior, language, use the Display and Button
menu.
Structure and Navigation
(see Figure 4-1)
Four lighted triangular directional control keys allow movement to reach any desired point on the
meter layout. A lit key indicates a valid direction in the layout. The current location is indicated on
the display with a column heading, and a bold descriptor.
Using the horizontal arrows buttons, the user can scroll right to access more settings, or or left to
return to the previous screen. Pressing the down arrow button will move to the next lower listing.
From a main screen, pressing the up arrow will return to the next main screen up. Scrolling down will
continue to move through the subsequent main menu listings. Scrolling to the right, and then down,
allows the user to advance to new options in branches and sub-branches. Scrolling to the left will
return to the previous menu listing.
Programmable Soft-key
(maps command functions)
The Soft-key button is located at the lower left corner of the meter interface (see Figure 2.2 in
Section 2.3). The button can be programmed to control up to two commands - one command
with a momentary press, and another with a prolonged (>2 secs) press. Soft-key commands can be
programmed in the Commands Menu on the Meter Display, and in LiveView Installer Setup. Also see
Sections 4.2.7, #5, 4.2.9 and 5.4 for details about Soft-key Commands.
Accessing Installer Setup
From the Setup menu, scroll down to, and select, Installer Paassword. Use the directional arrows to
enter the 3-digit Installer Password (141).
!


